This supplemental material includes color versions of Figures 3 and 4 in the main article (Figures S1 and S2). Figures S3–S28 are additional photographs of the Kausaltar fracture sets indexed to Figure 4a in the main article (reproduced here as Figure S2); the number in the upper left corner of each photograph gives the location number indexed to this map. Figure S28 shows a small-scale map of factories with brick chimneys distributed throughout Nepal and northern India.
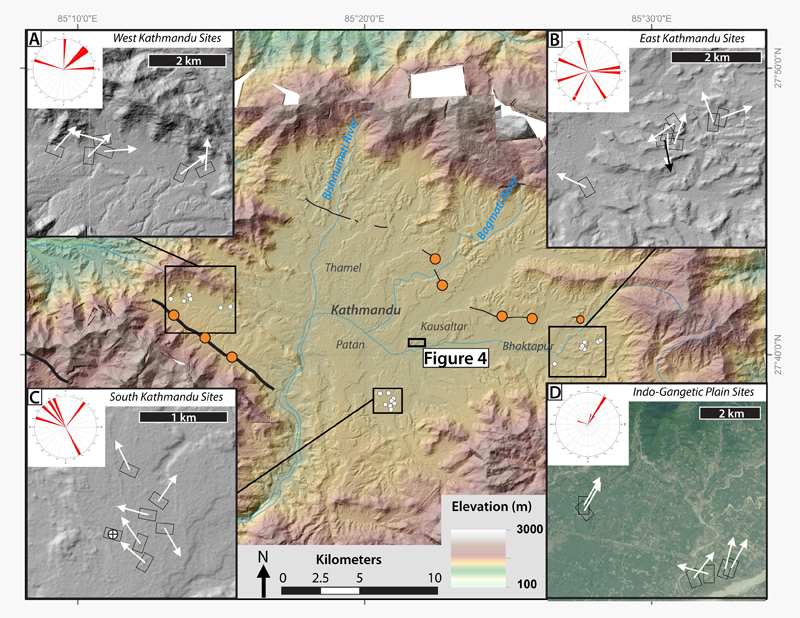
Figure S1. Color version of Figure 3 from main article showing color hillshade image of Kathmandu Valley developed from 8 m DEM (Noh et al., 2015). Large solid orange dots indicate sites traversed locally and where local inhabitants were queried. Previously mapped faults are shown as thick black lines, and newly defined lineaments are shown as thin black lines. Inset corner figures are enlarged views of the indicated areas displaying chimney data collected at (a) East, (b) West, and (c) South Kathmandu sites. (d) Displays chimney data from the Indo-Gangetic Plain (see Fig. 1 of the main article for location); white arrows show the fall direction from the mainshock, and the black arrow in (b) shows the fall direction resulting from the large aftershock.
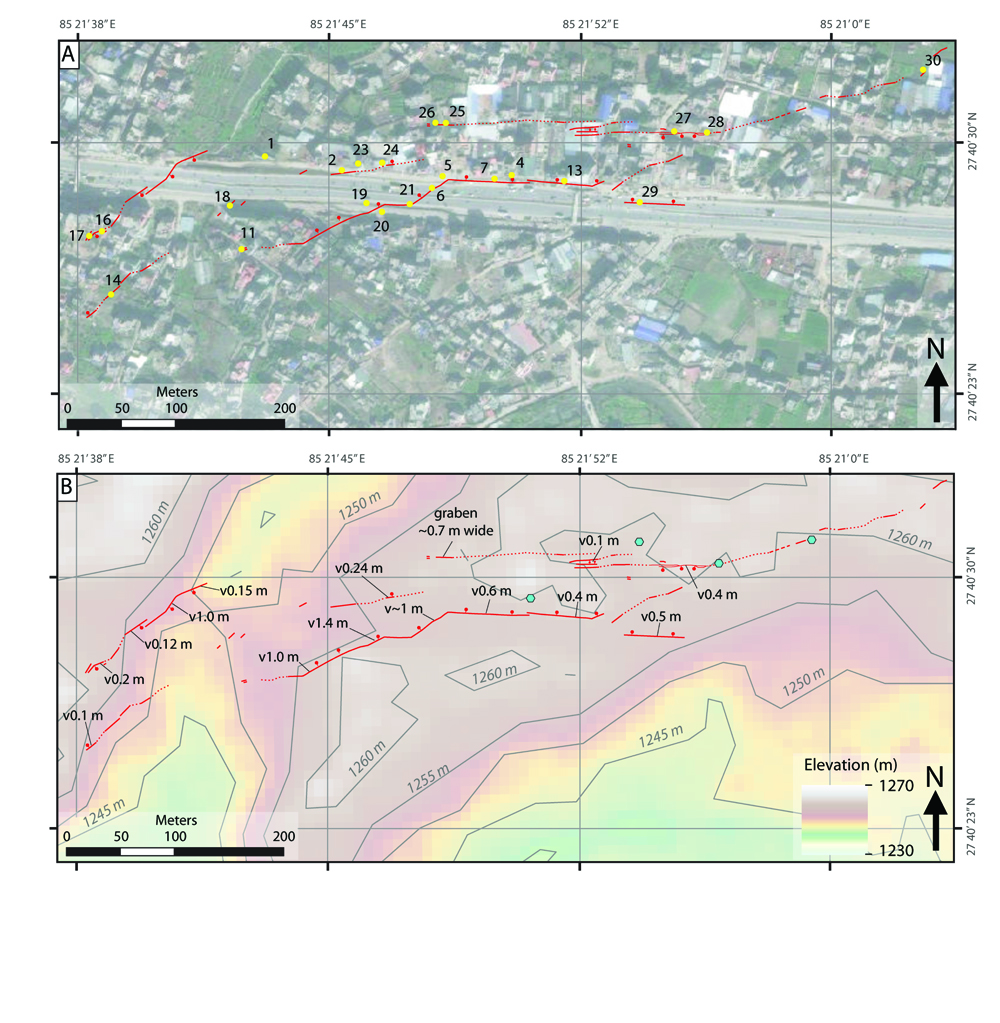
Figure S2. Color version of Figure 4 from the main article. (a) Map of the northeast-trending Kausaltar fracture set. Red barbells show the downthrown side of the fracture. Yellow dots show locations of the associated photos in this electronic supplement (Figs. S3–S27). (b) Same-scale map as in (a), showing the fractures and field measurements underlain by a colored hillshade image (Noh et al., 2015). Contours mark 5 m intervals.
Figure S3. Photograph looking west of Kausaltar fractures from location 1, indexed to Figure S2a (Figure 4 in the main article).
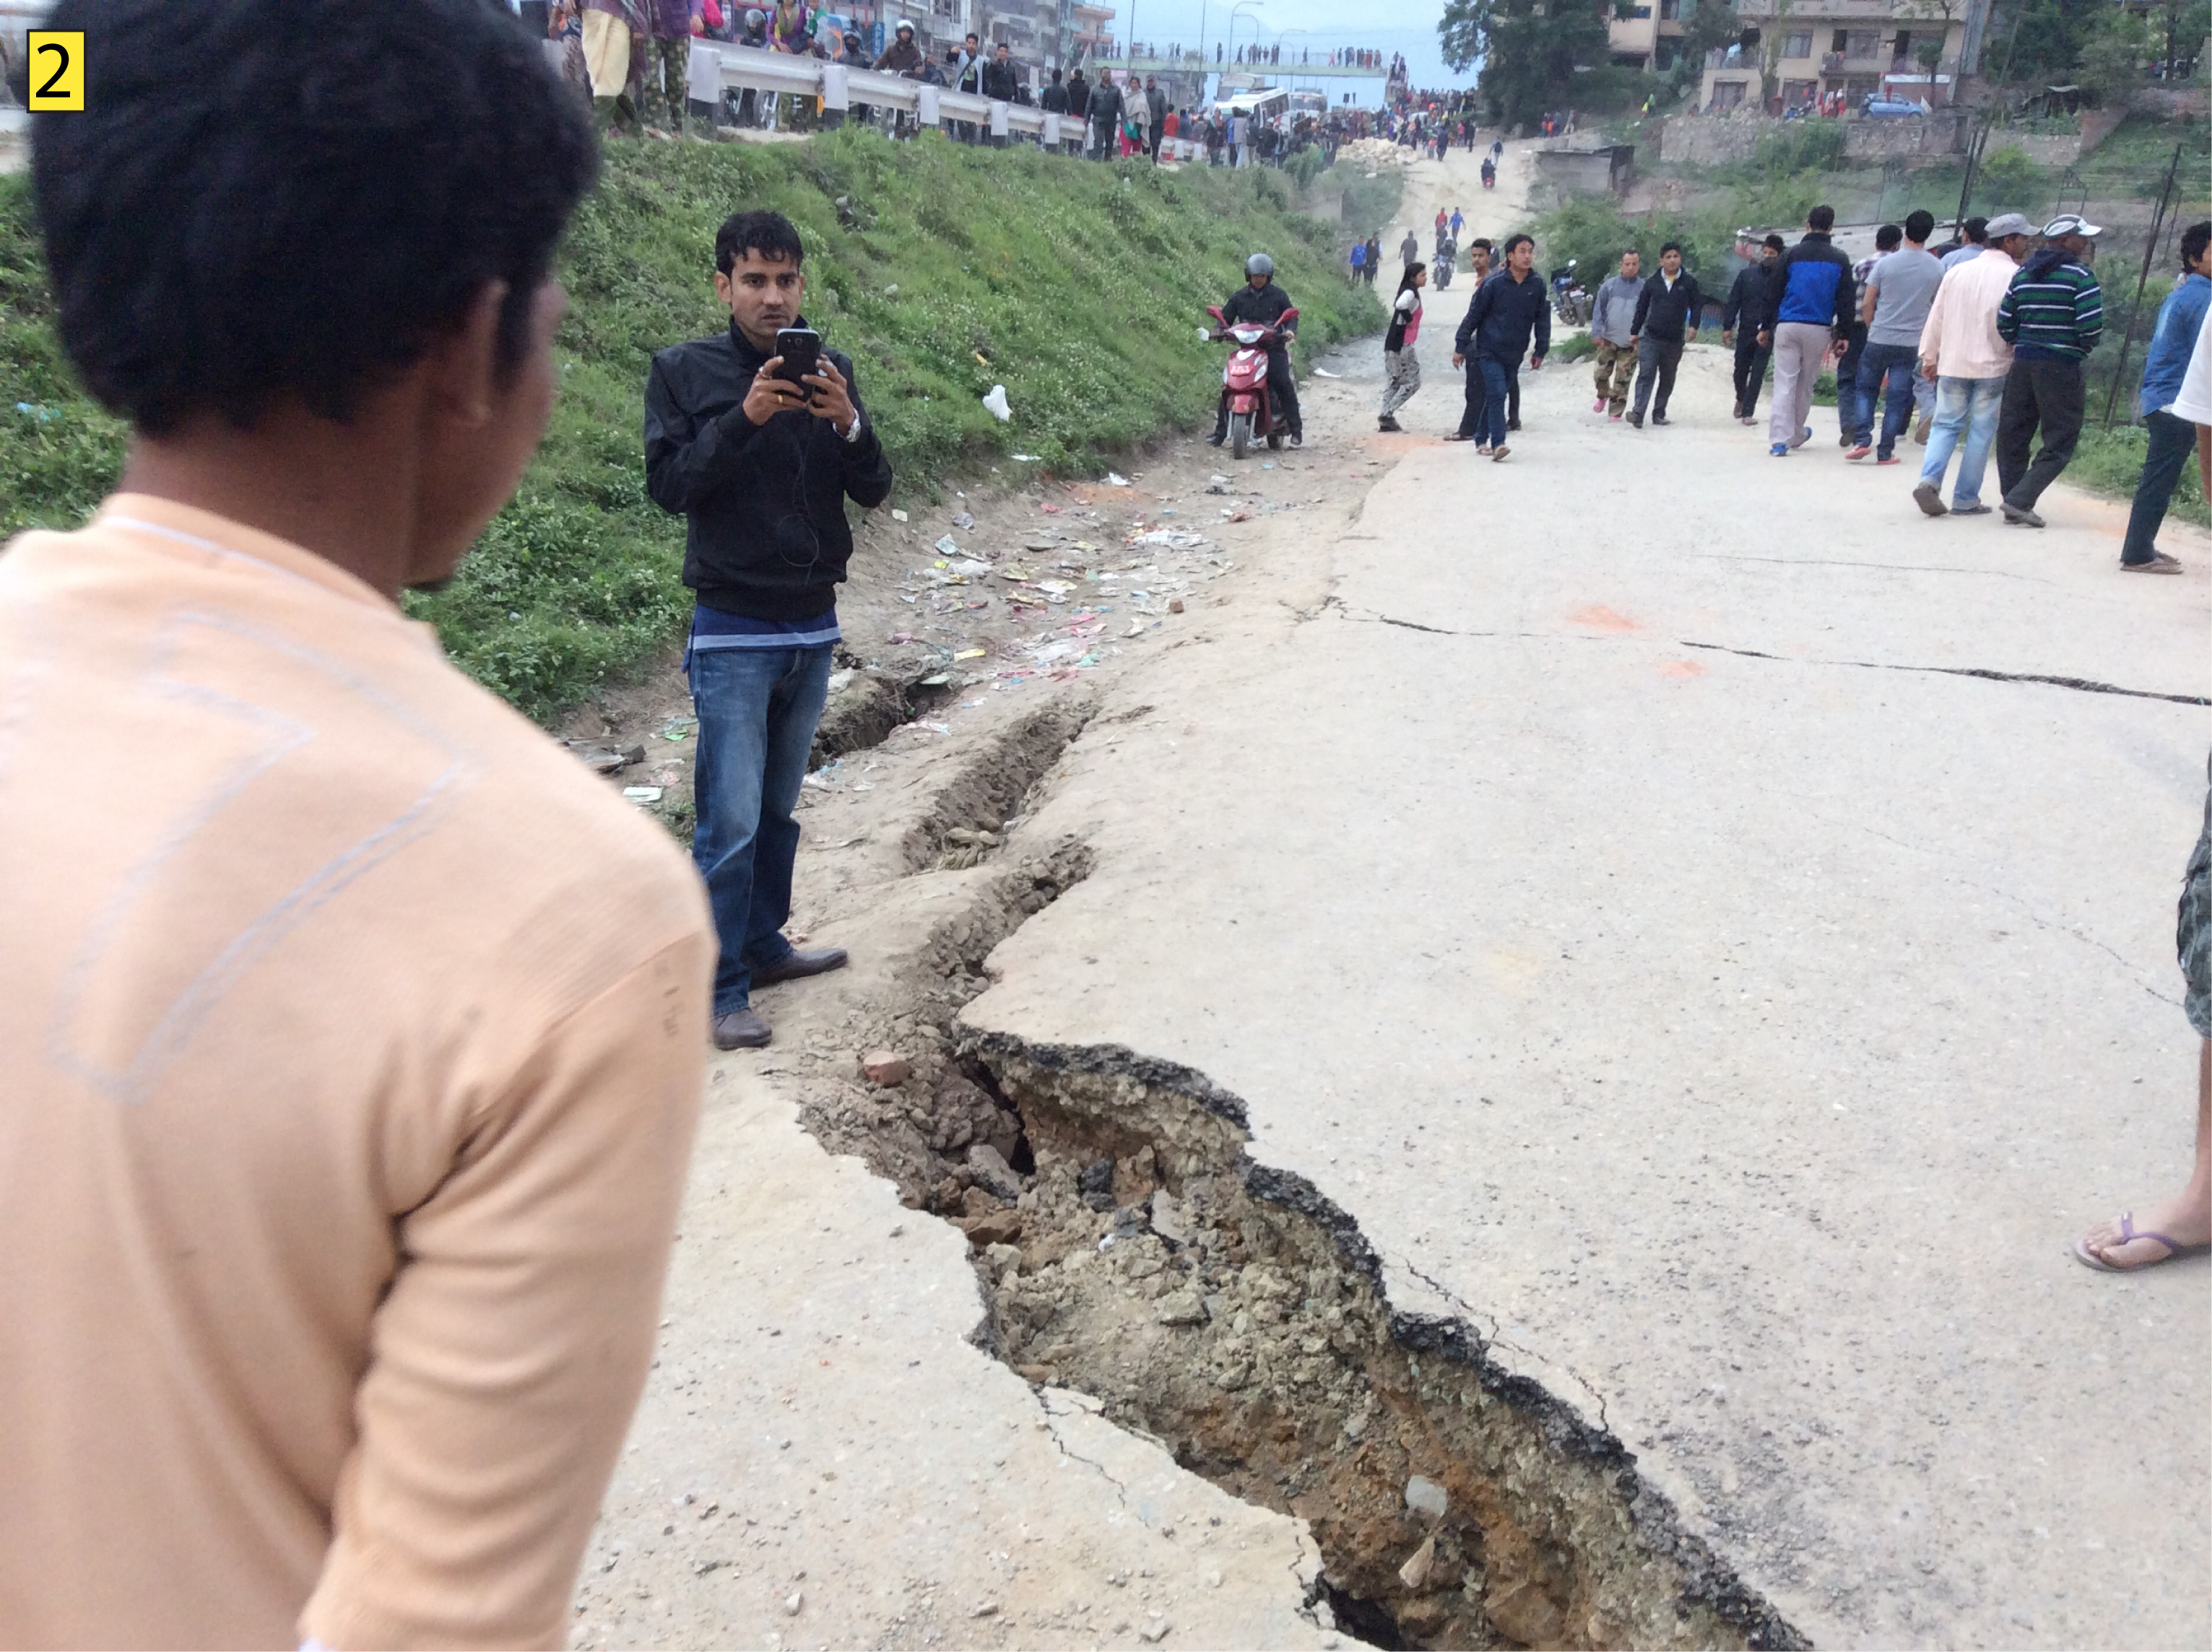
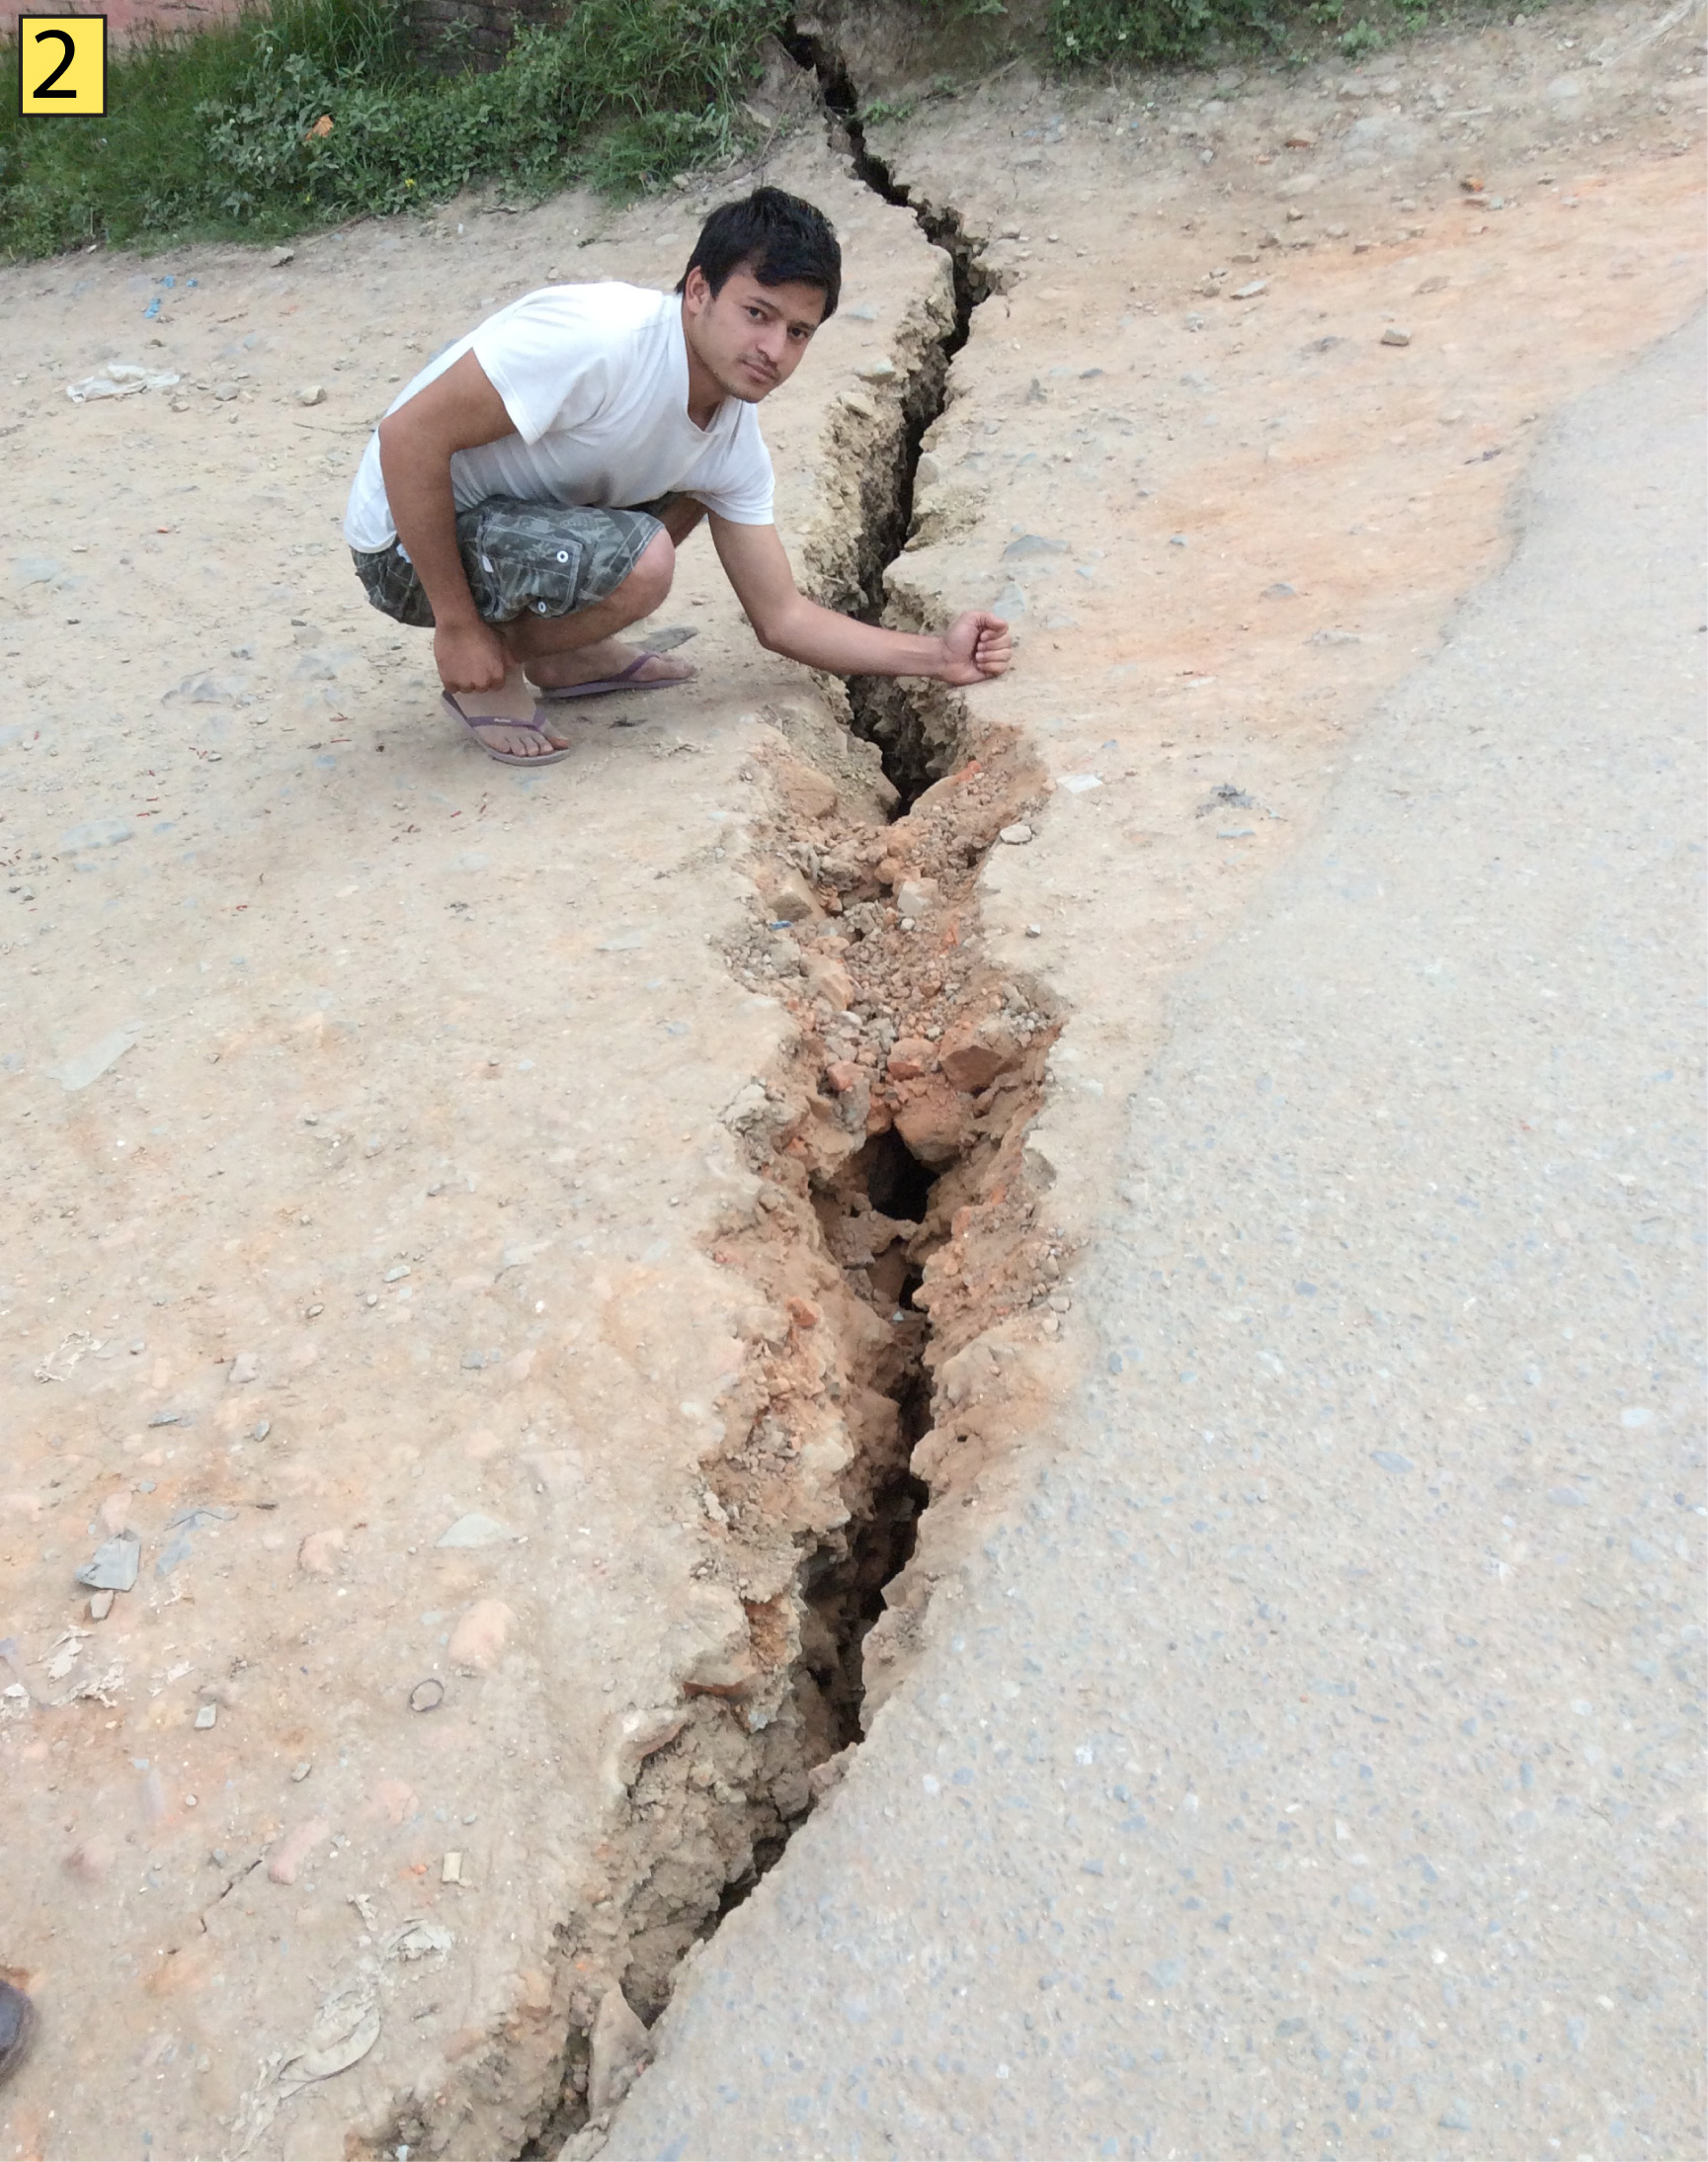
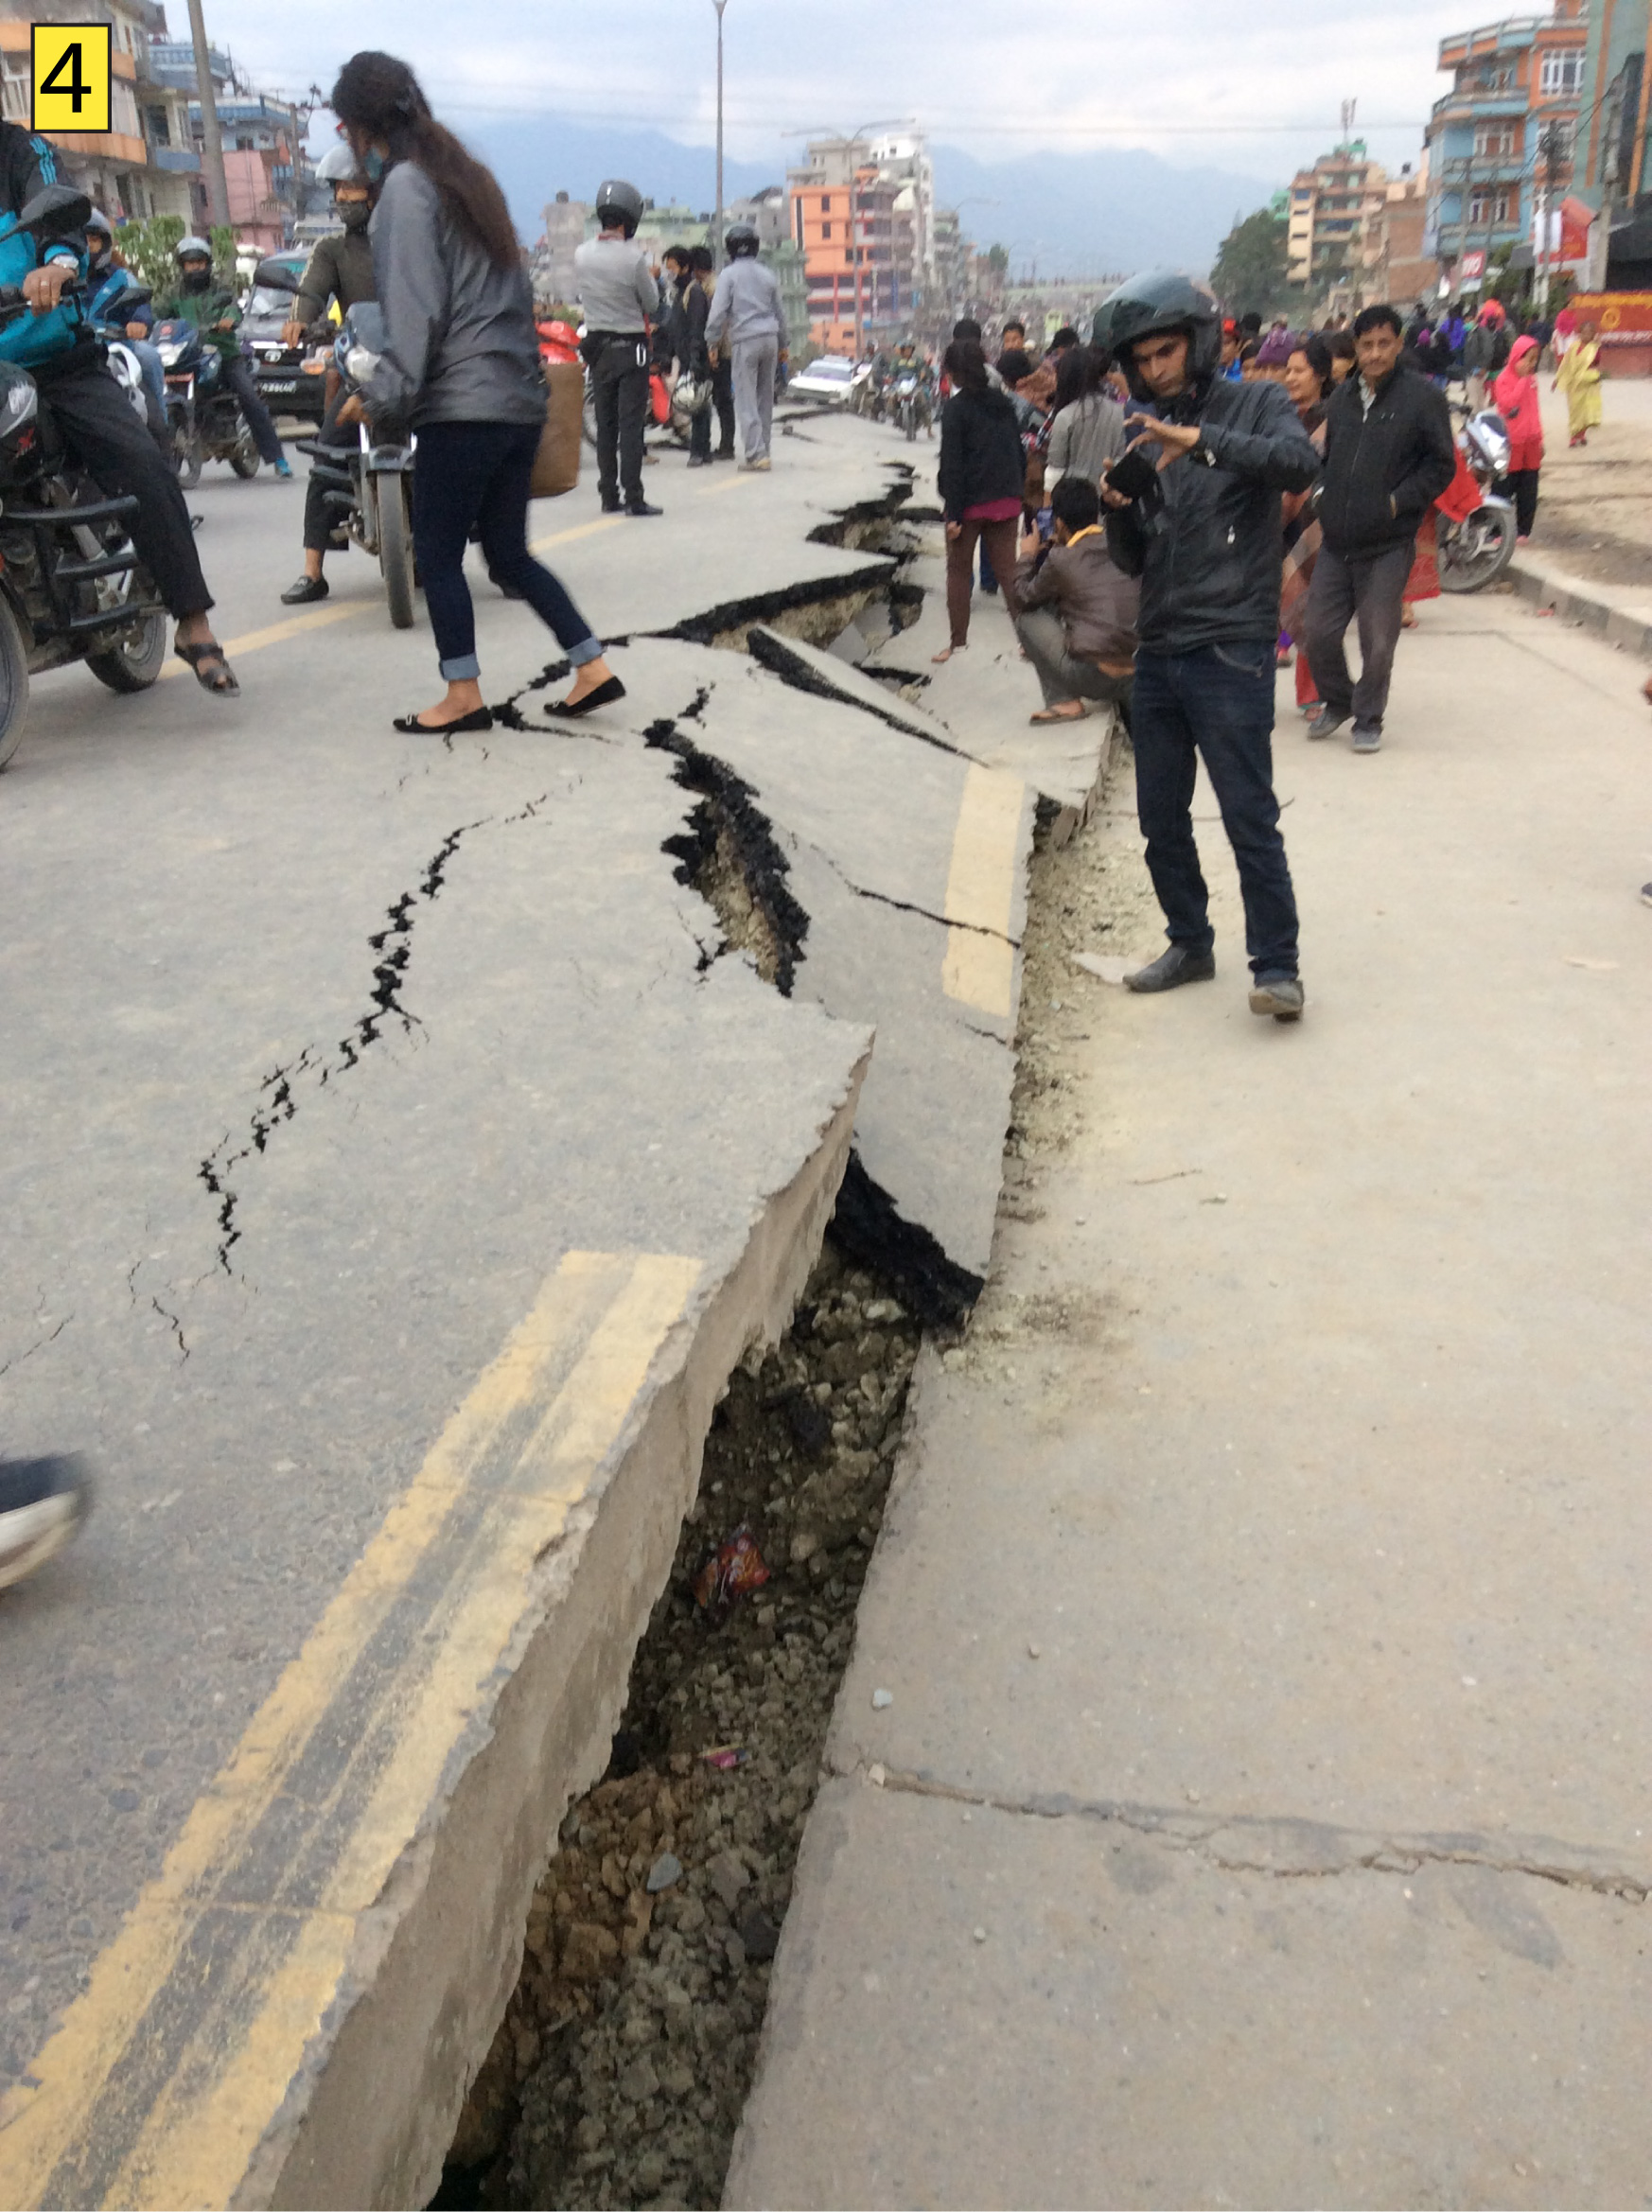
Figure S4. Detail photograph of Kausaltar fracture at location 2, indexed to Figure S2a (Figure 4 in the main article).
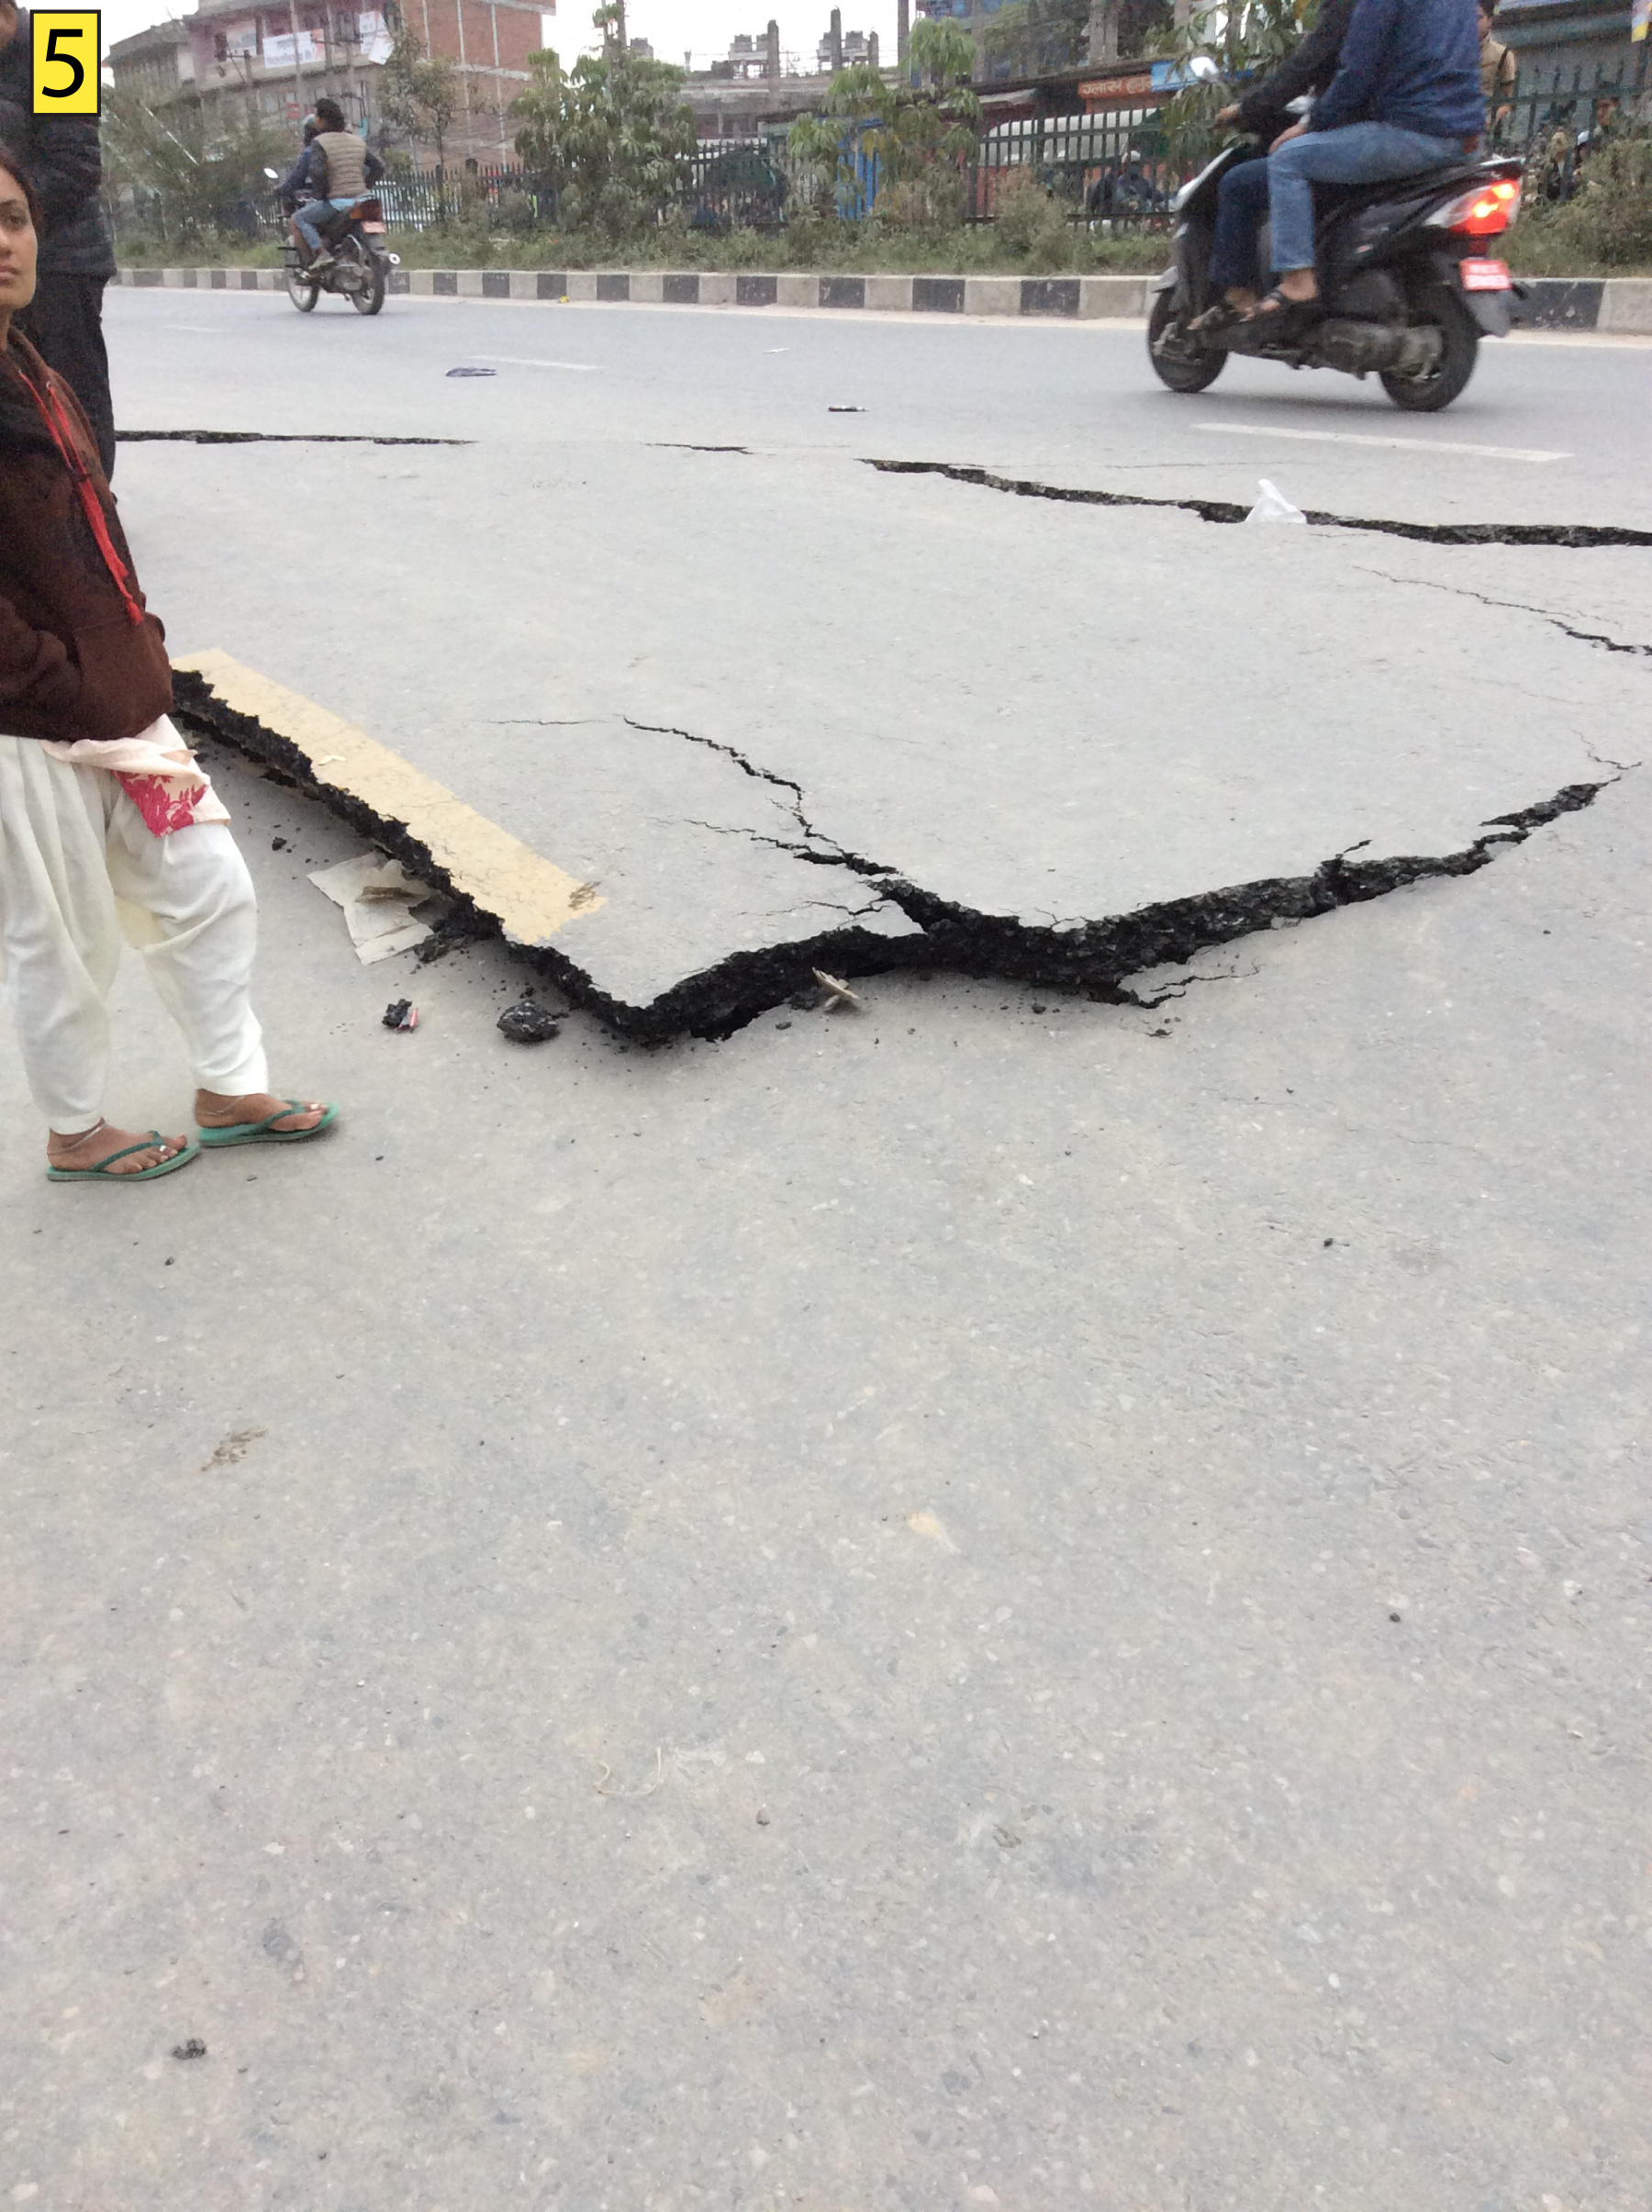
Figure S5. Photograph of Kausaltar fractures looking west from location 2 indexed, to Figure S2 (Figure 4 in the main article).
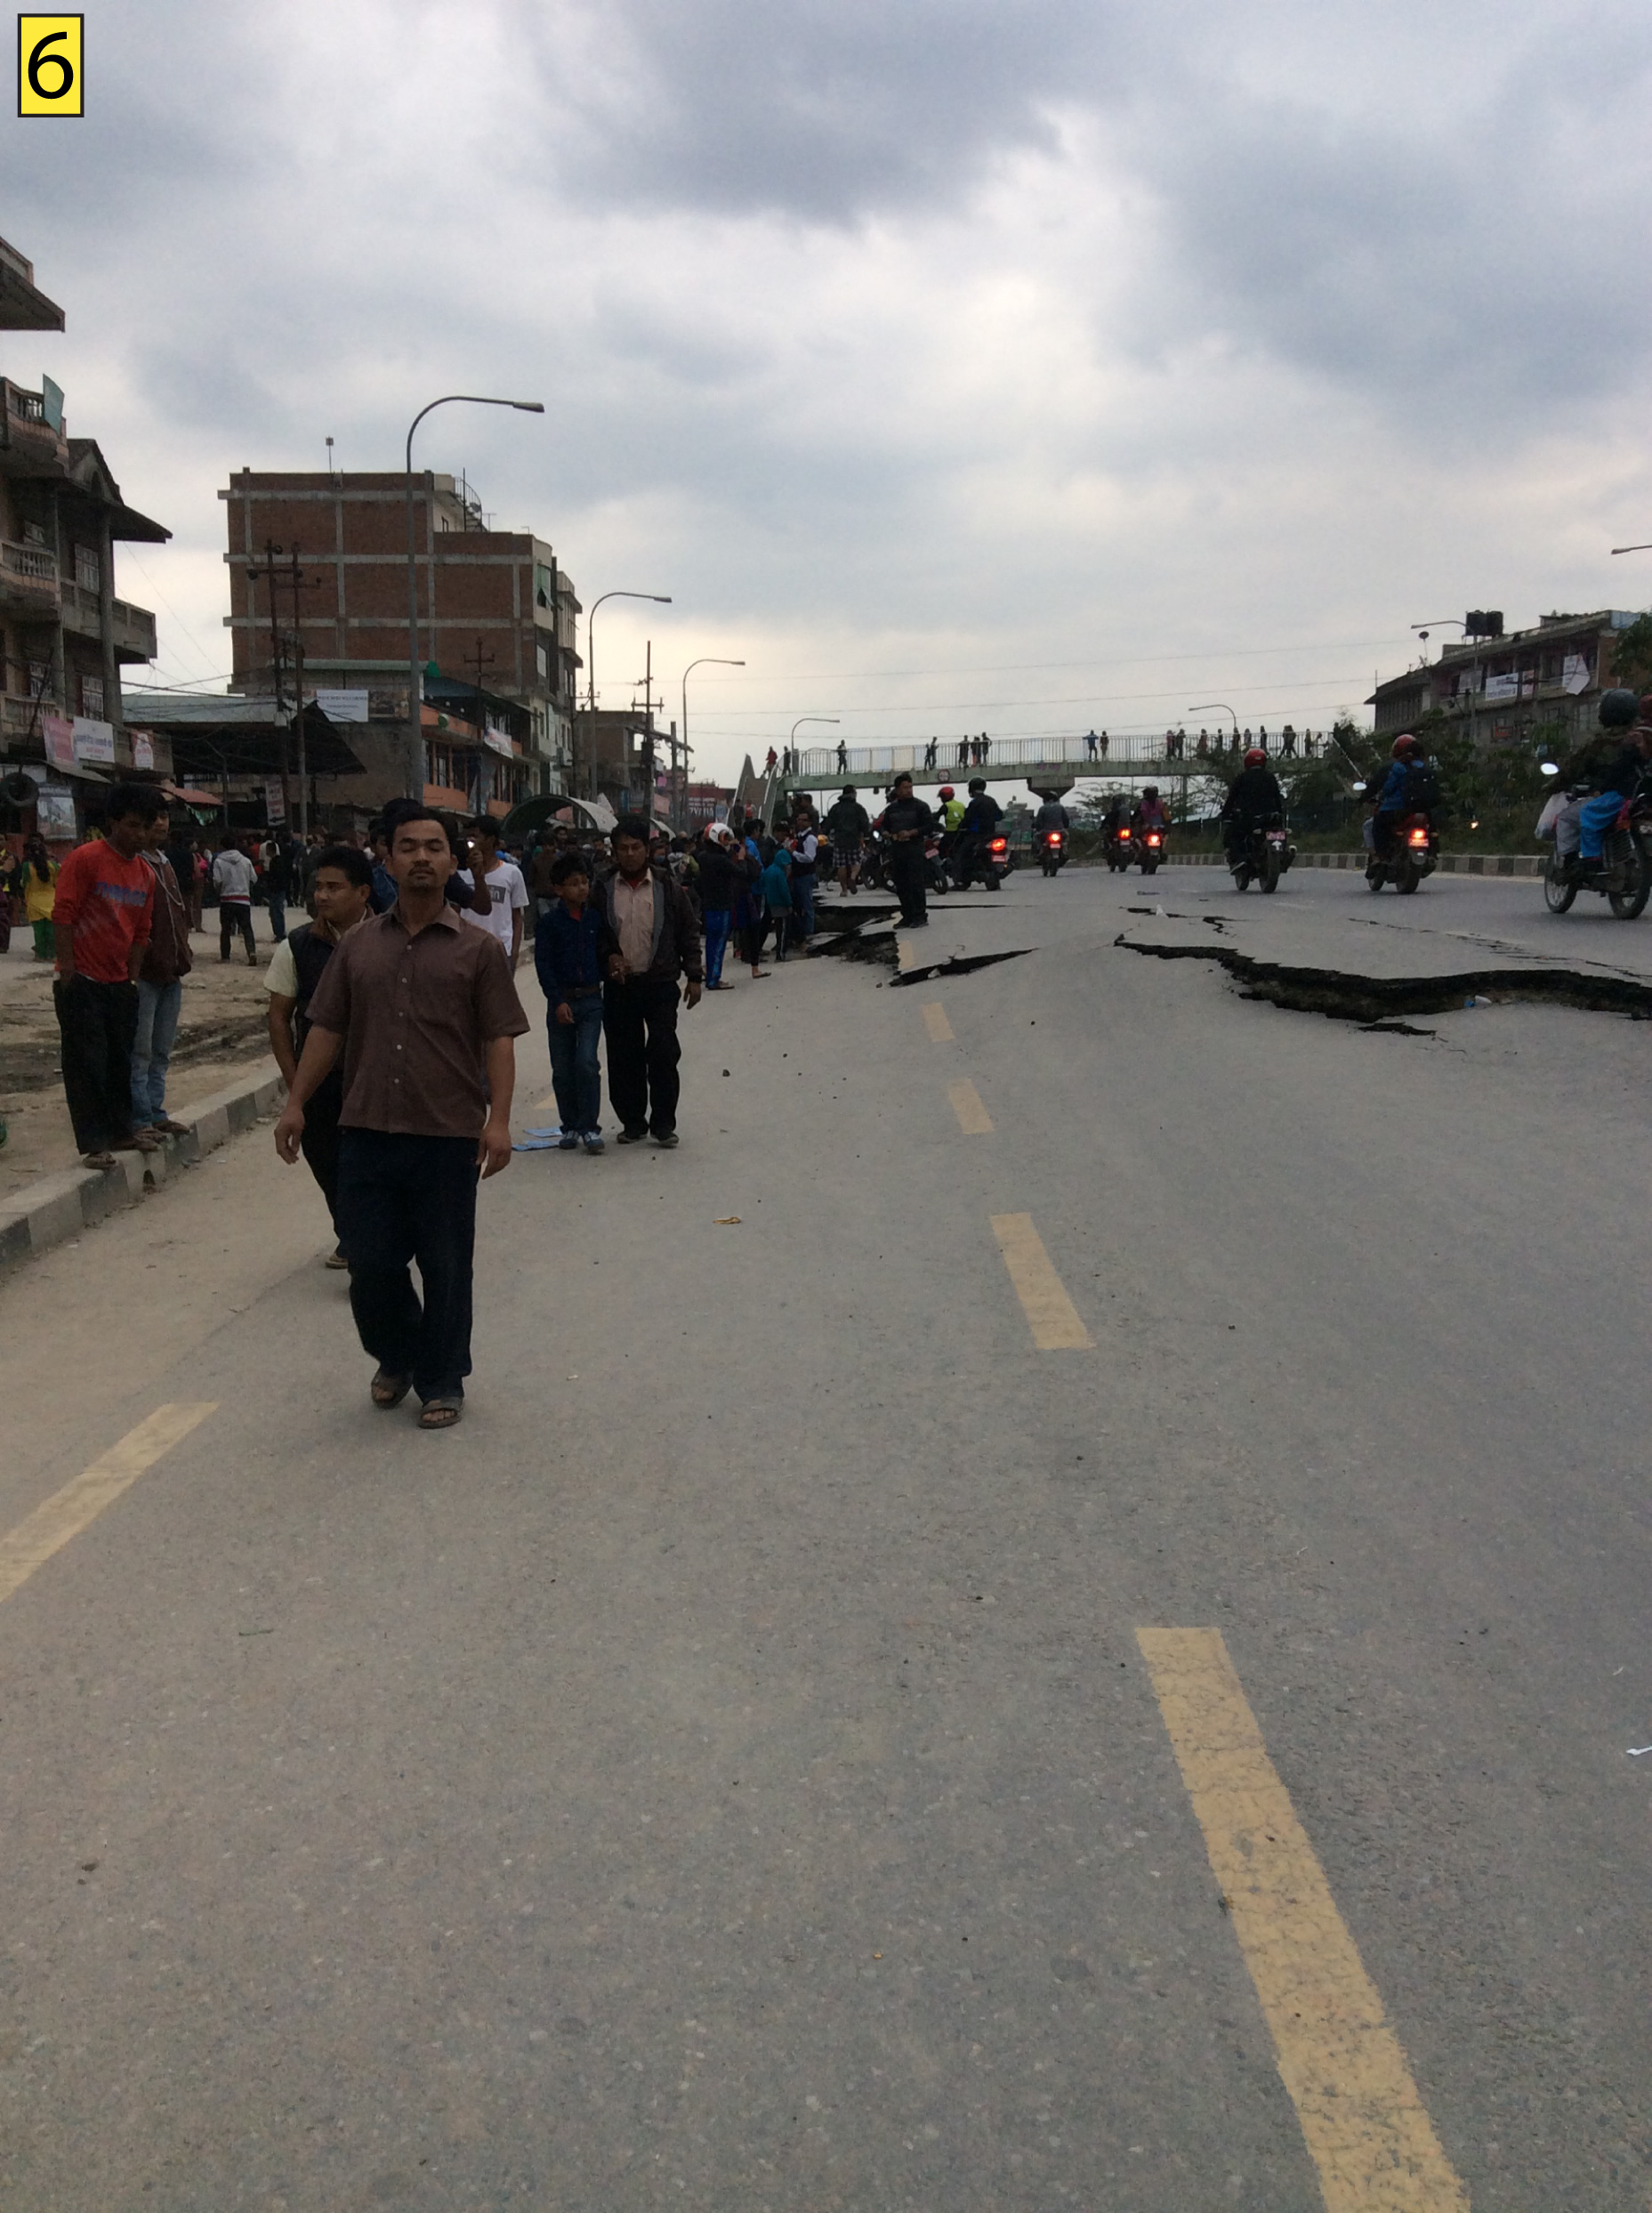
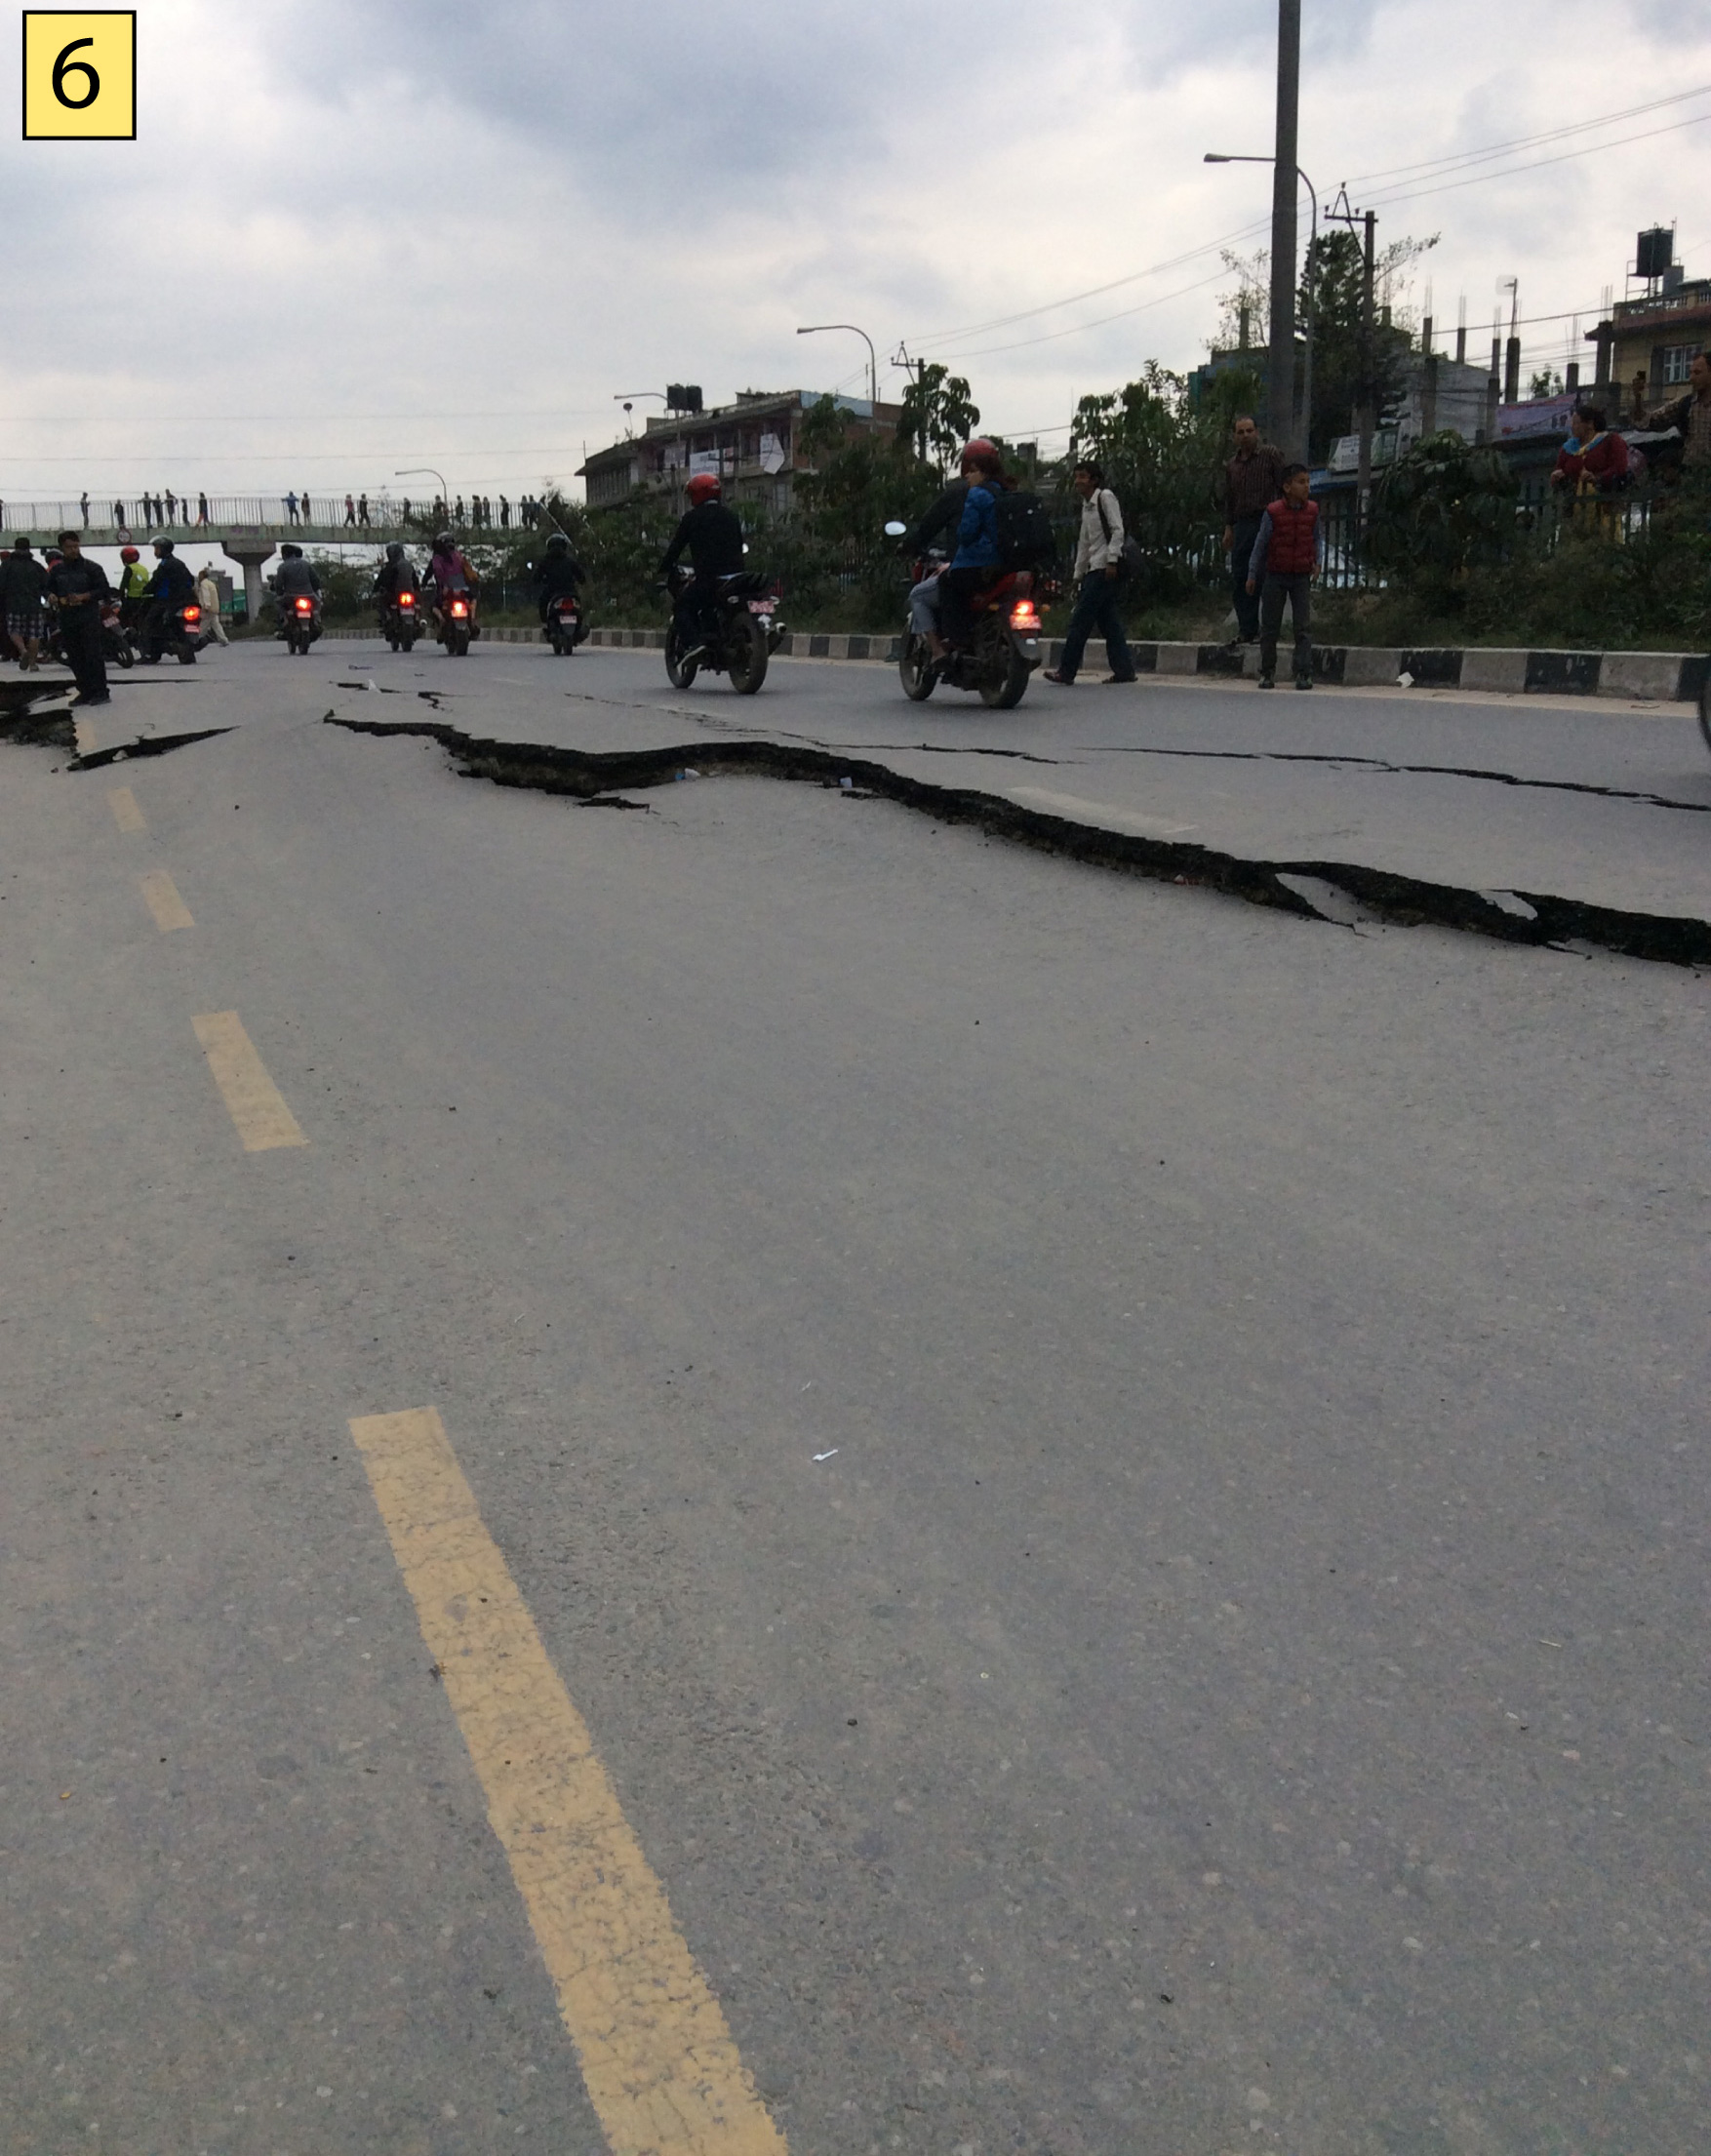
Figure S6. Photograph of Kausaltar fractures looking west from location 4, indexed to Figure S2a (Figure 4 in the main article).
Figure S7. Photograph of Kausaltar fractures looking southeast from location 5, indexed to Figure S2a (Figure 4 in the main article).
Figure S8. Photograph of Kausaltar fractures looking southeast from location 6, indexed to Figure S2a (Figure 4 in the main article).
Figure S9. Photograph of Kausaltar fractures looking east from location 6, indexed to Figure S2a (Figure 4 in the main article).
Figure S10. Photograph of Kausaltar fractures at location 7, indexed to Figure S2a (Figure 4 in the main article).
Figure S11. Photograph of Kausaltar fractures looking east at location 7, indexed to Figure S2a (Figure 4 in the main article).
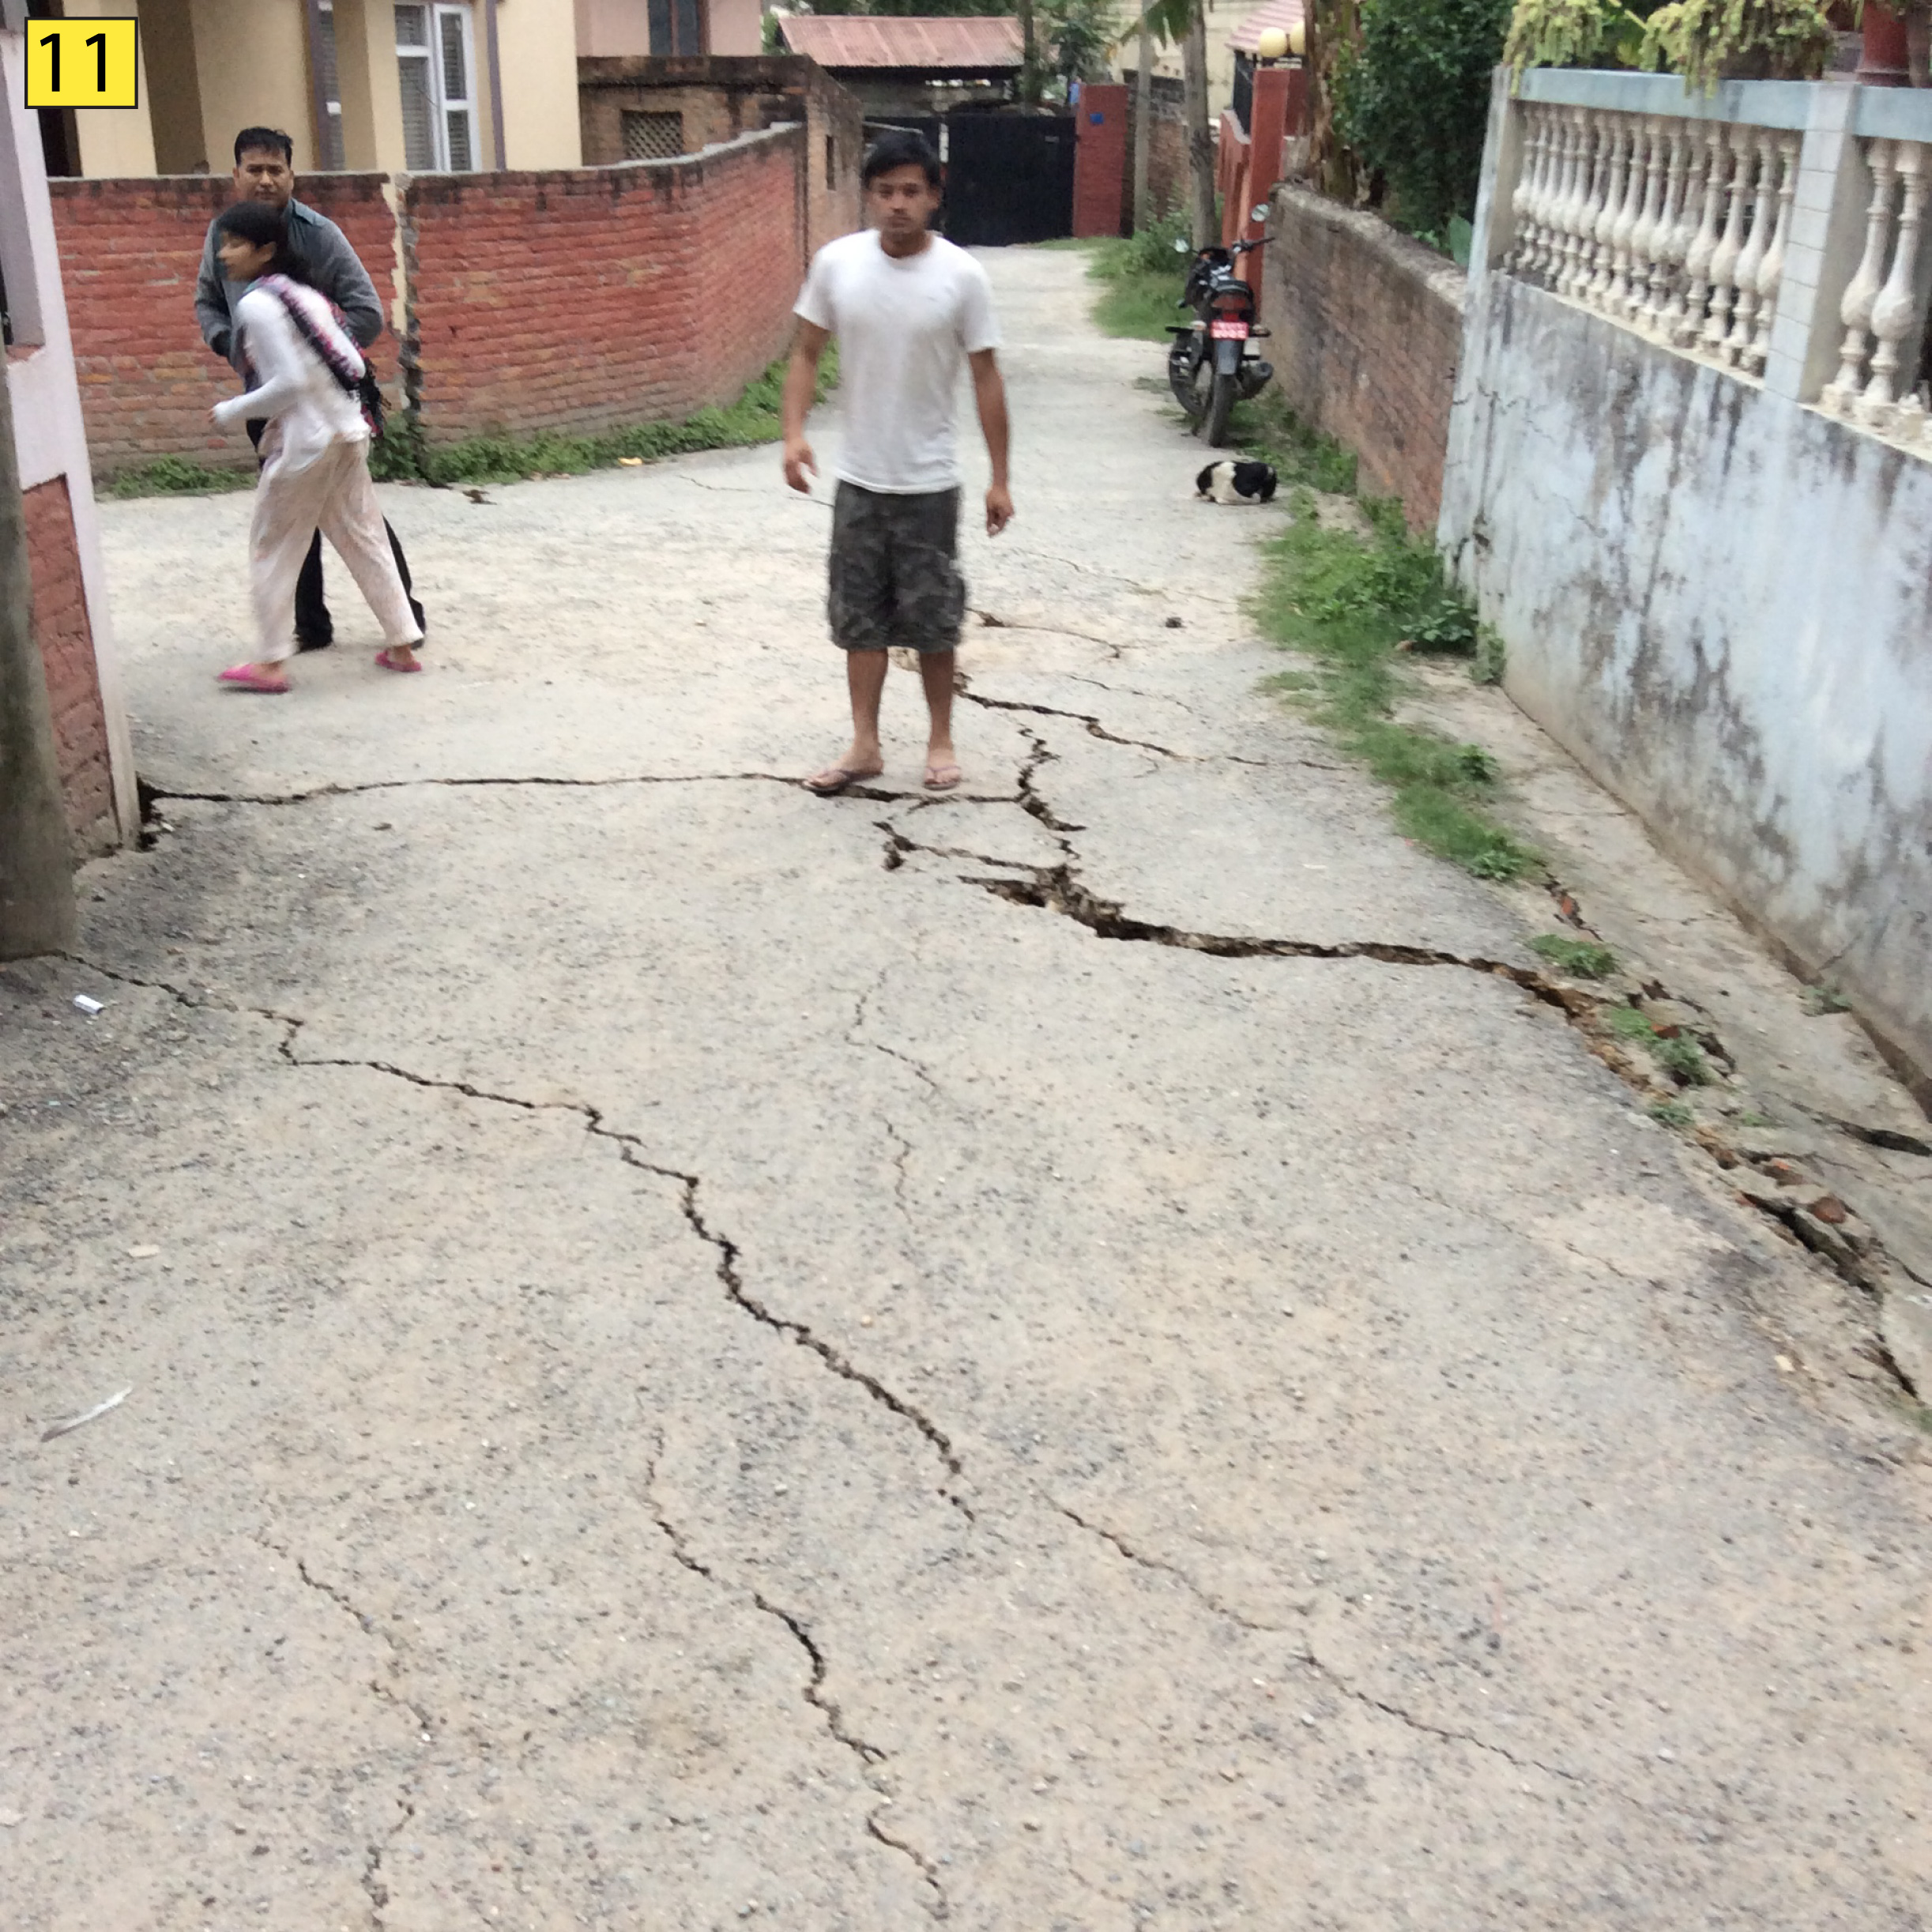
Figure S12. Photograph of Kausaltar fractures at location 11, indexed to Figure S2a (Figure 4 in the main article).
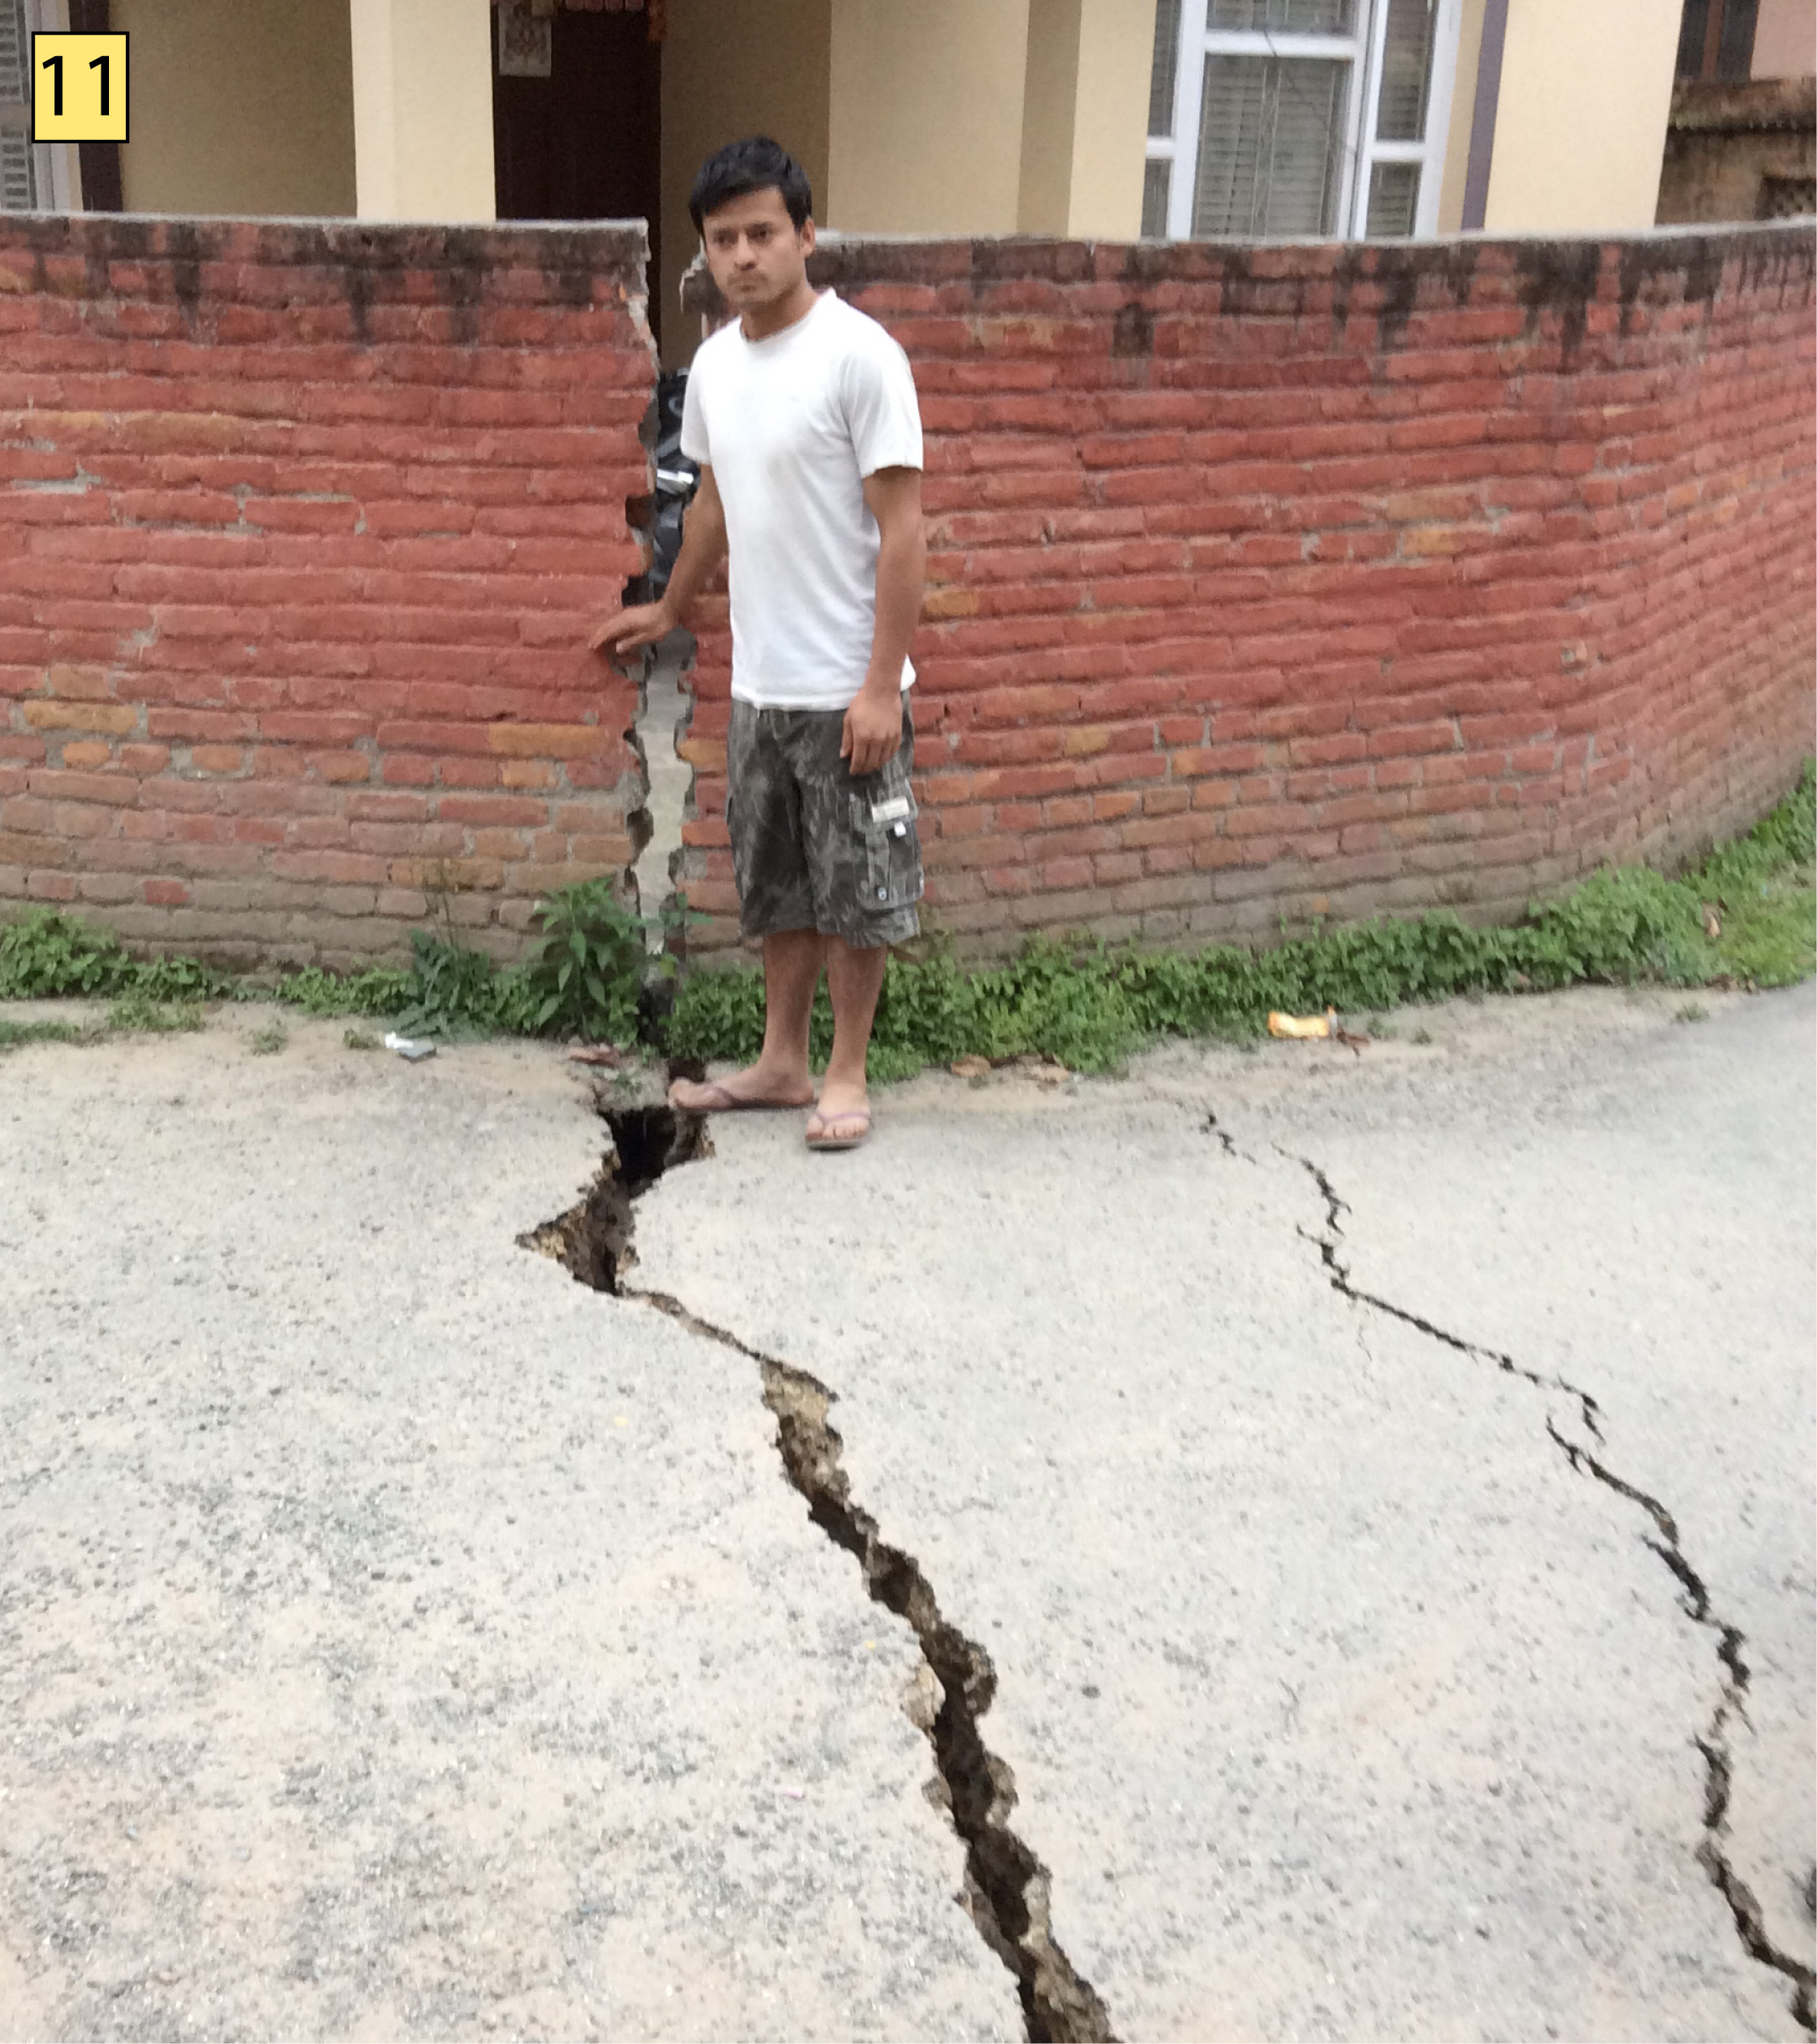
Figure S13. Photograph of Kausaltar fractures looking west at location 11, indexed to Figure S2a (Figure 4 in the main article).
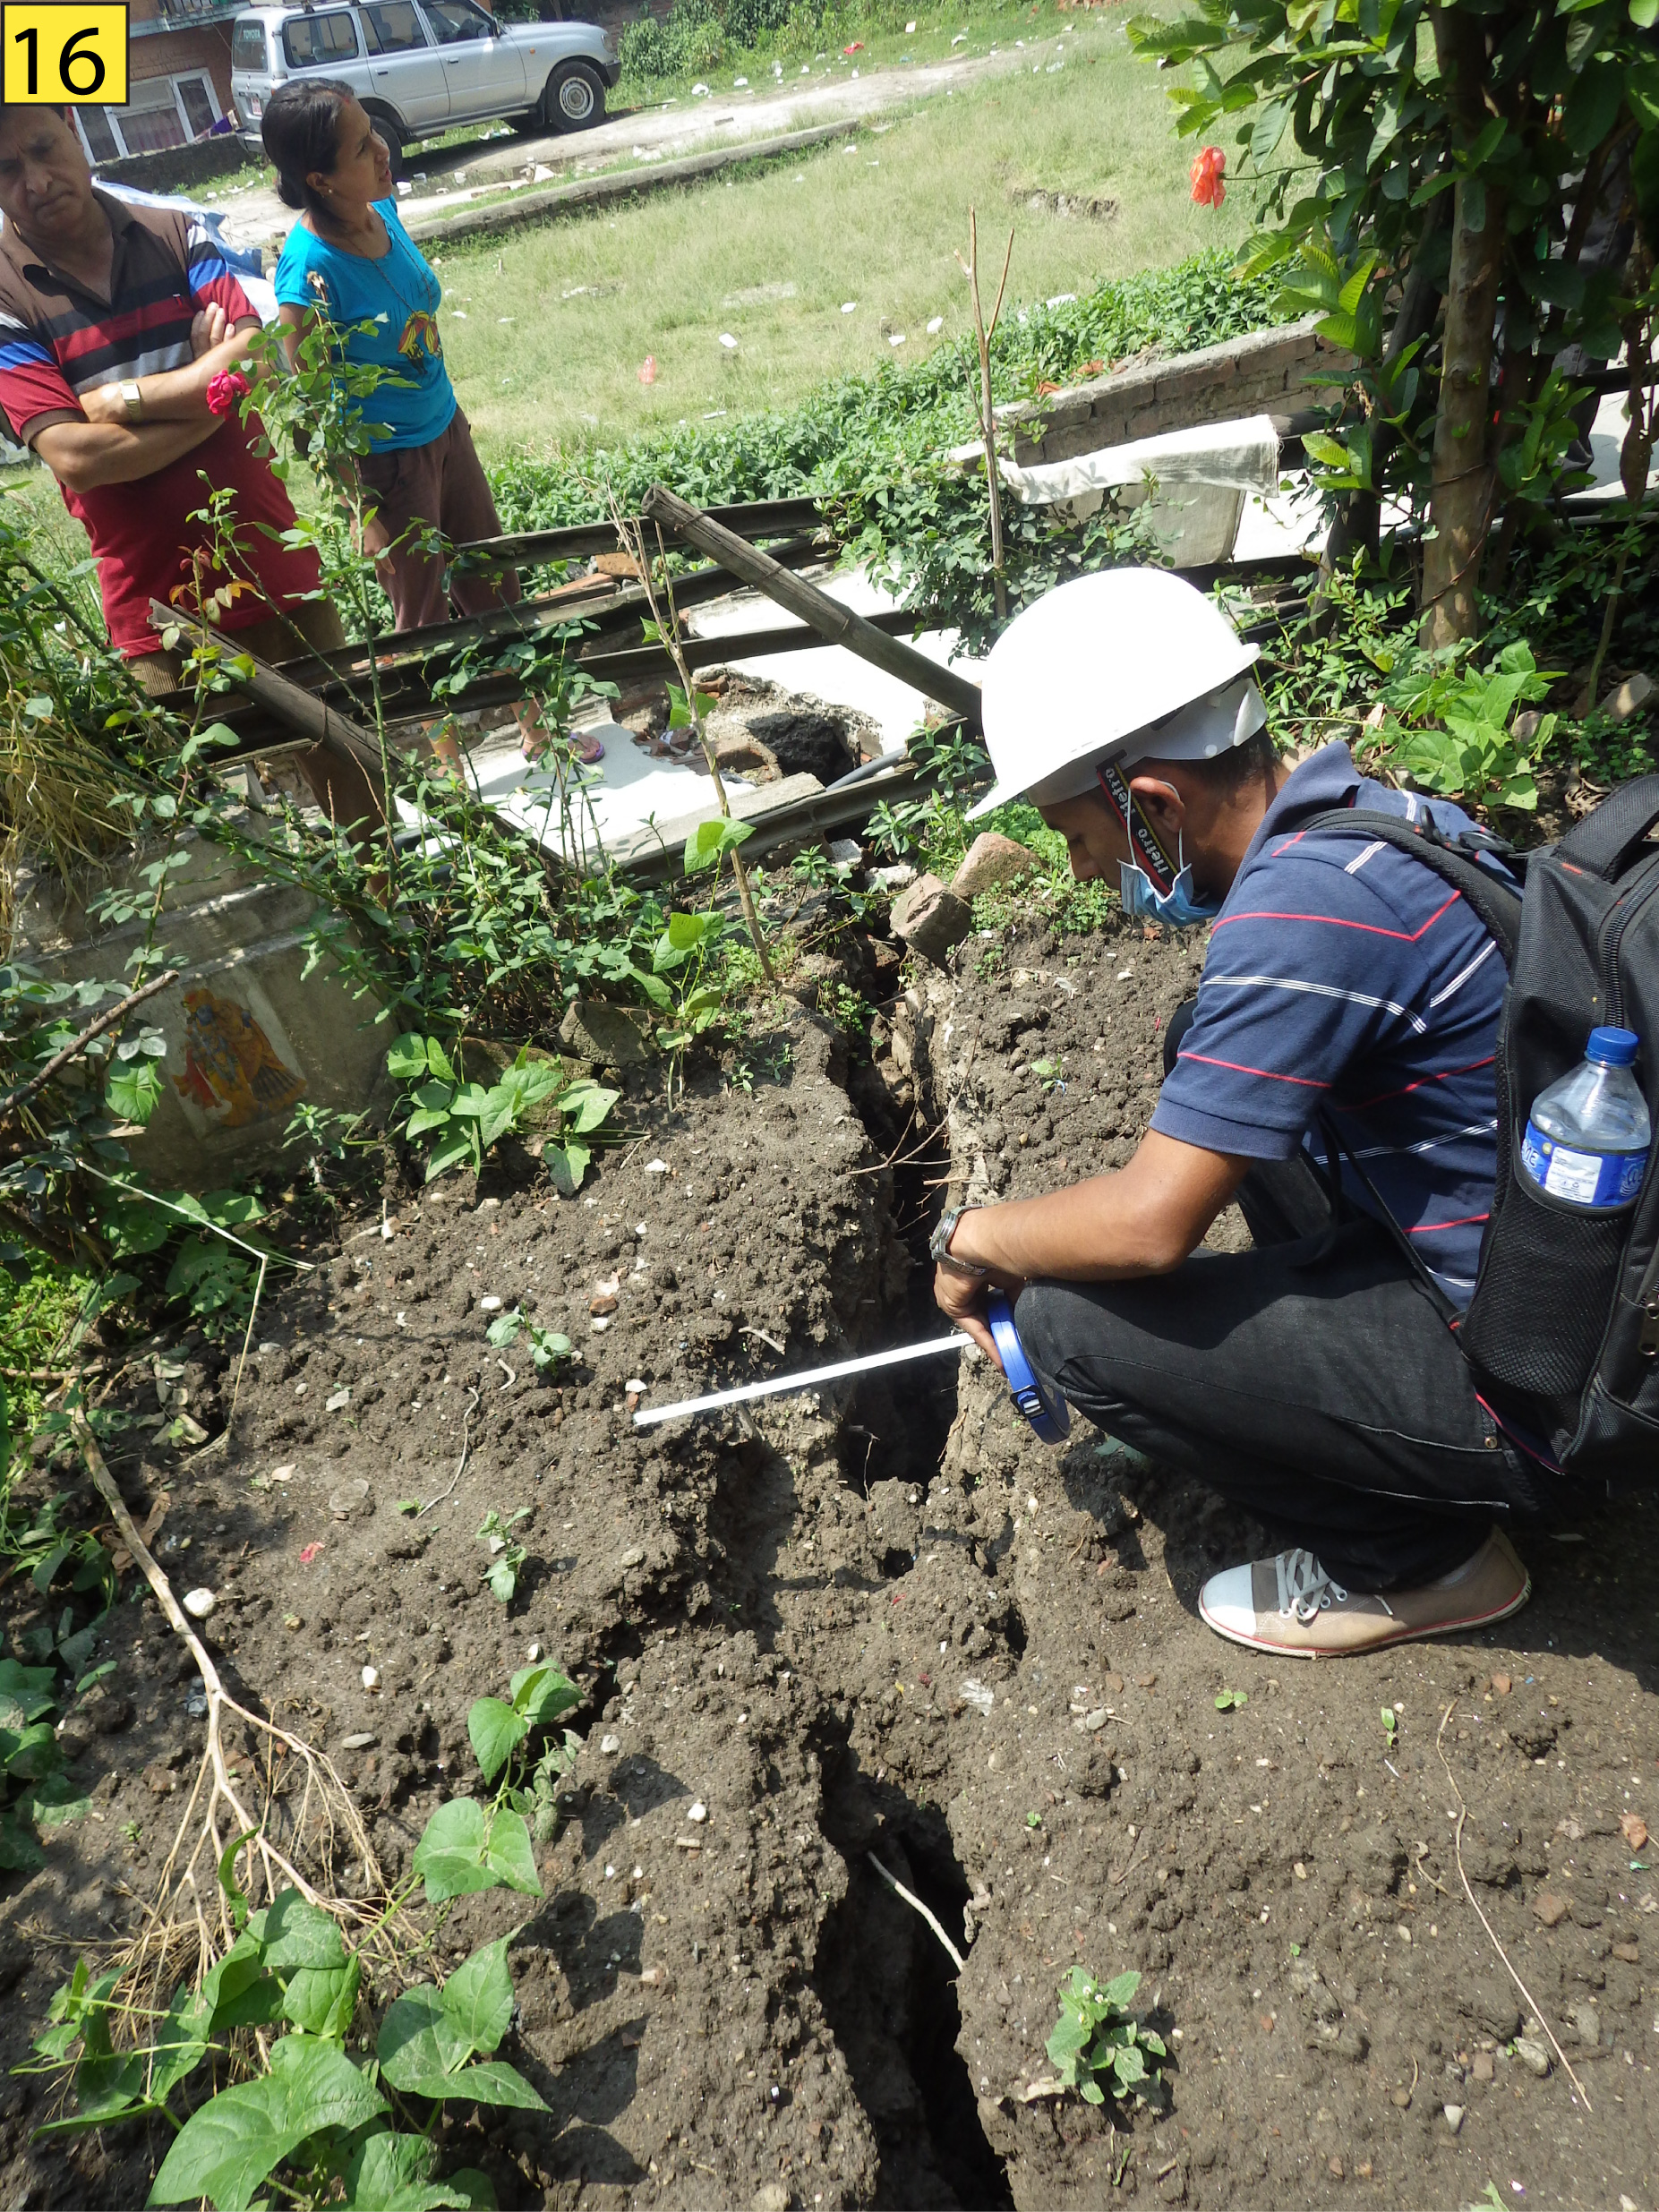
Figure S14. Photograph of Kausaltar fractures looking south at location 16, indexed to Figure S2a (Figure 4 in the main article).
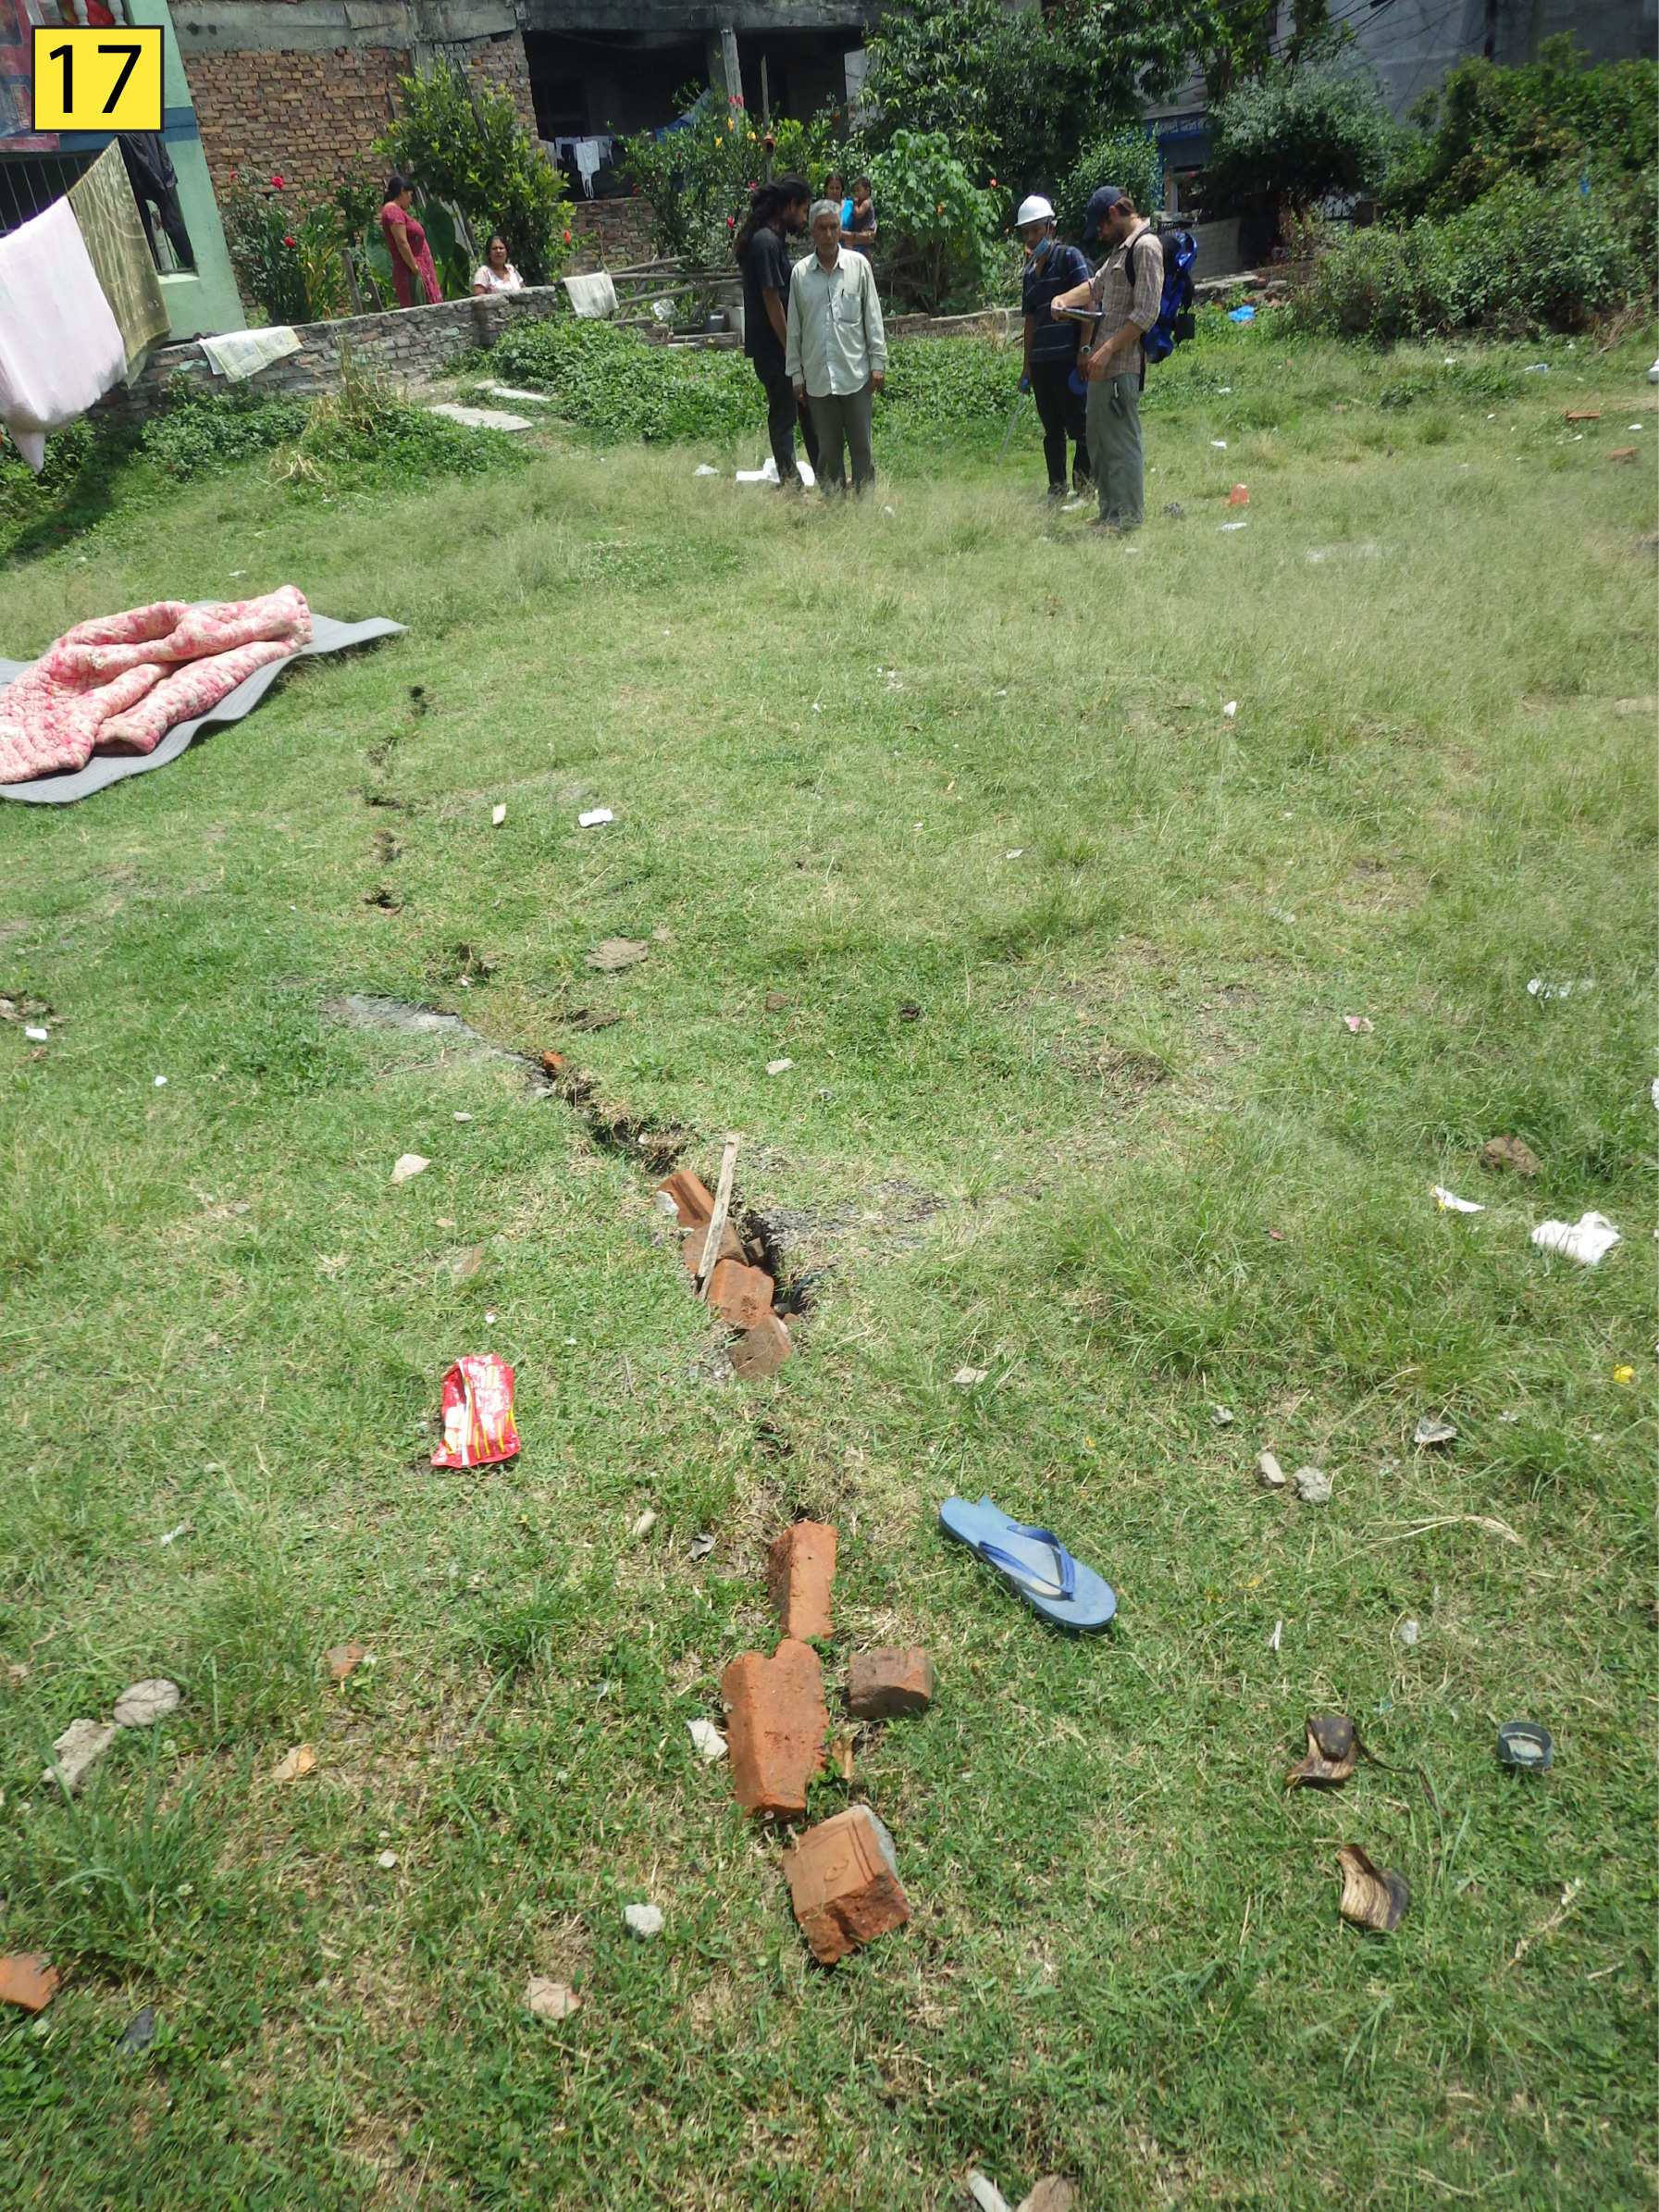
Figure S15. Photograph of Kausaltar fractures looking north at location 17, indexed to Figure S2a (Figure 4 in the main article).
Figure S16. Photograph of Kausaltar fractures looking northeast at location 18, indexed to Figure S2a (Figure 4 in the main article).
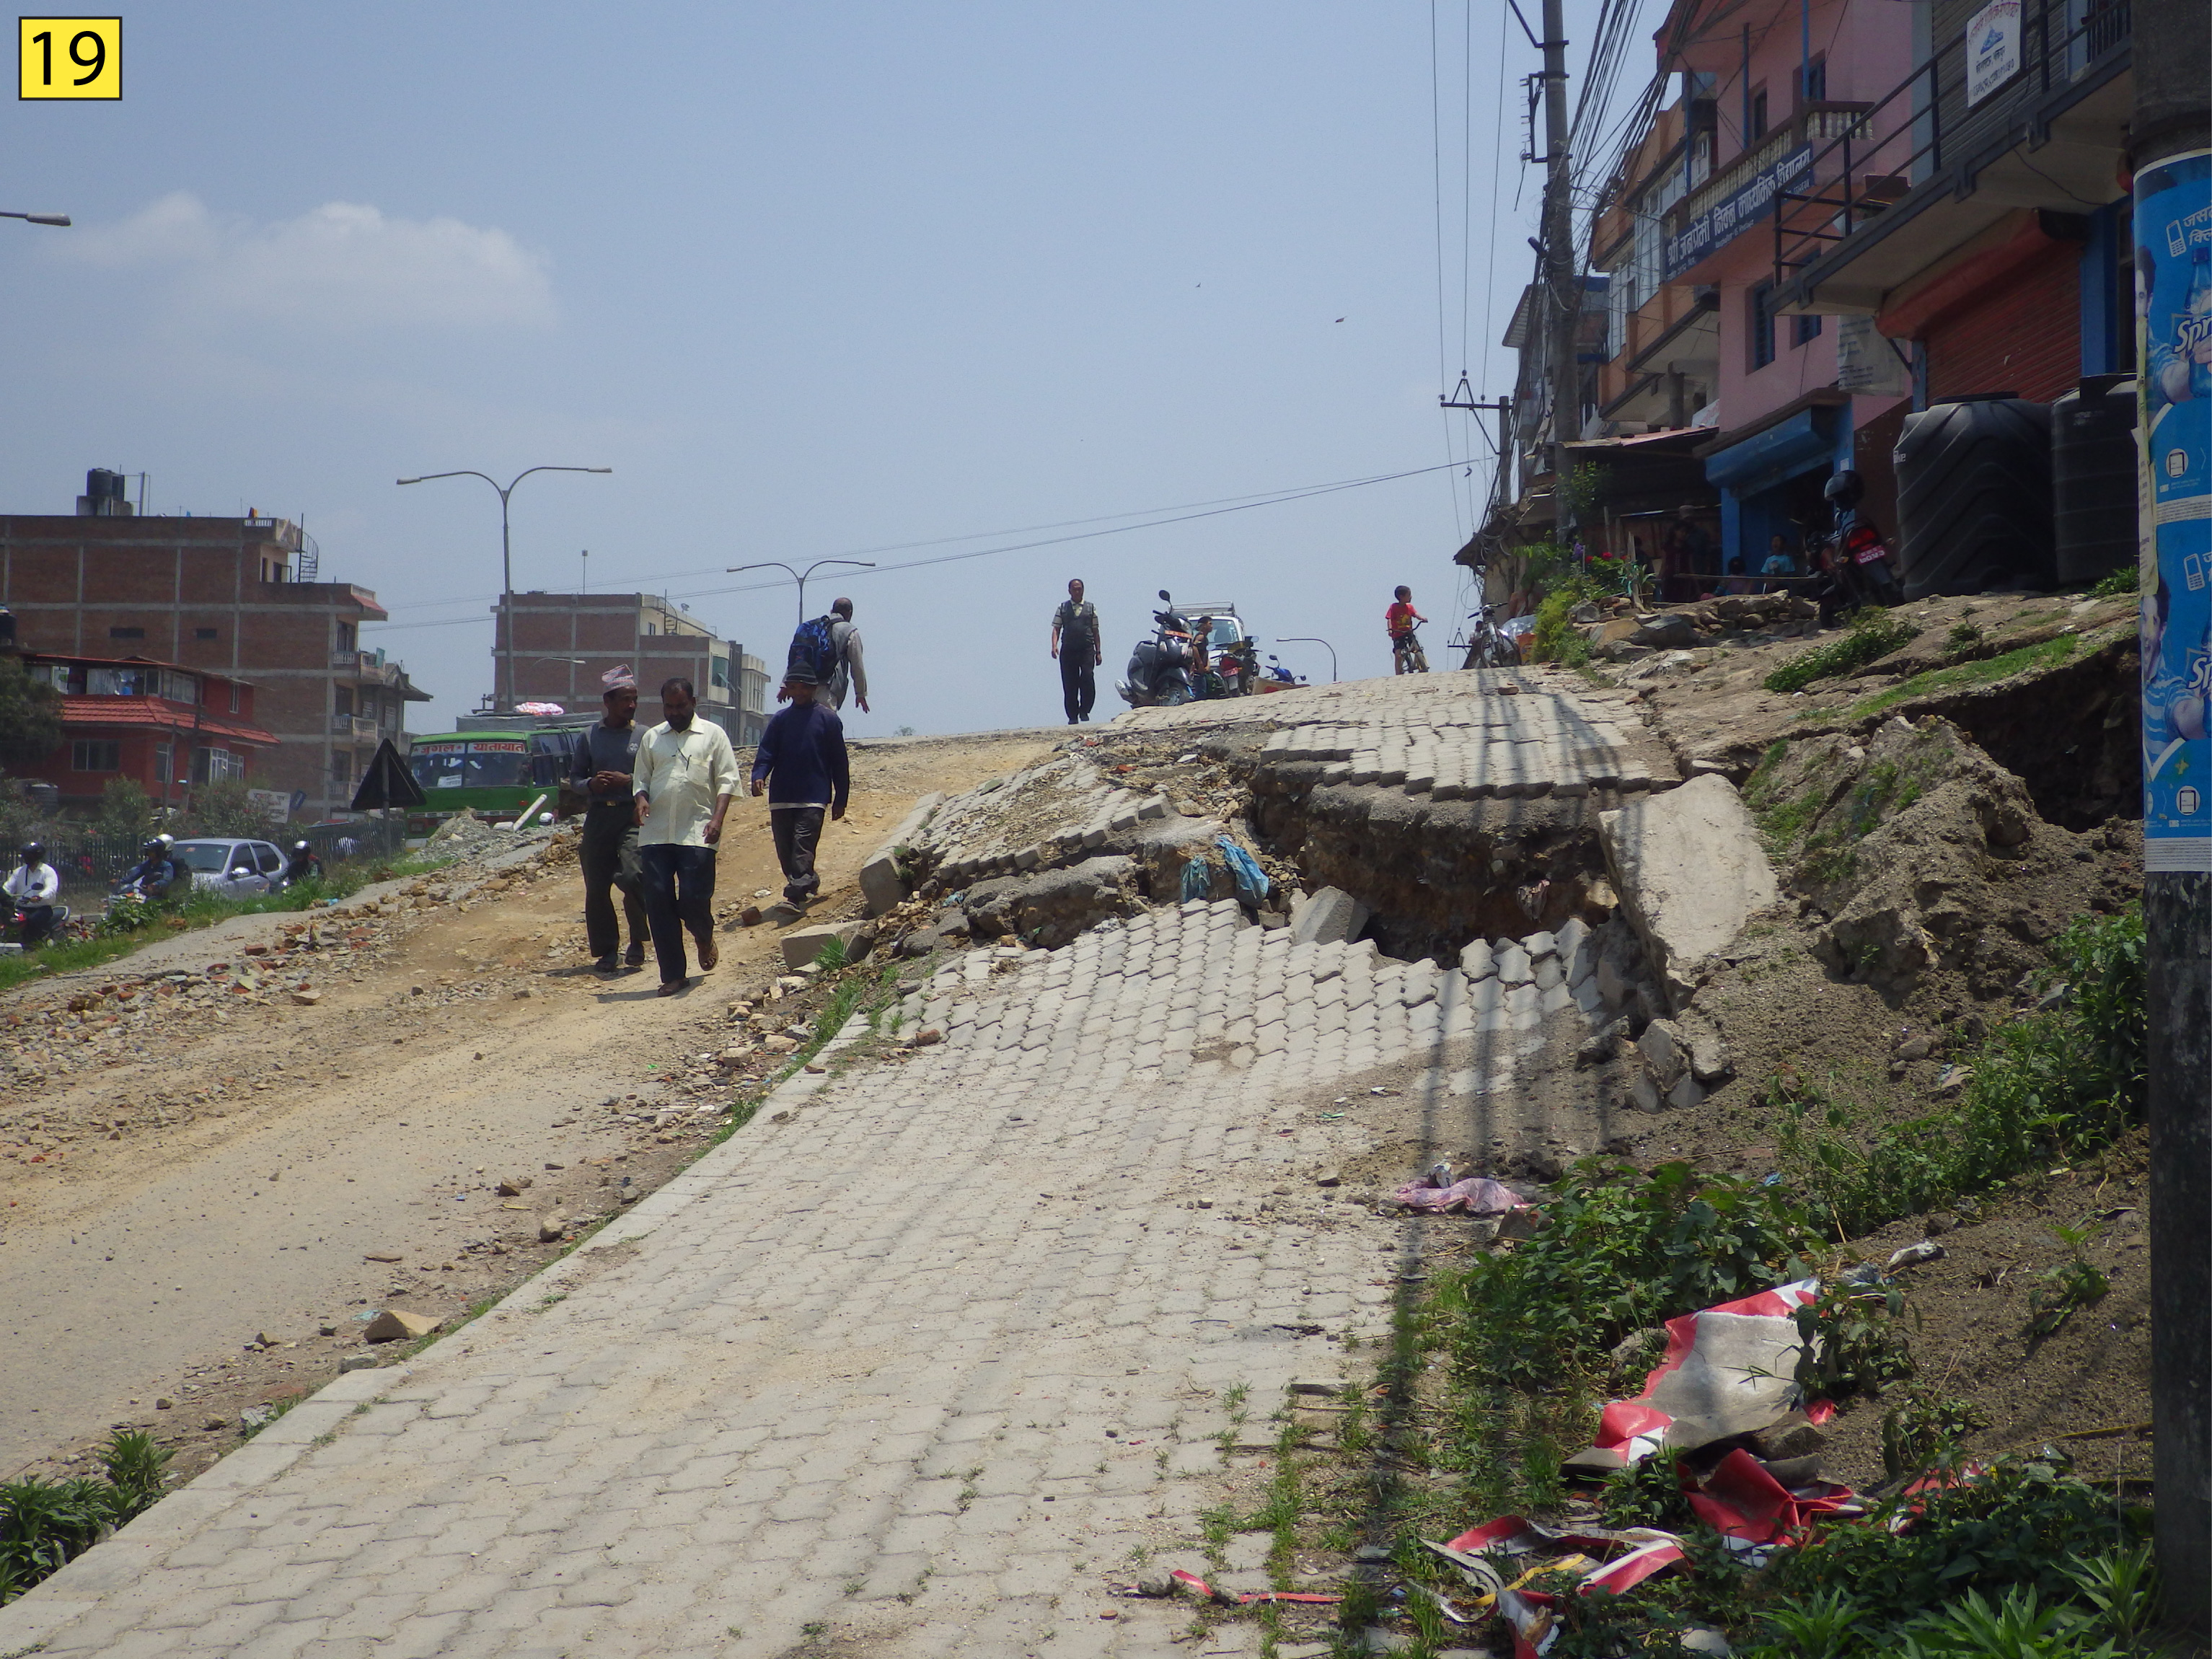
Figure S17. Photograph of Kausaltar fractures looking east at location 19, indexed to Figure S2a (Figure 4 in the main article).
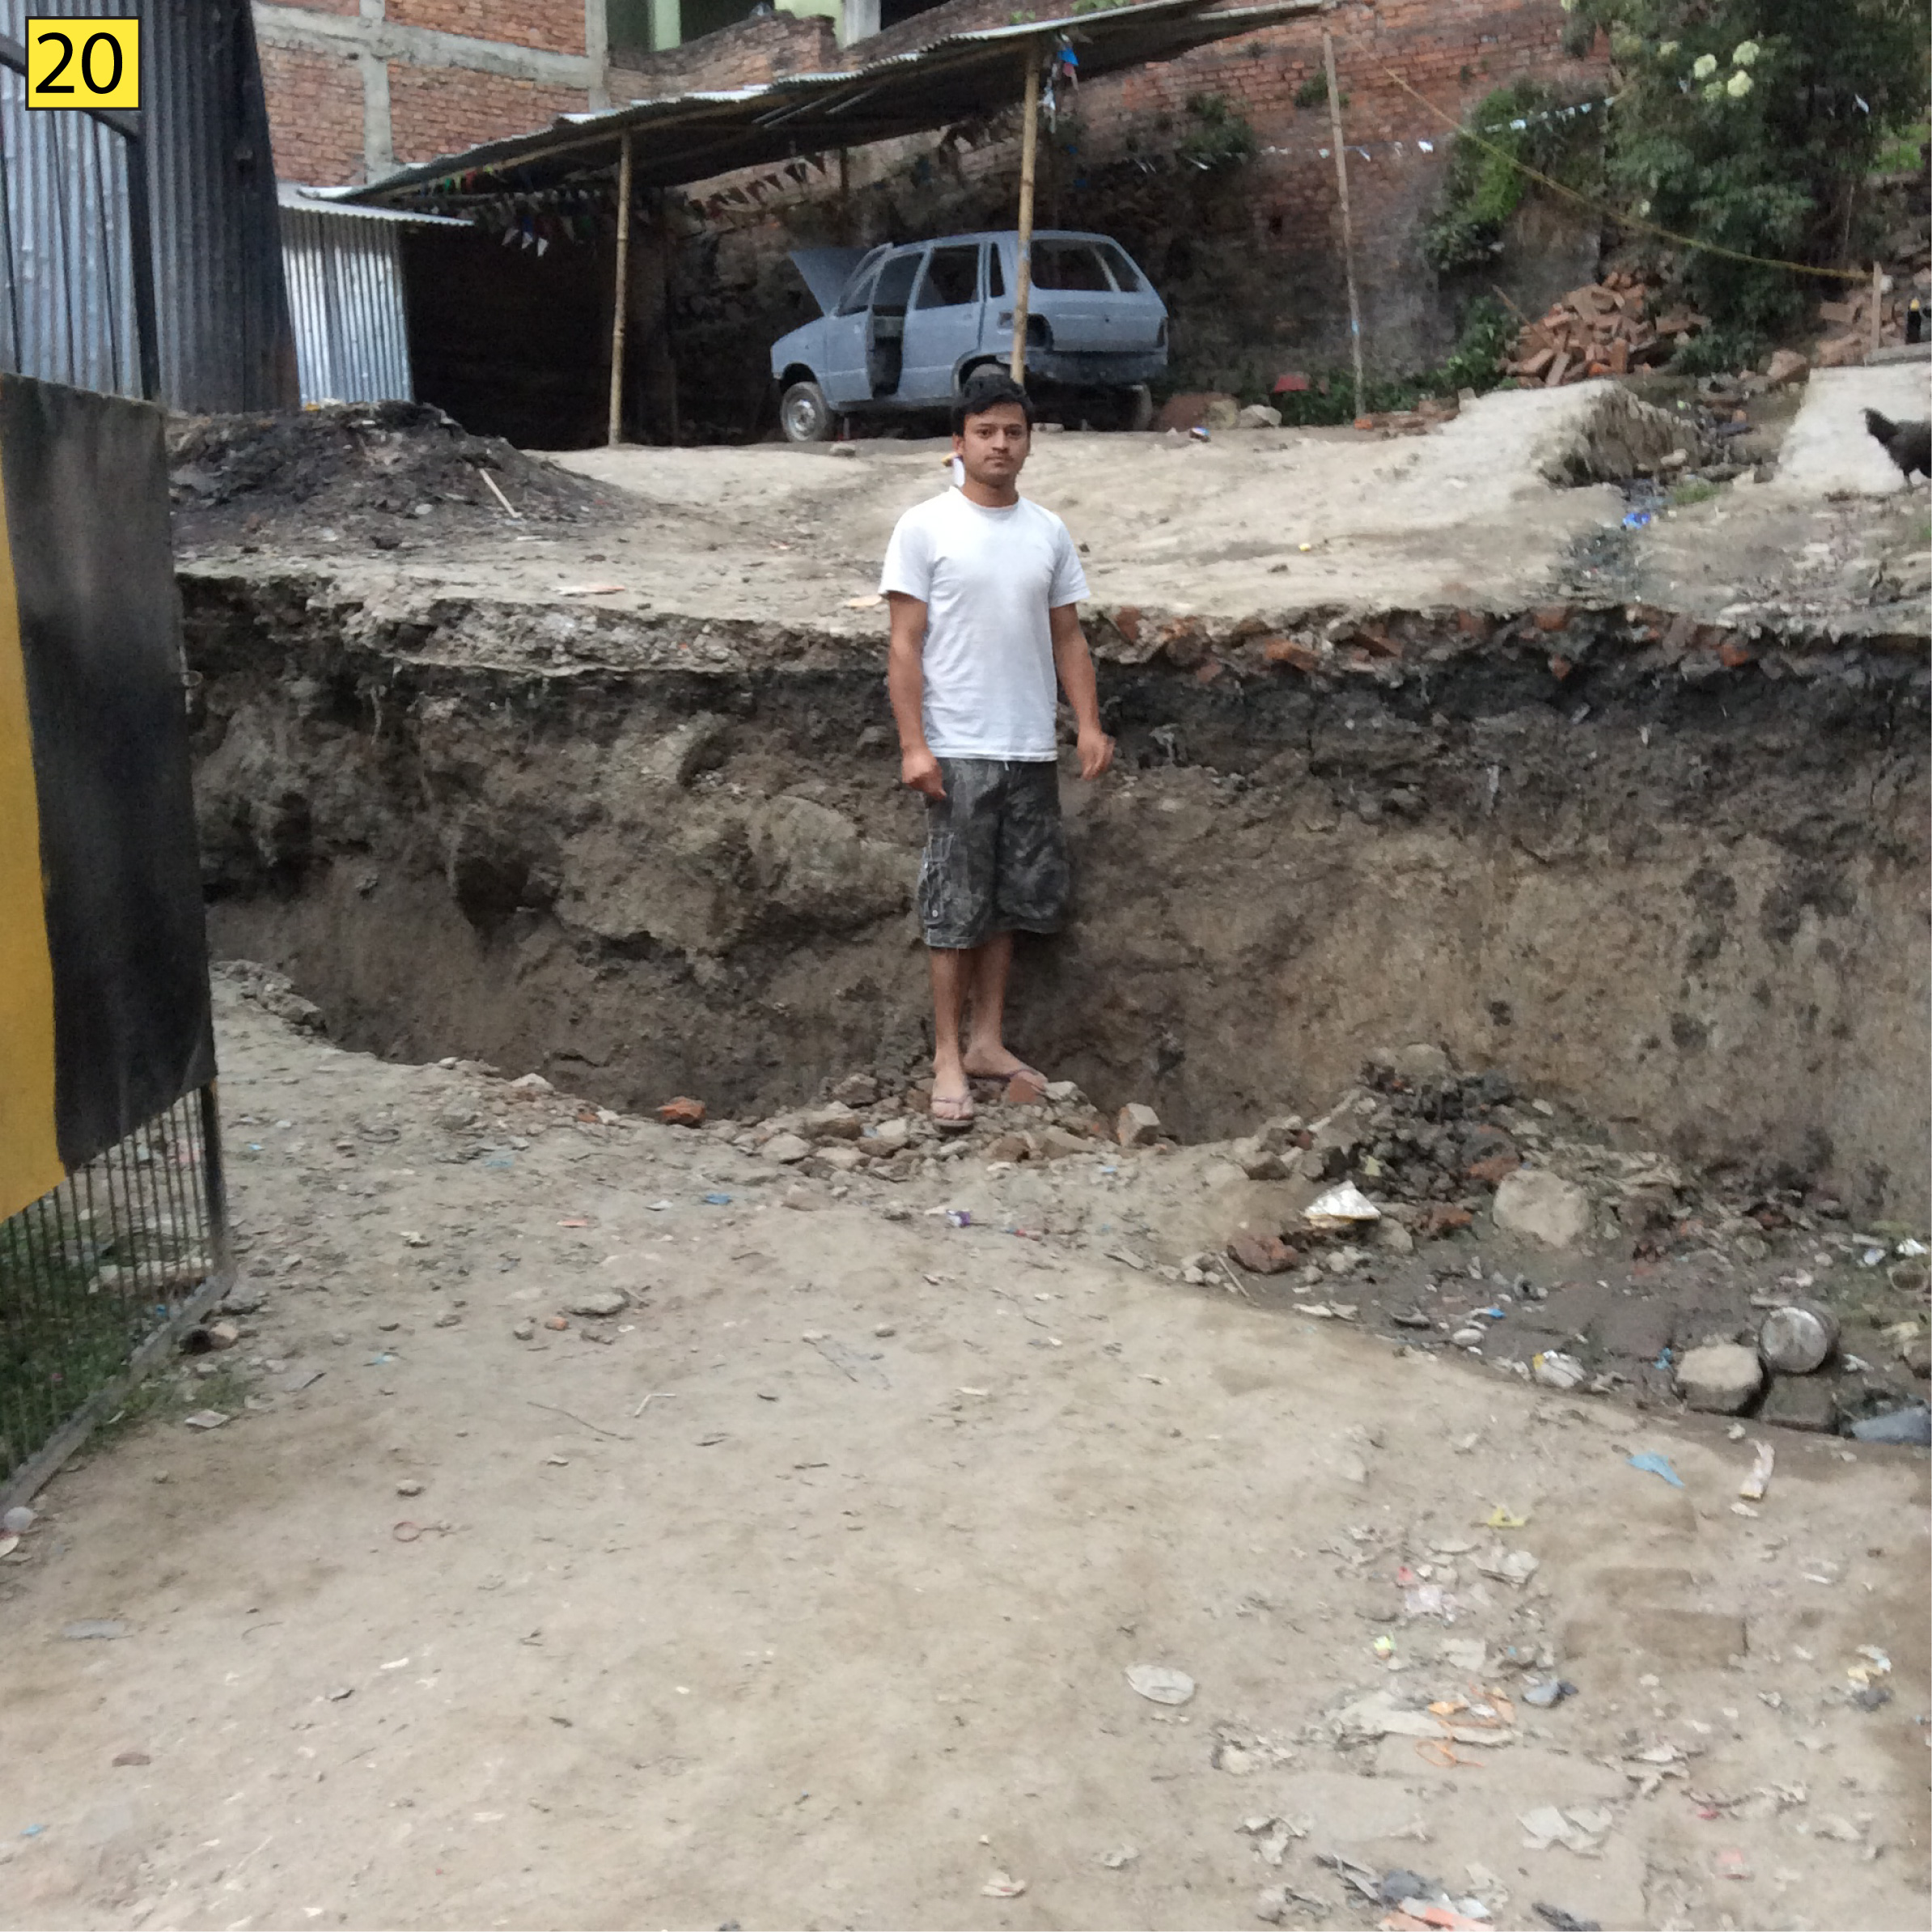
Figure S18. Photograph of Kausaltar fractures looking northeast at location 20, indexed to Figure S2a (Figure 4 in the main article).
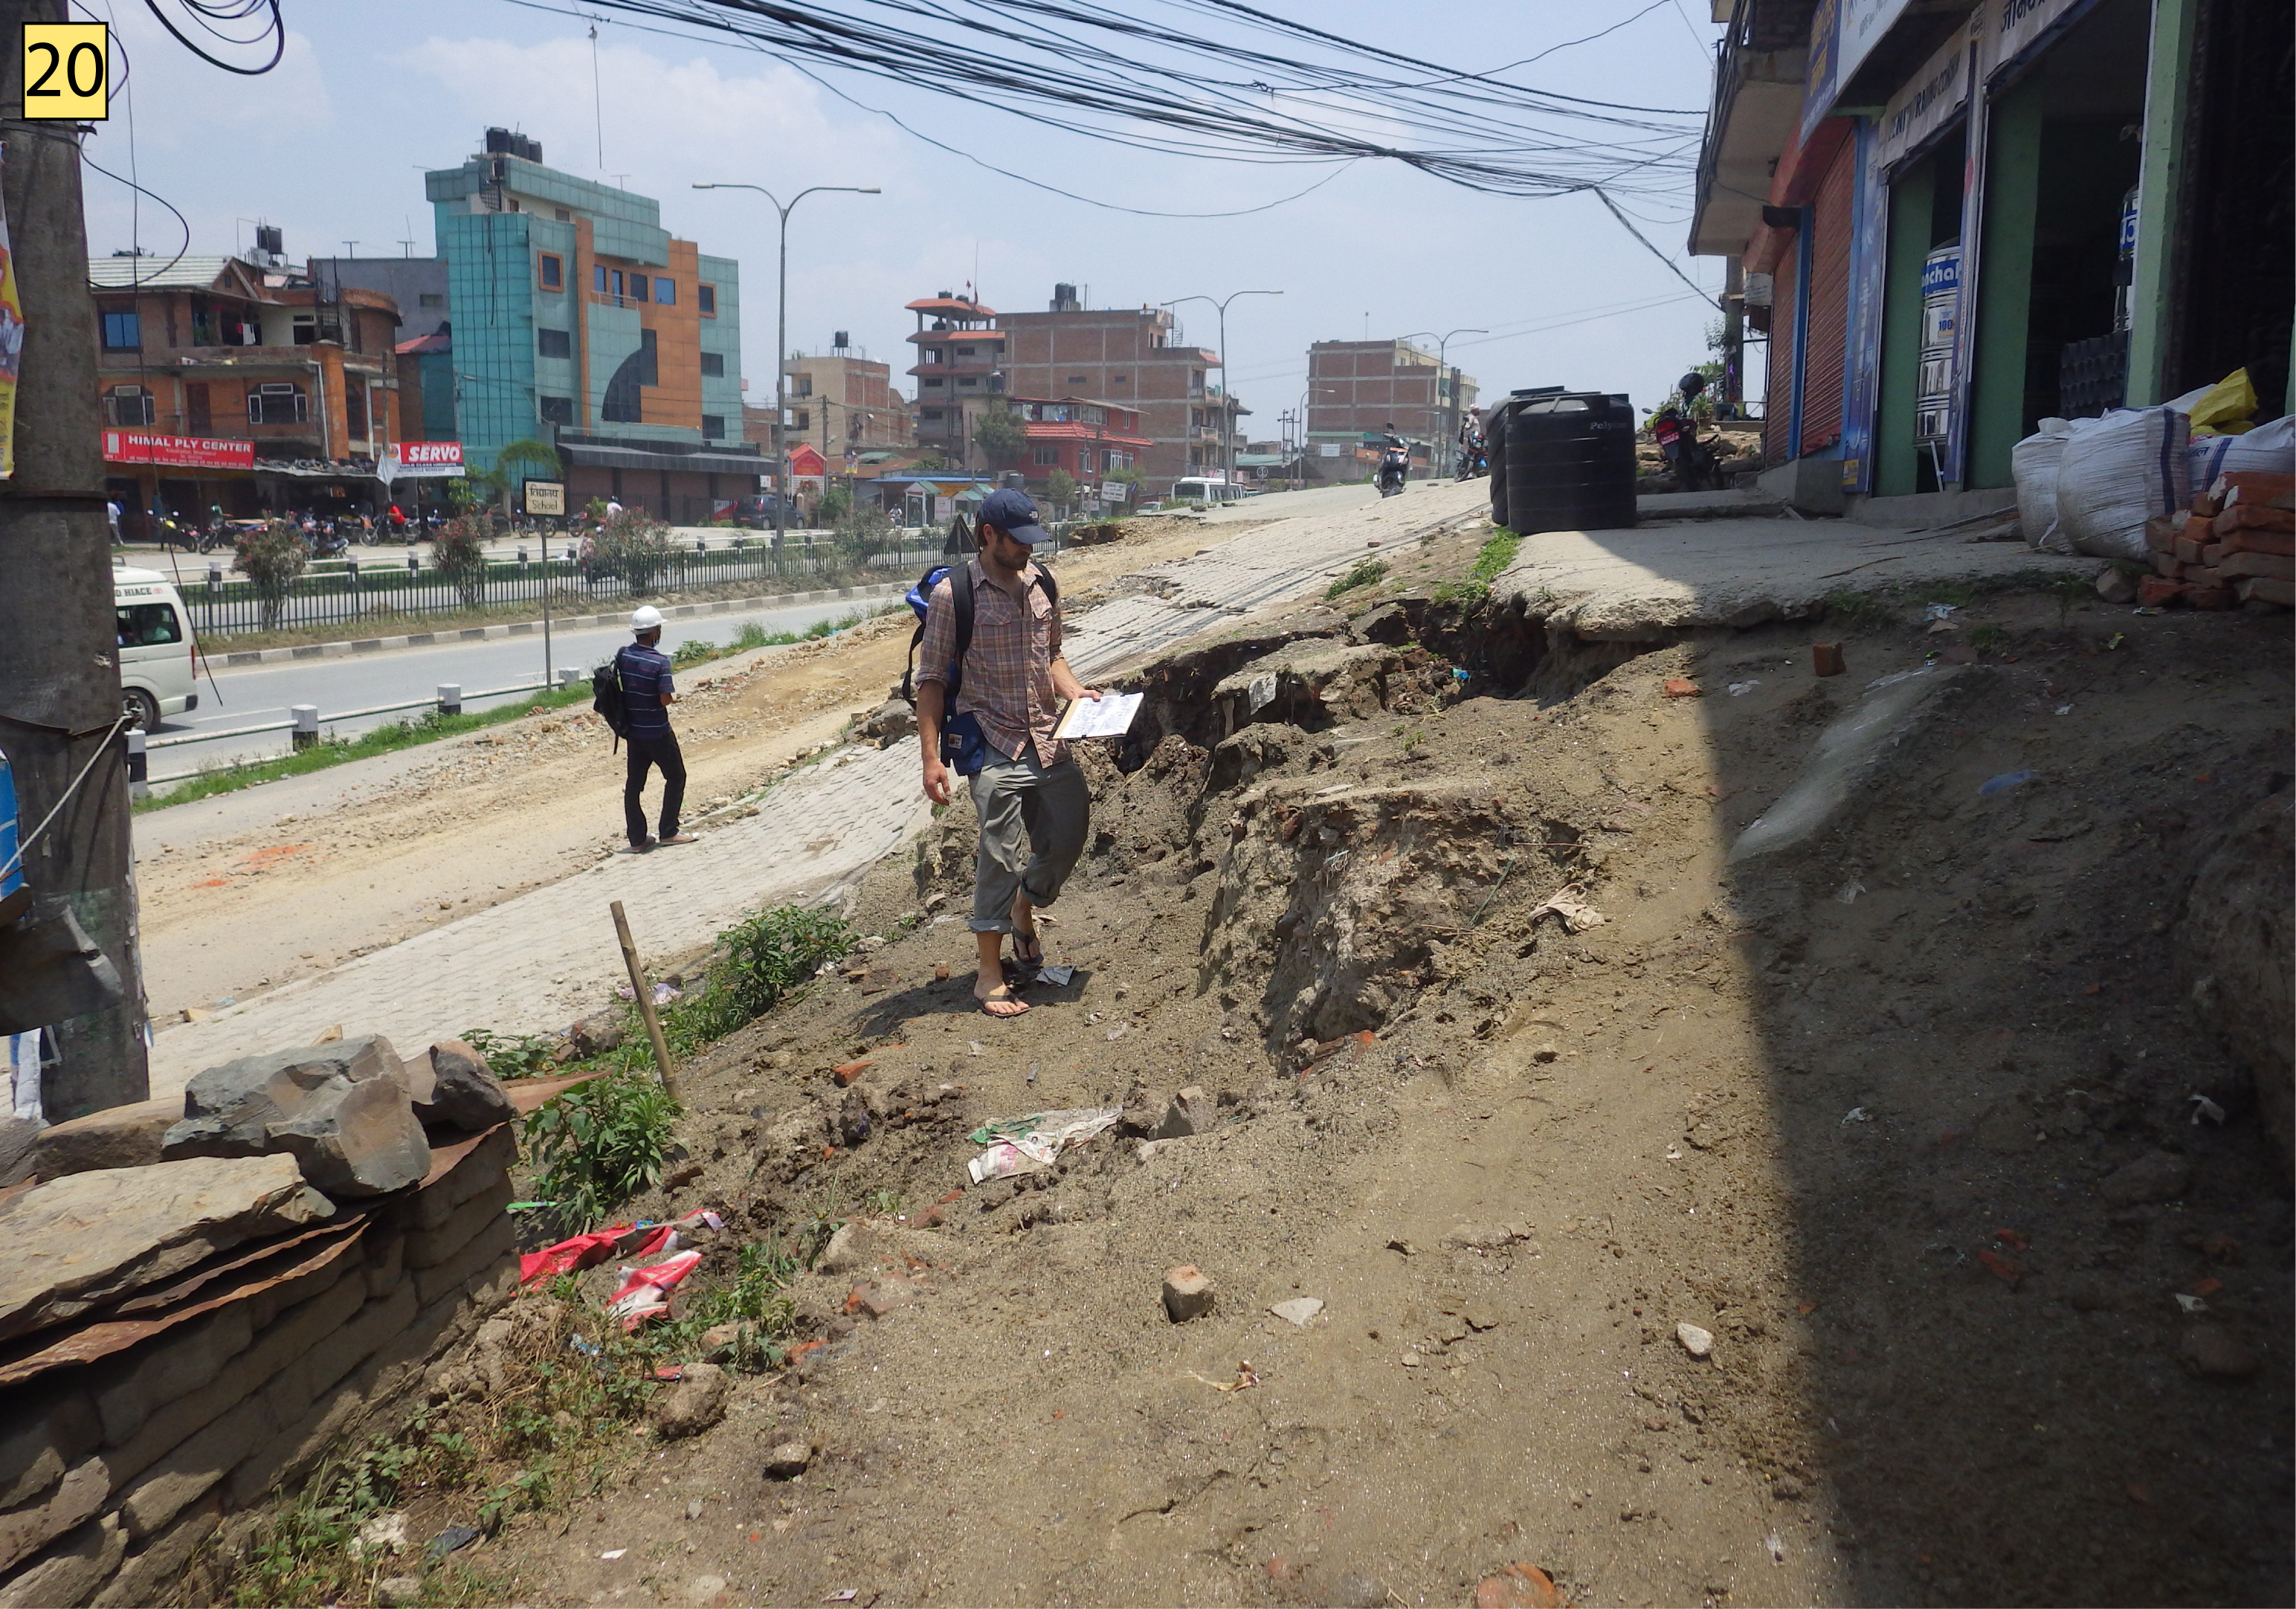
Figure S19. Photograph of Kausaltar fractures looking east at large offset near location 20, indexed to Figure S2a (Figure 4 in the main article).
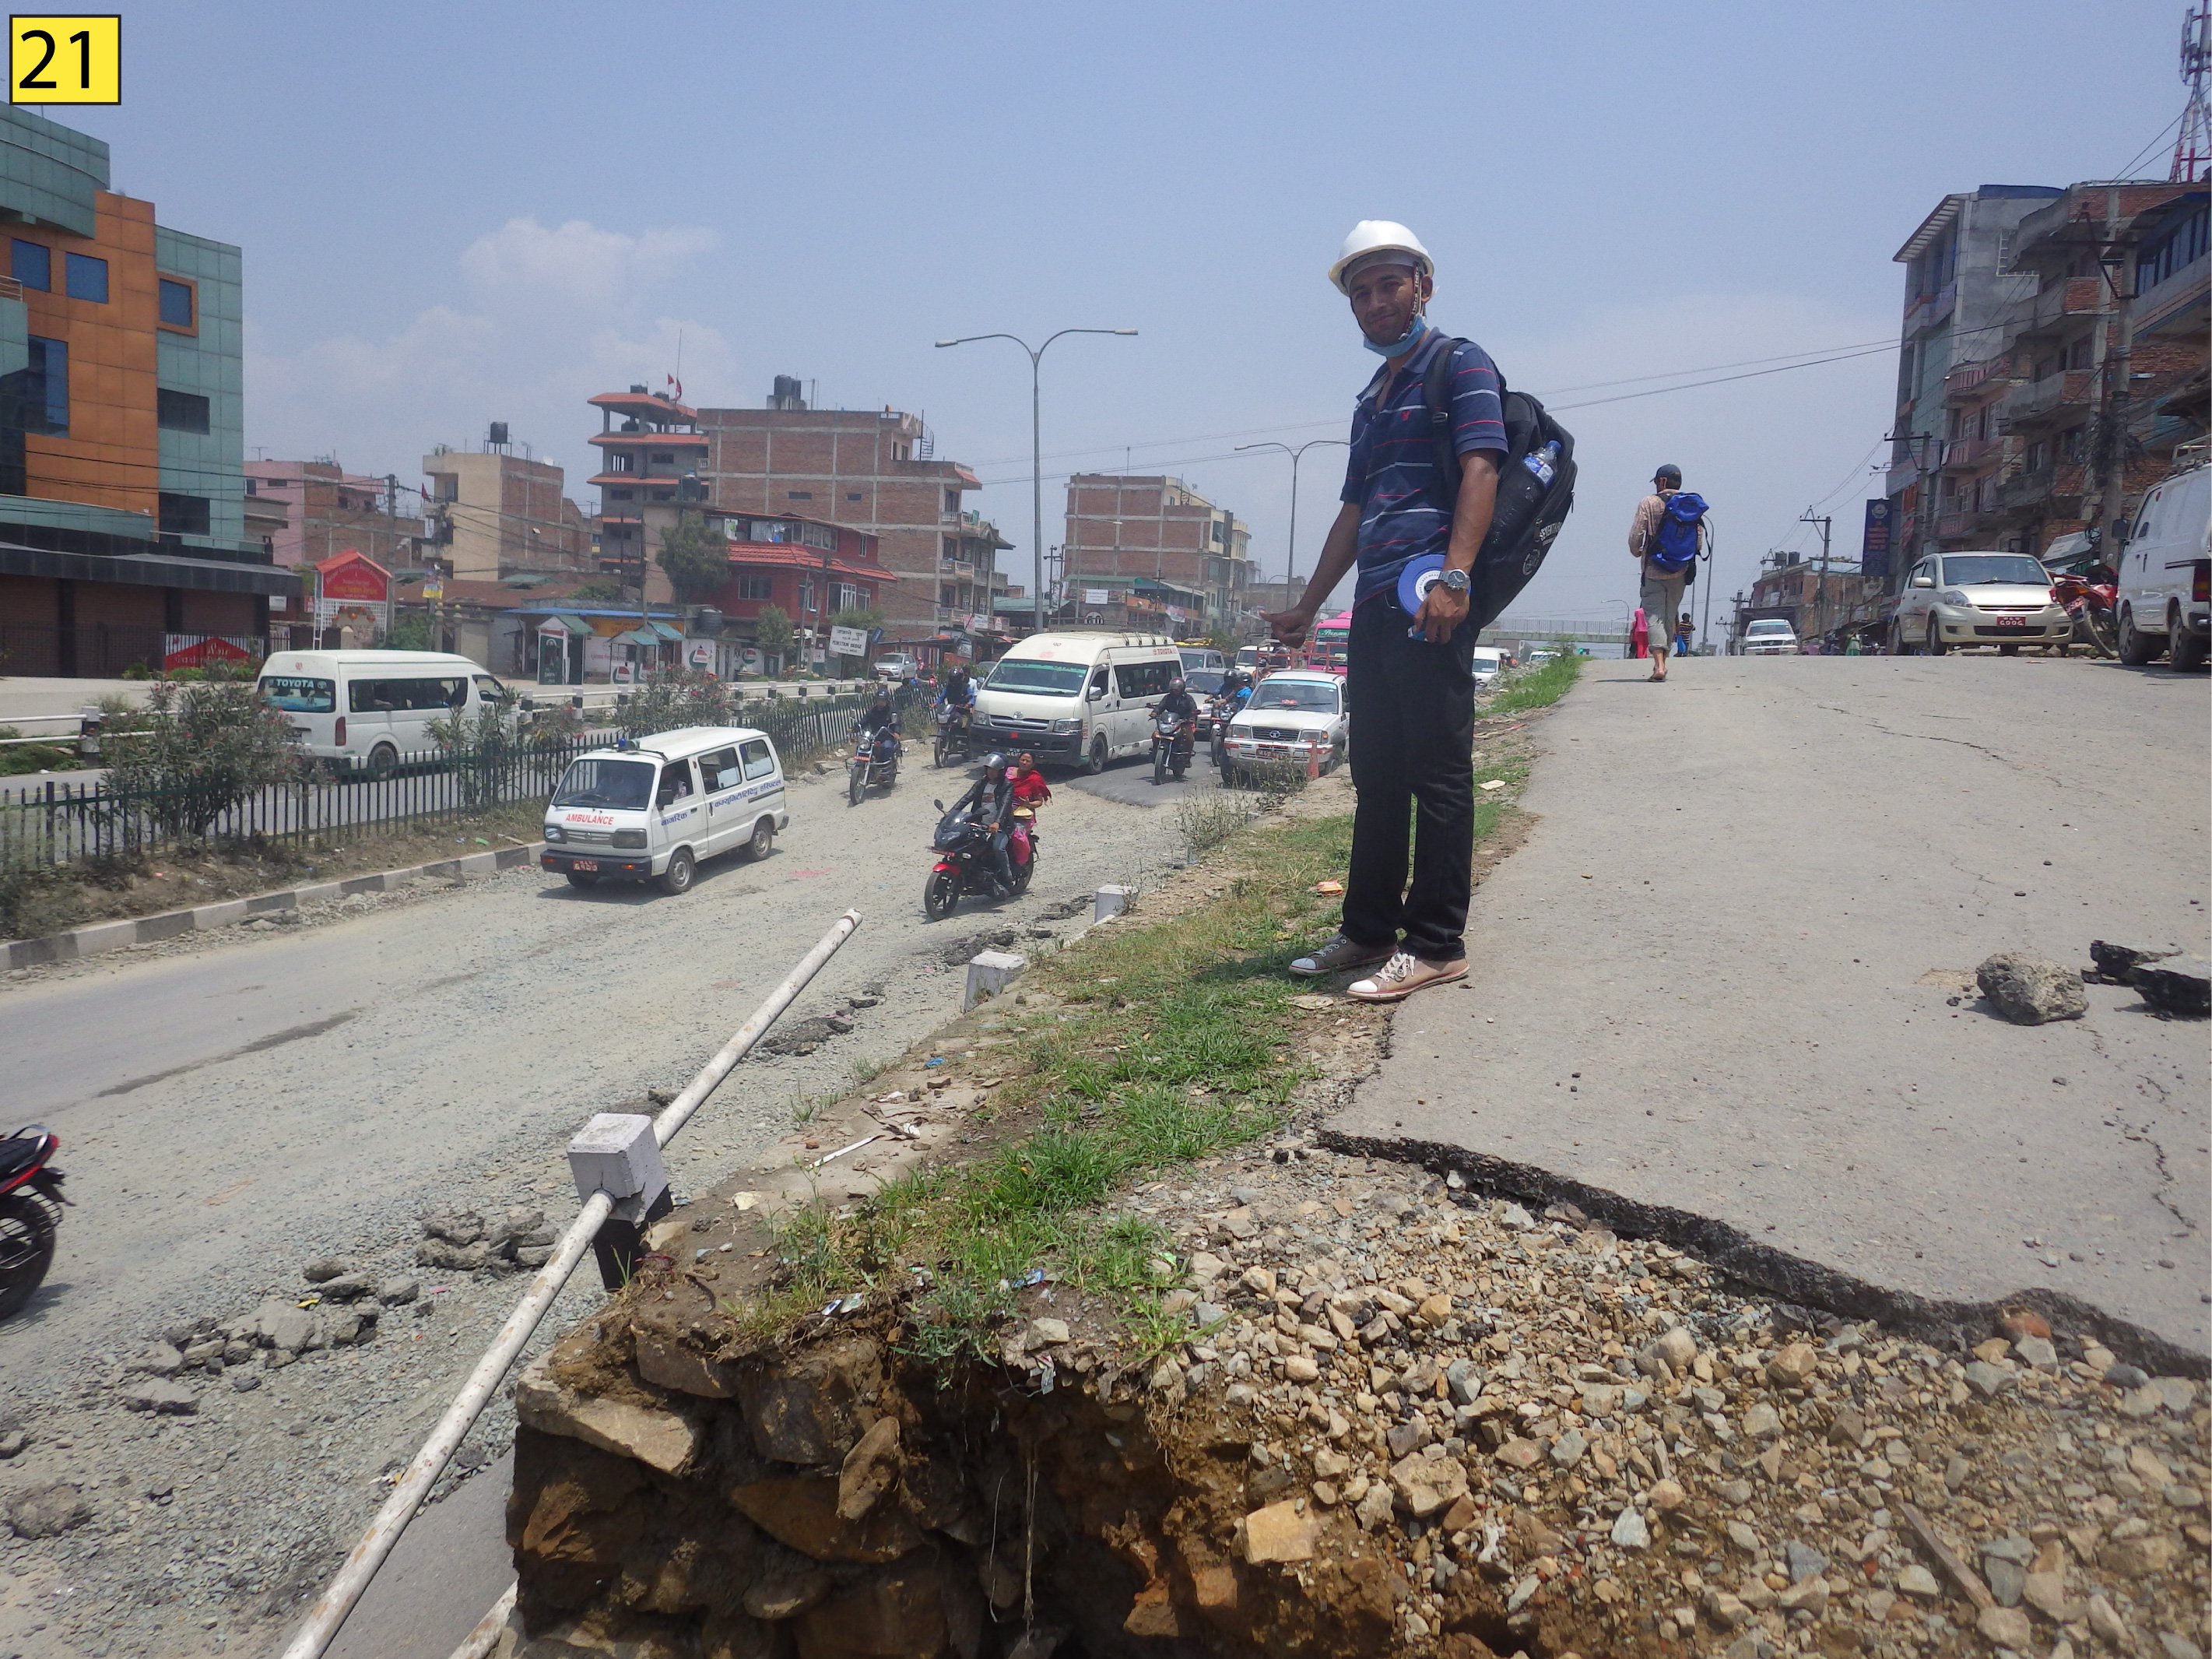
Figure S20. Photograph of Kausaltar fractures looking northeast at location 21, indexed to Figure S2a (Figure 4 in the main article).
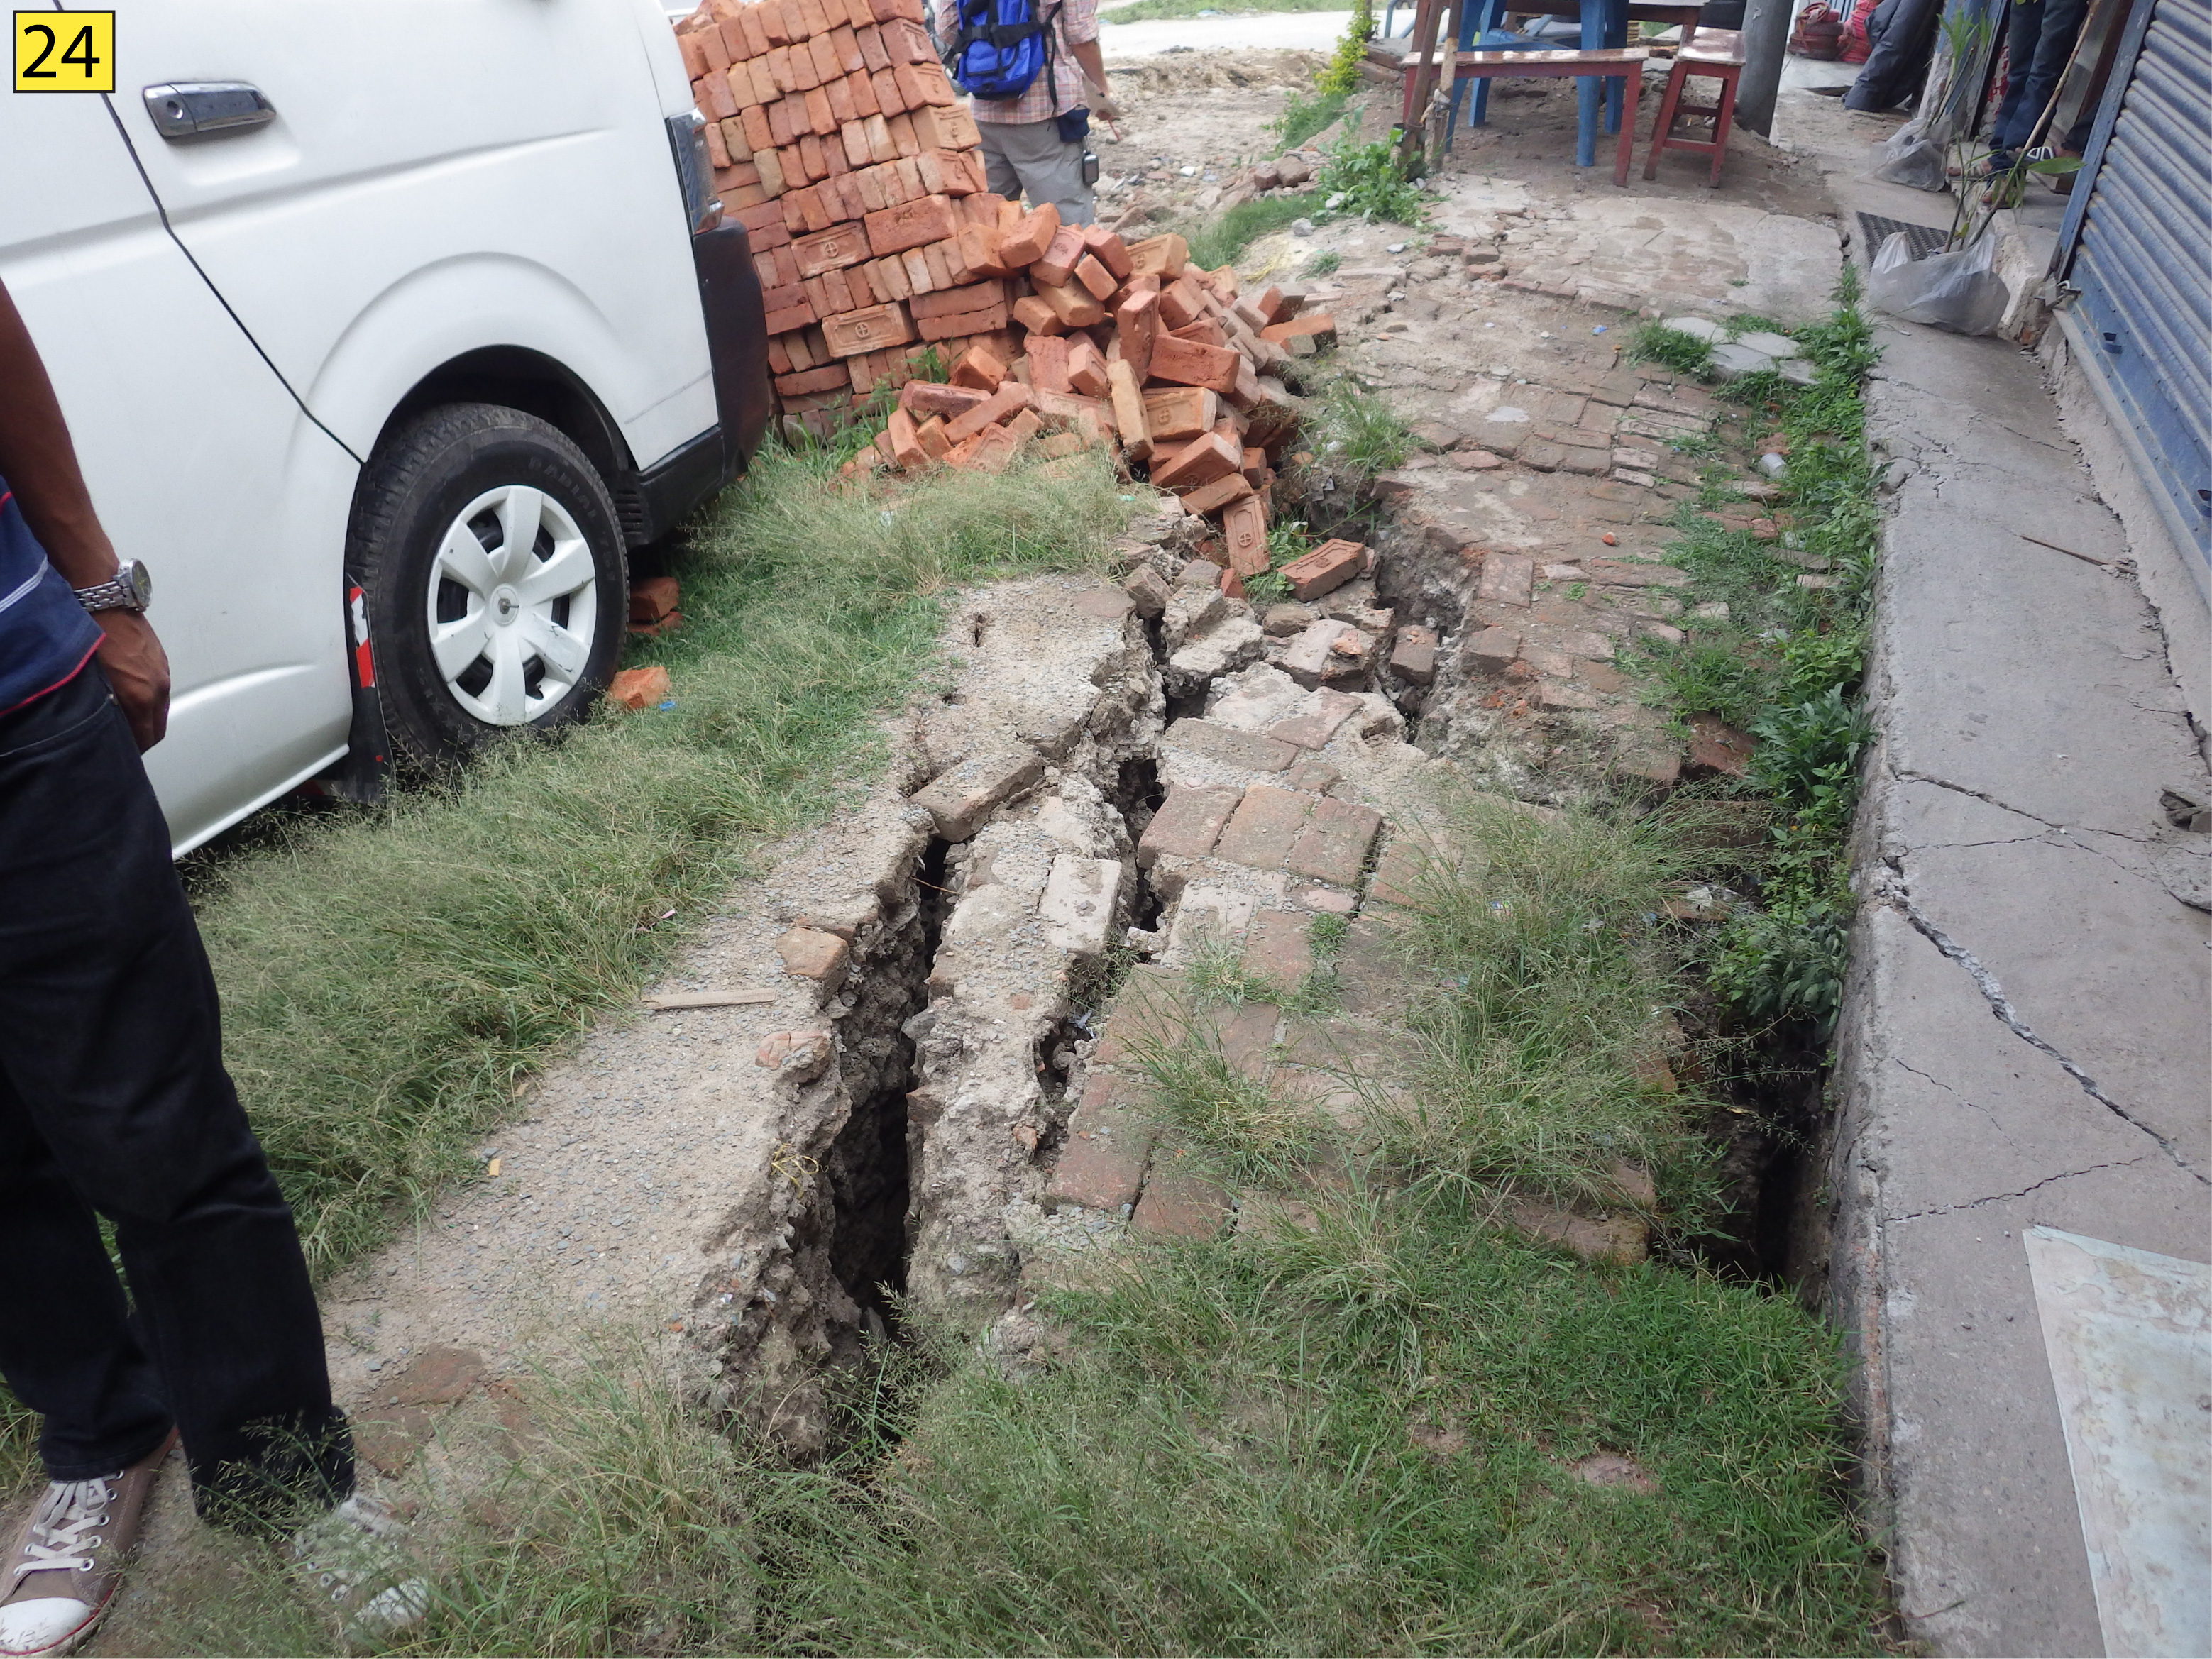
Figure S21. Photograph of Kausaltar fractures at location 24, indexed to Figure S2a (Figure 4 in the main article).
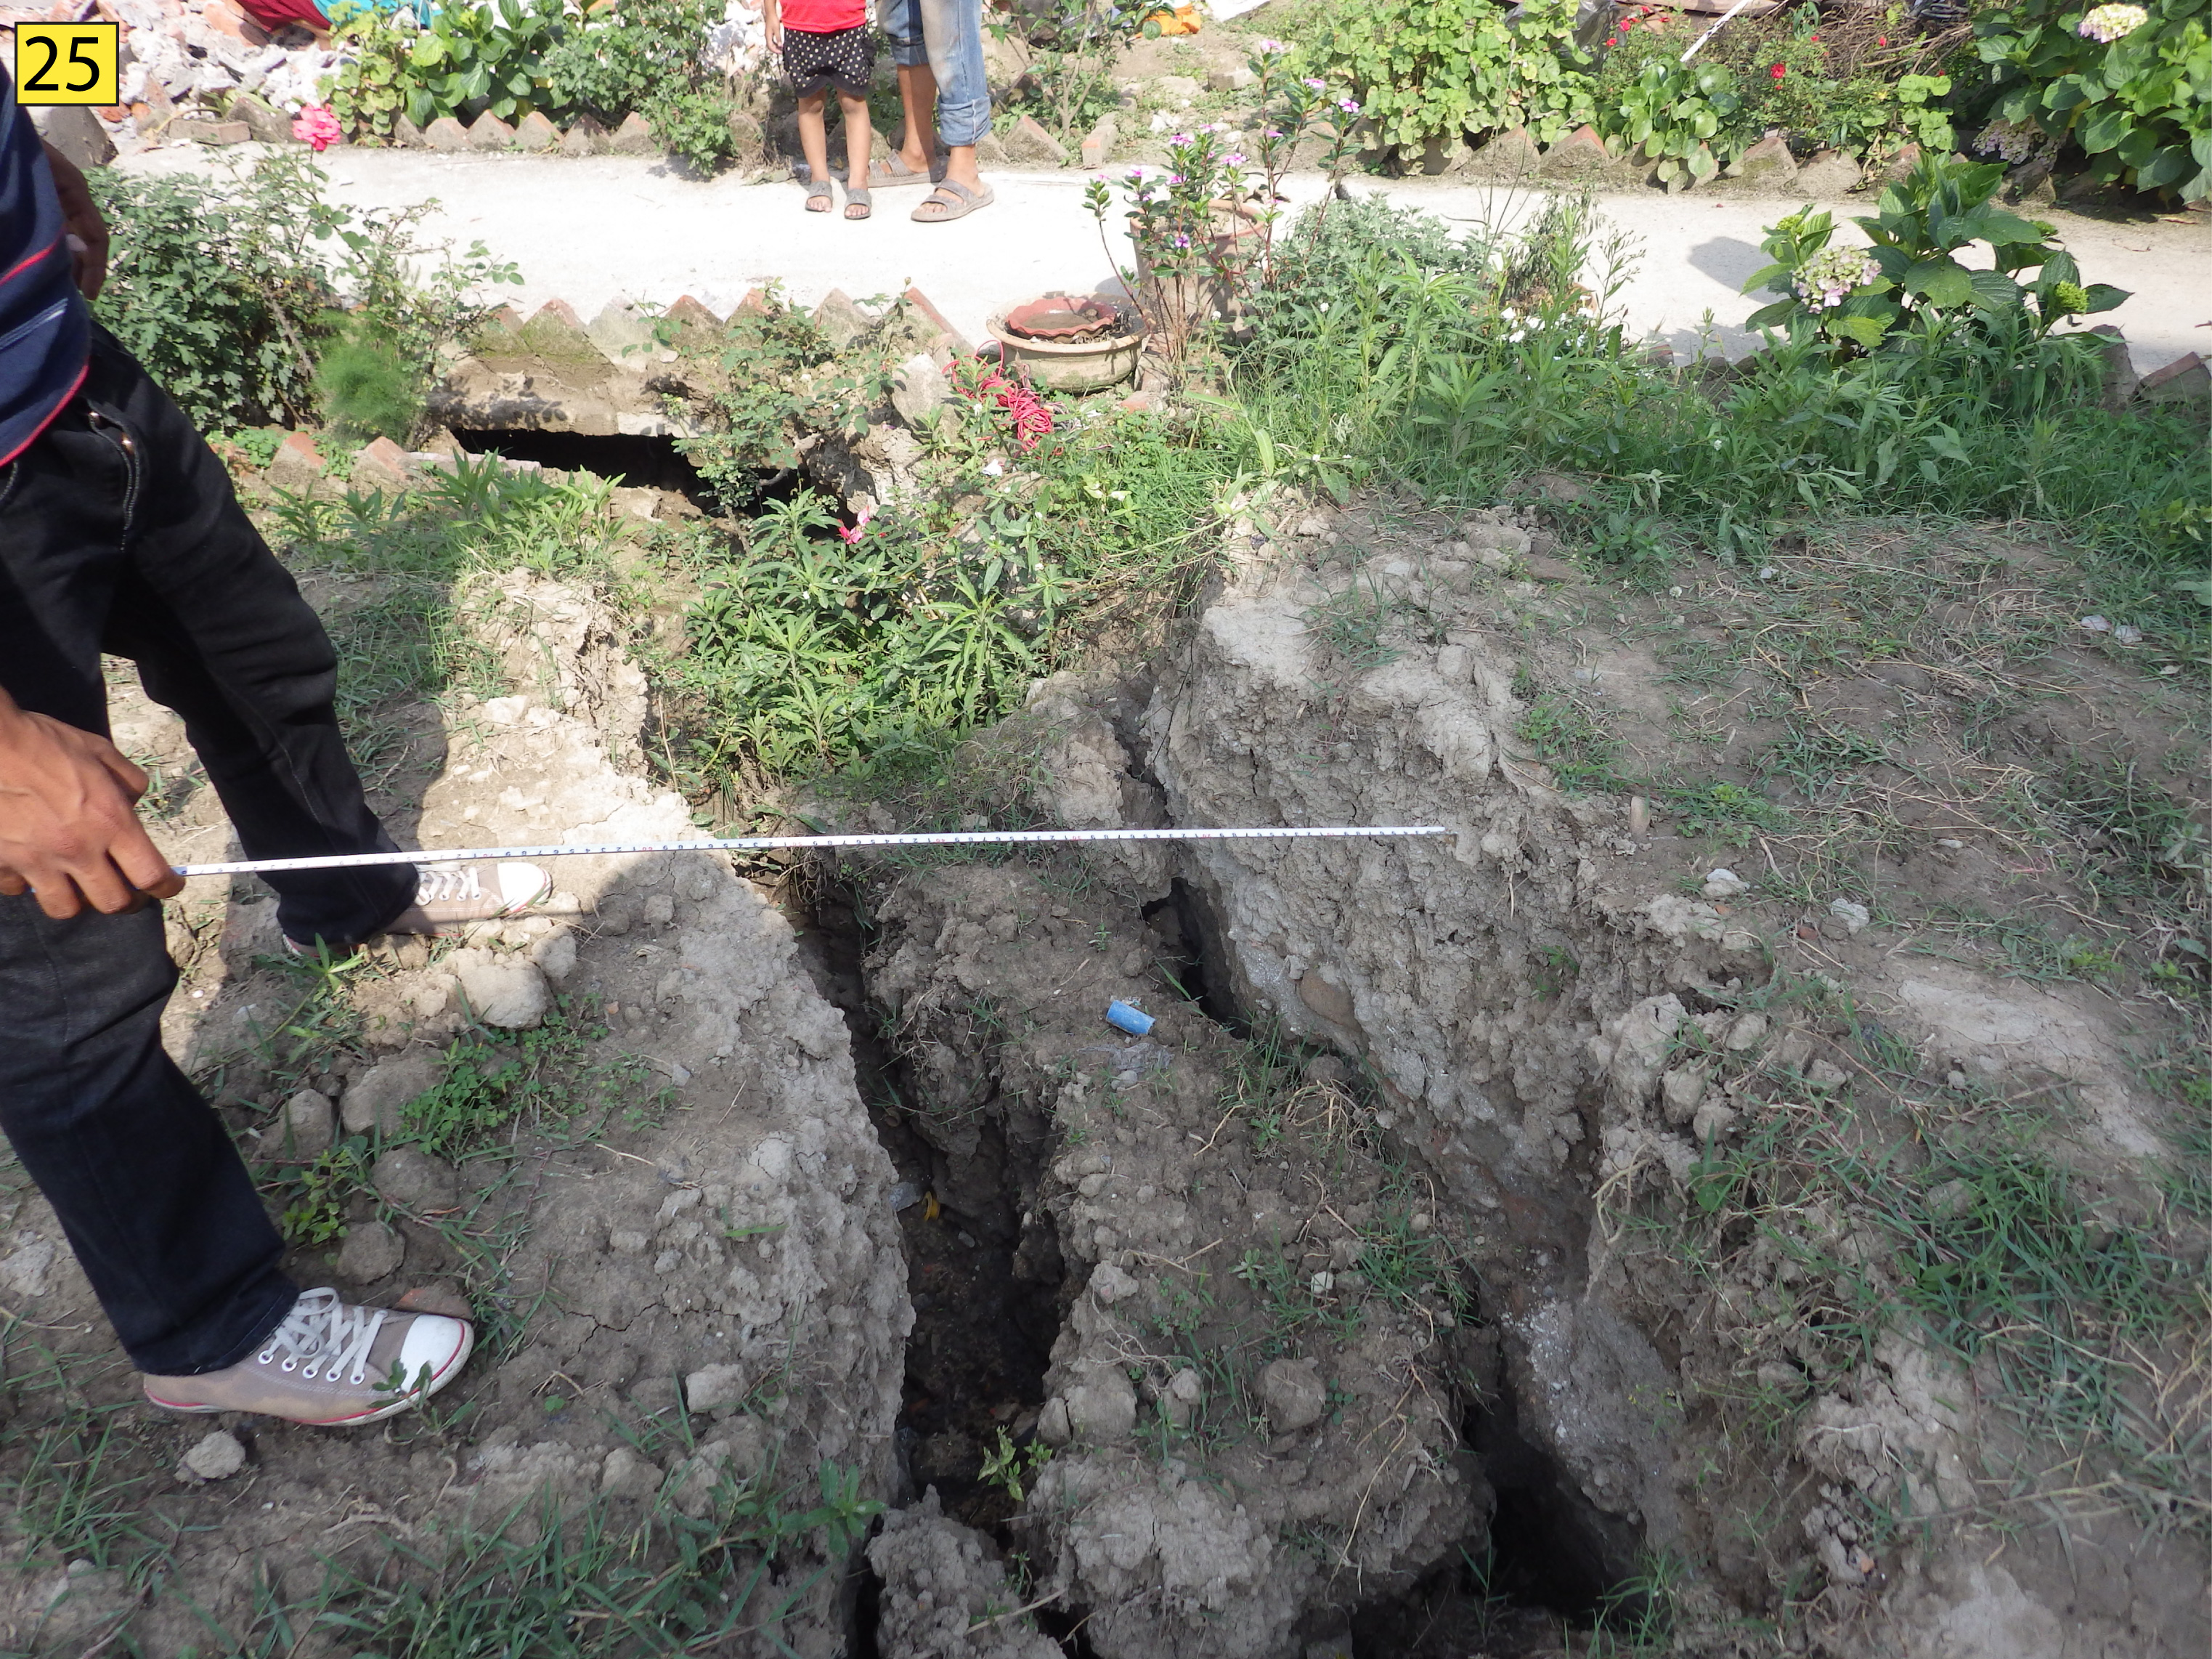
Figure S22. Photograph of Kausaltar fractures at location 25, indexed to Figure S2a (Figure 4 in the main article).
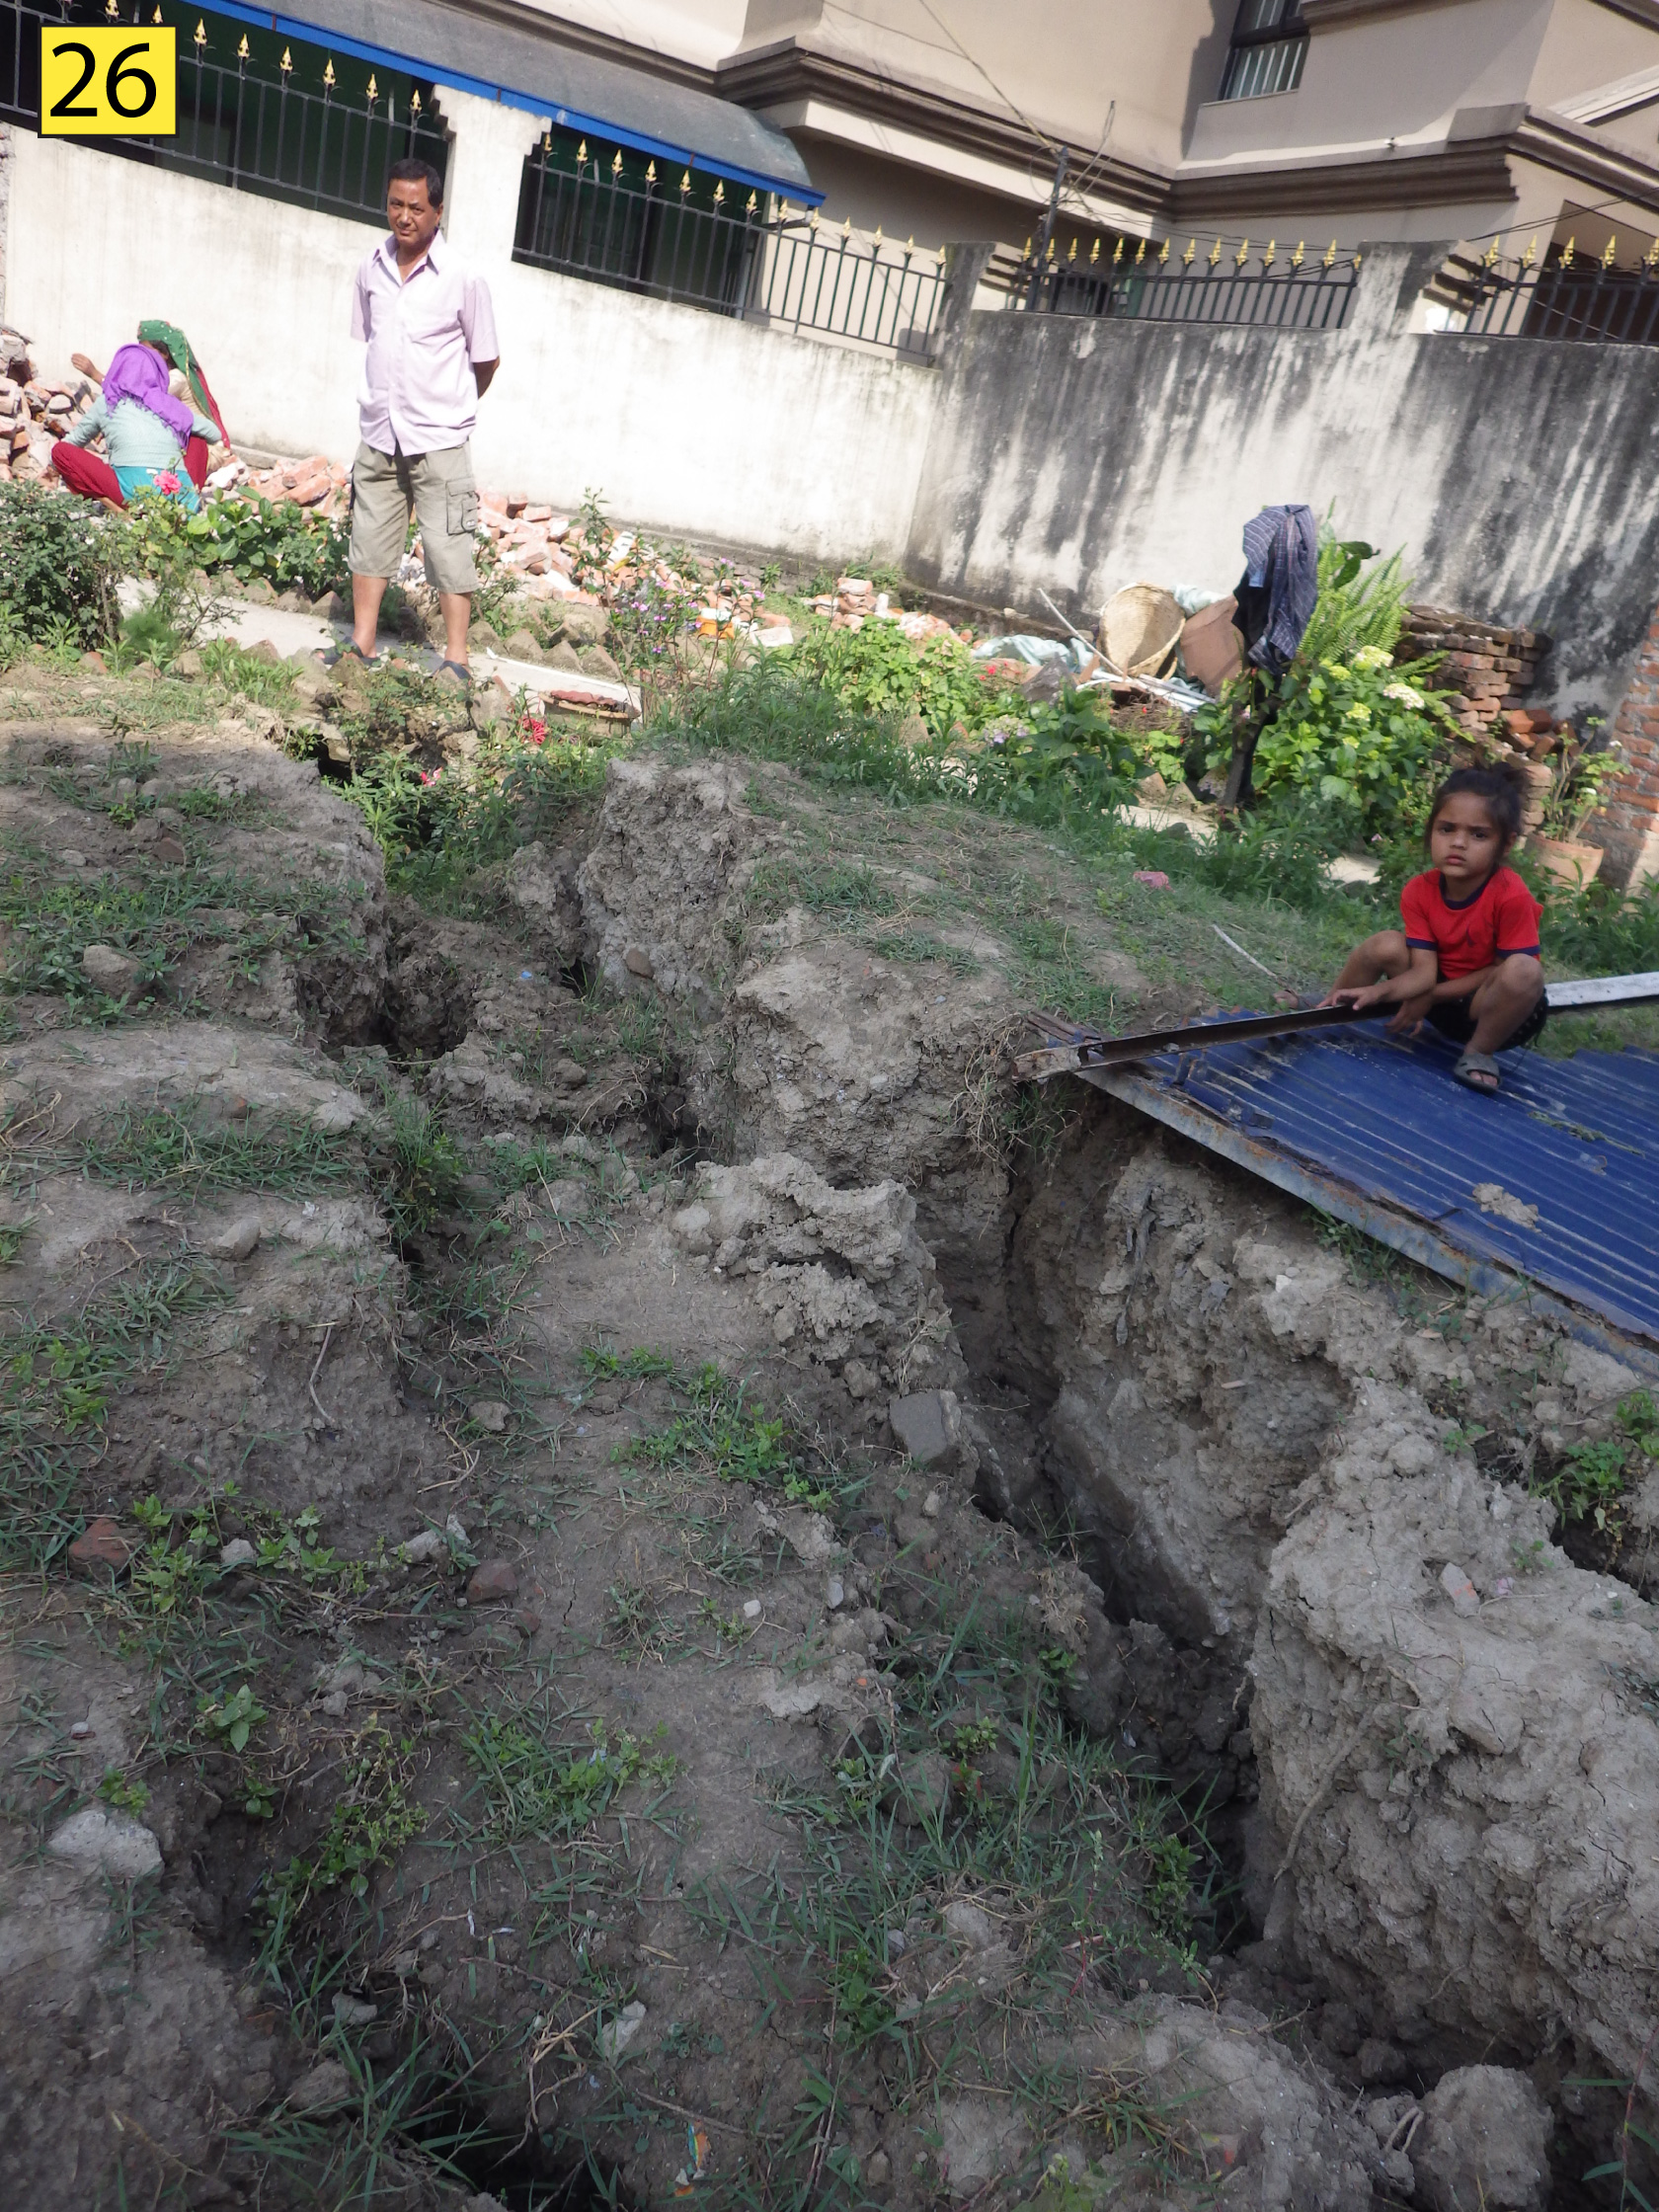
Figure S23. Photograph of Kausaltar fractures looking east at location 26, indexed to Figure S2a (Figure 4 in the main article).
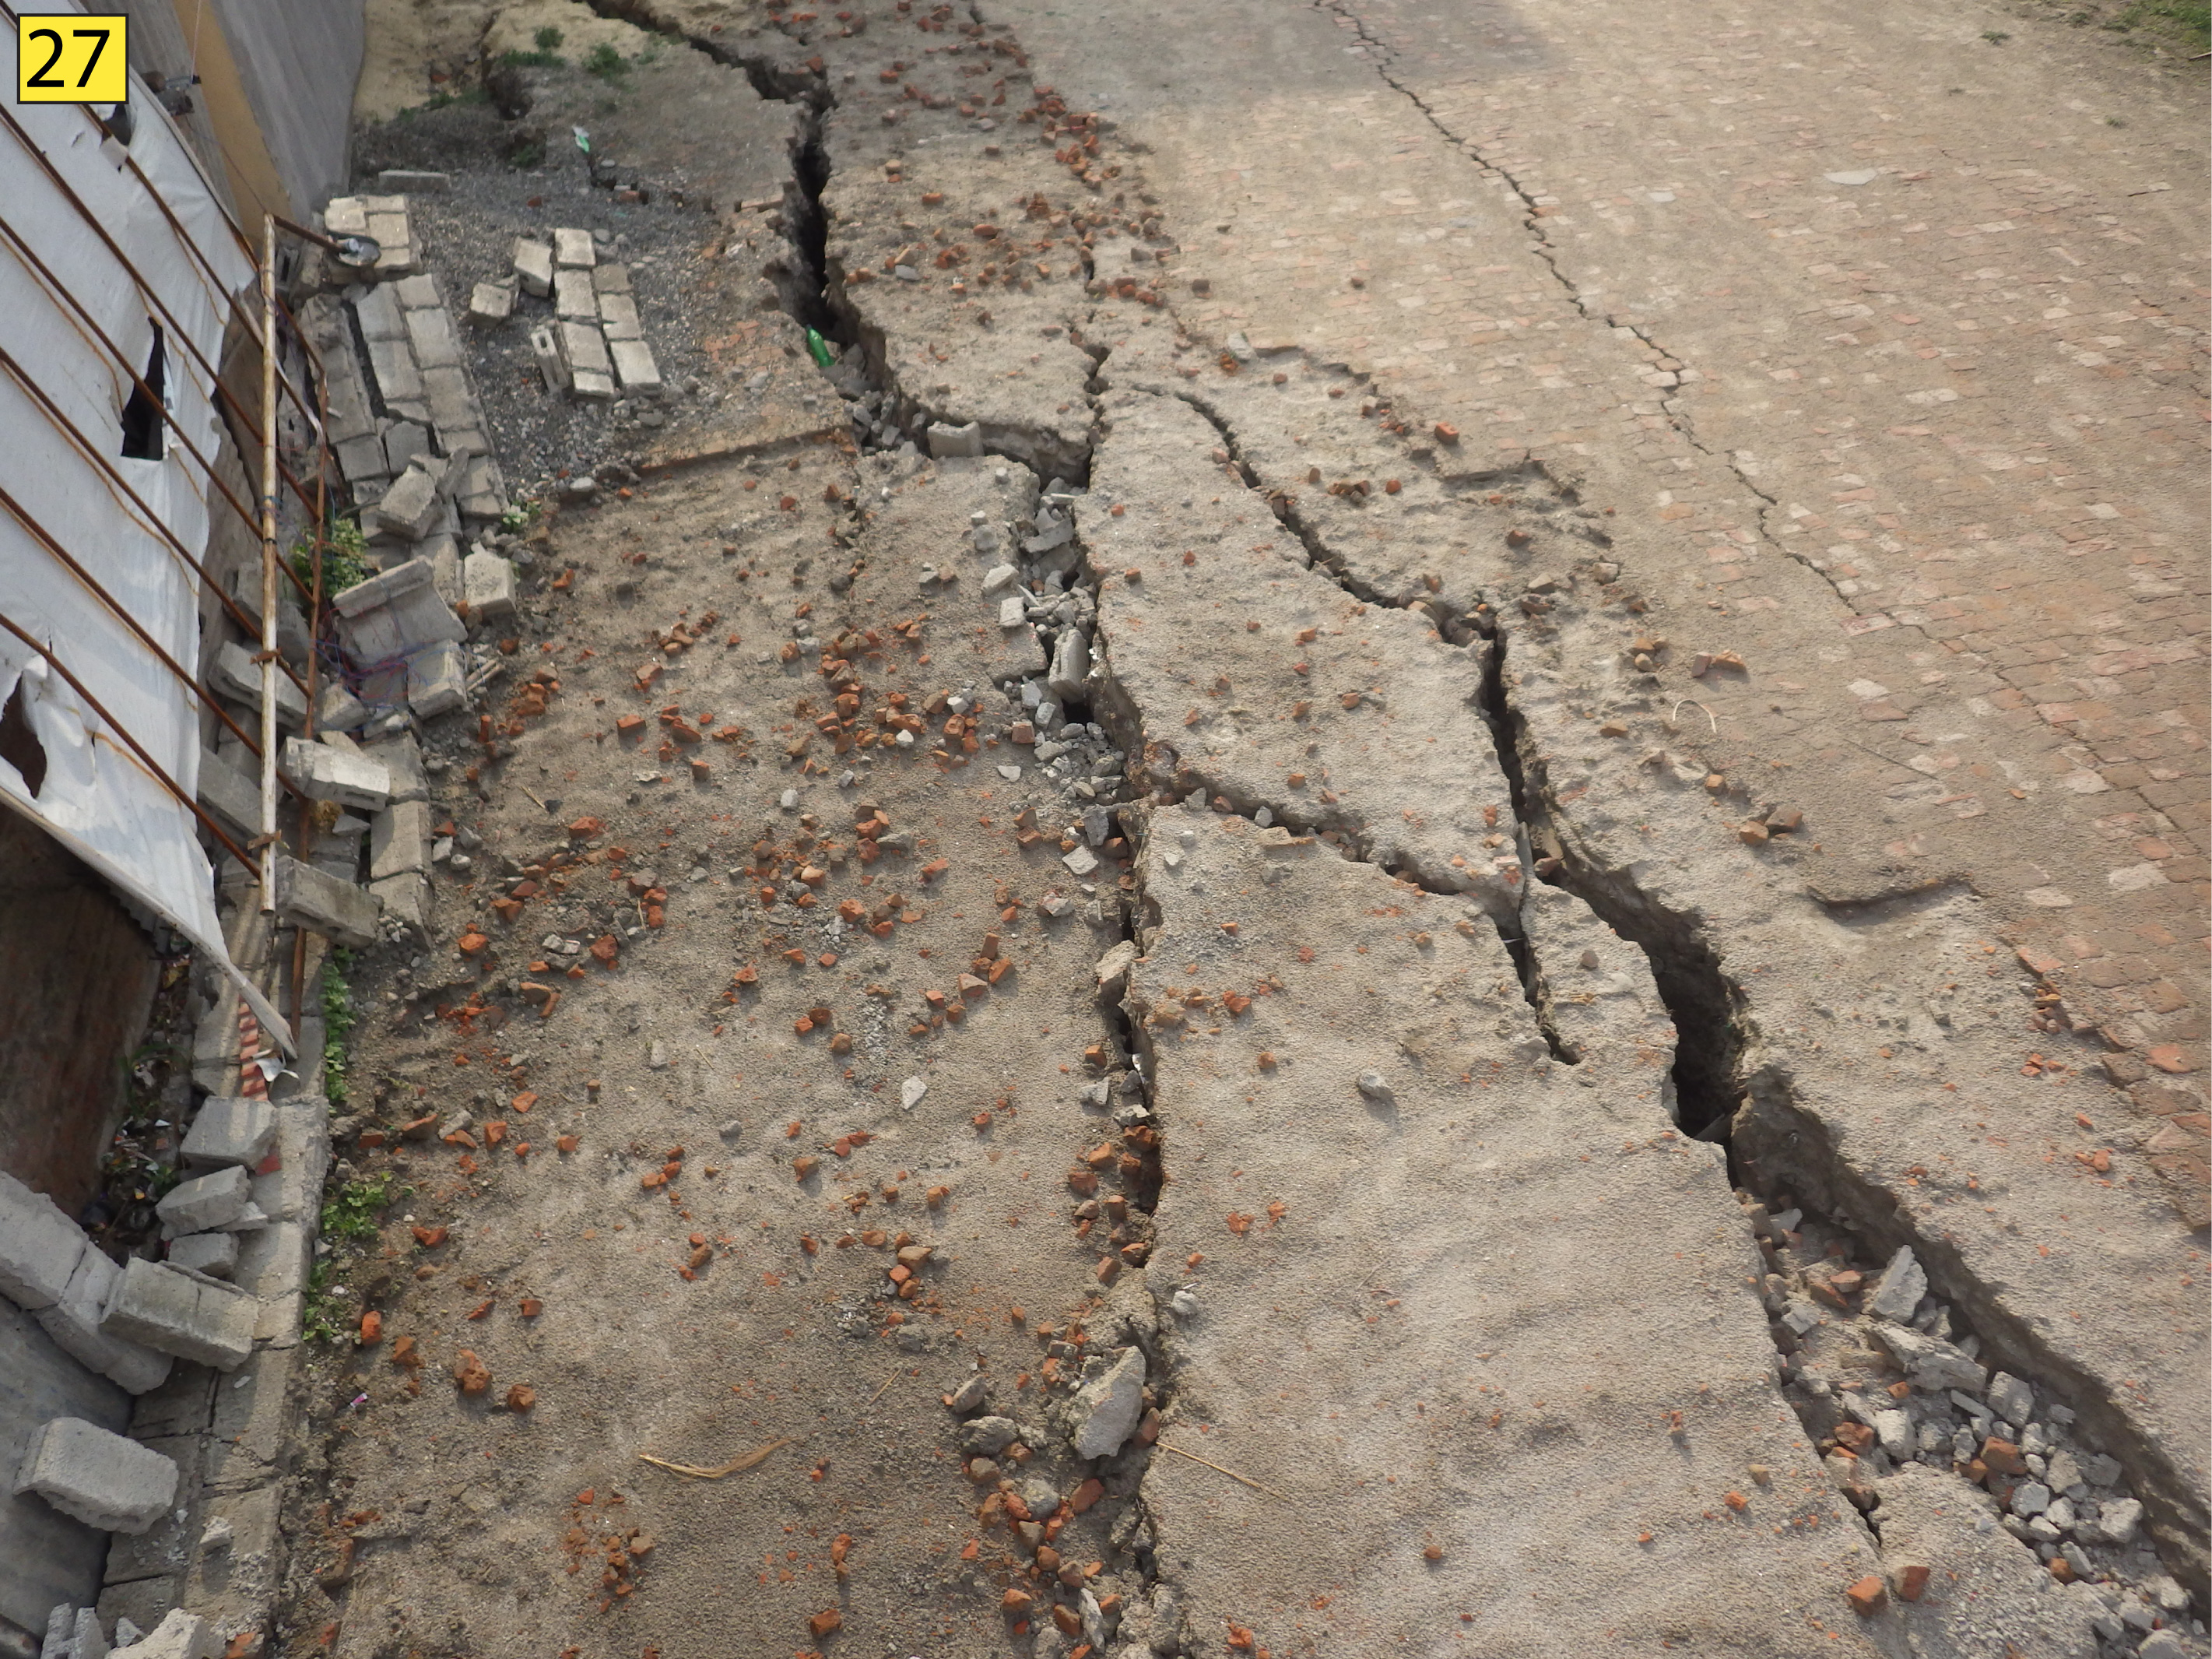
Figure S24. Photograph of Kausaltar fractures looking down to the west at location 27, indexed to Figure S2a (Figure 4 in the main article). Photograph taken from camera mounted on 3 m pole.
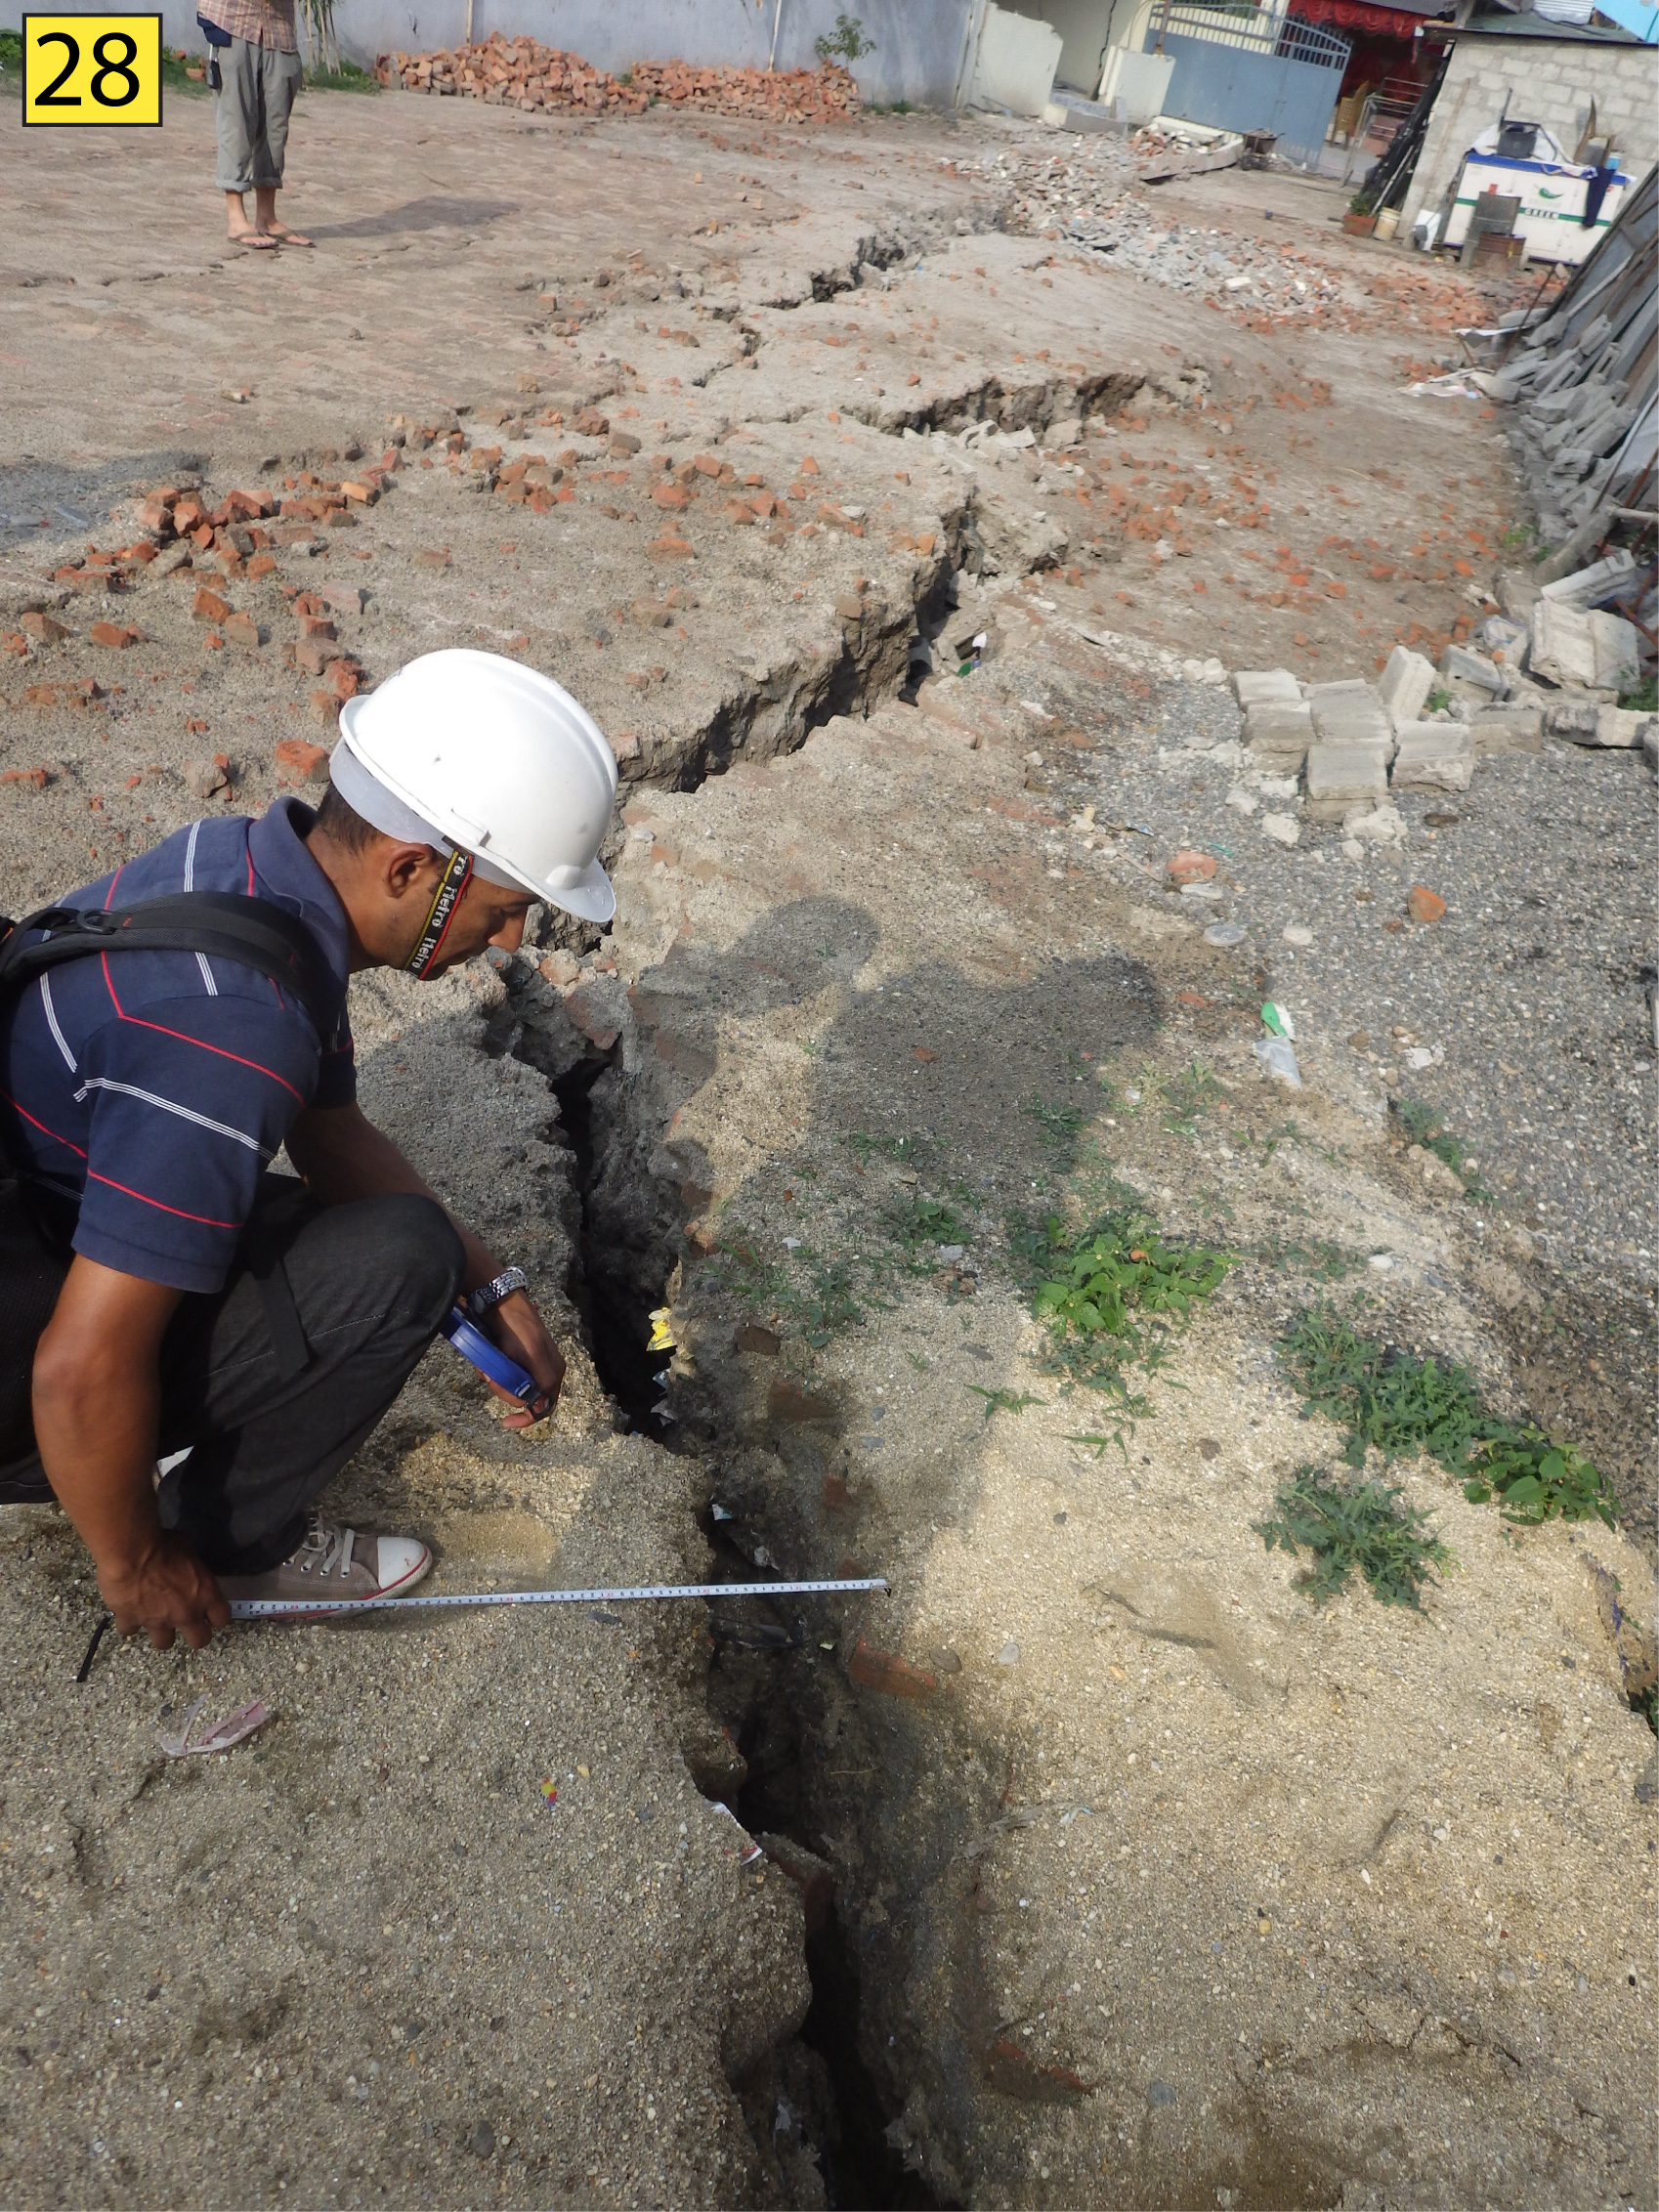
Figure S25. Photograph of Kausaltar fractures looking east at location 28, indexed to Figure S2a (Figure 4 in the main article).
Figure S26. Photograph of Kausaltar fractures looking east at location 29, indexed to Figure S2a (Figure 4 in the main article).
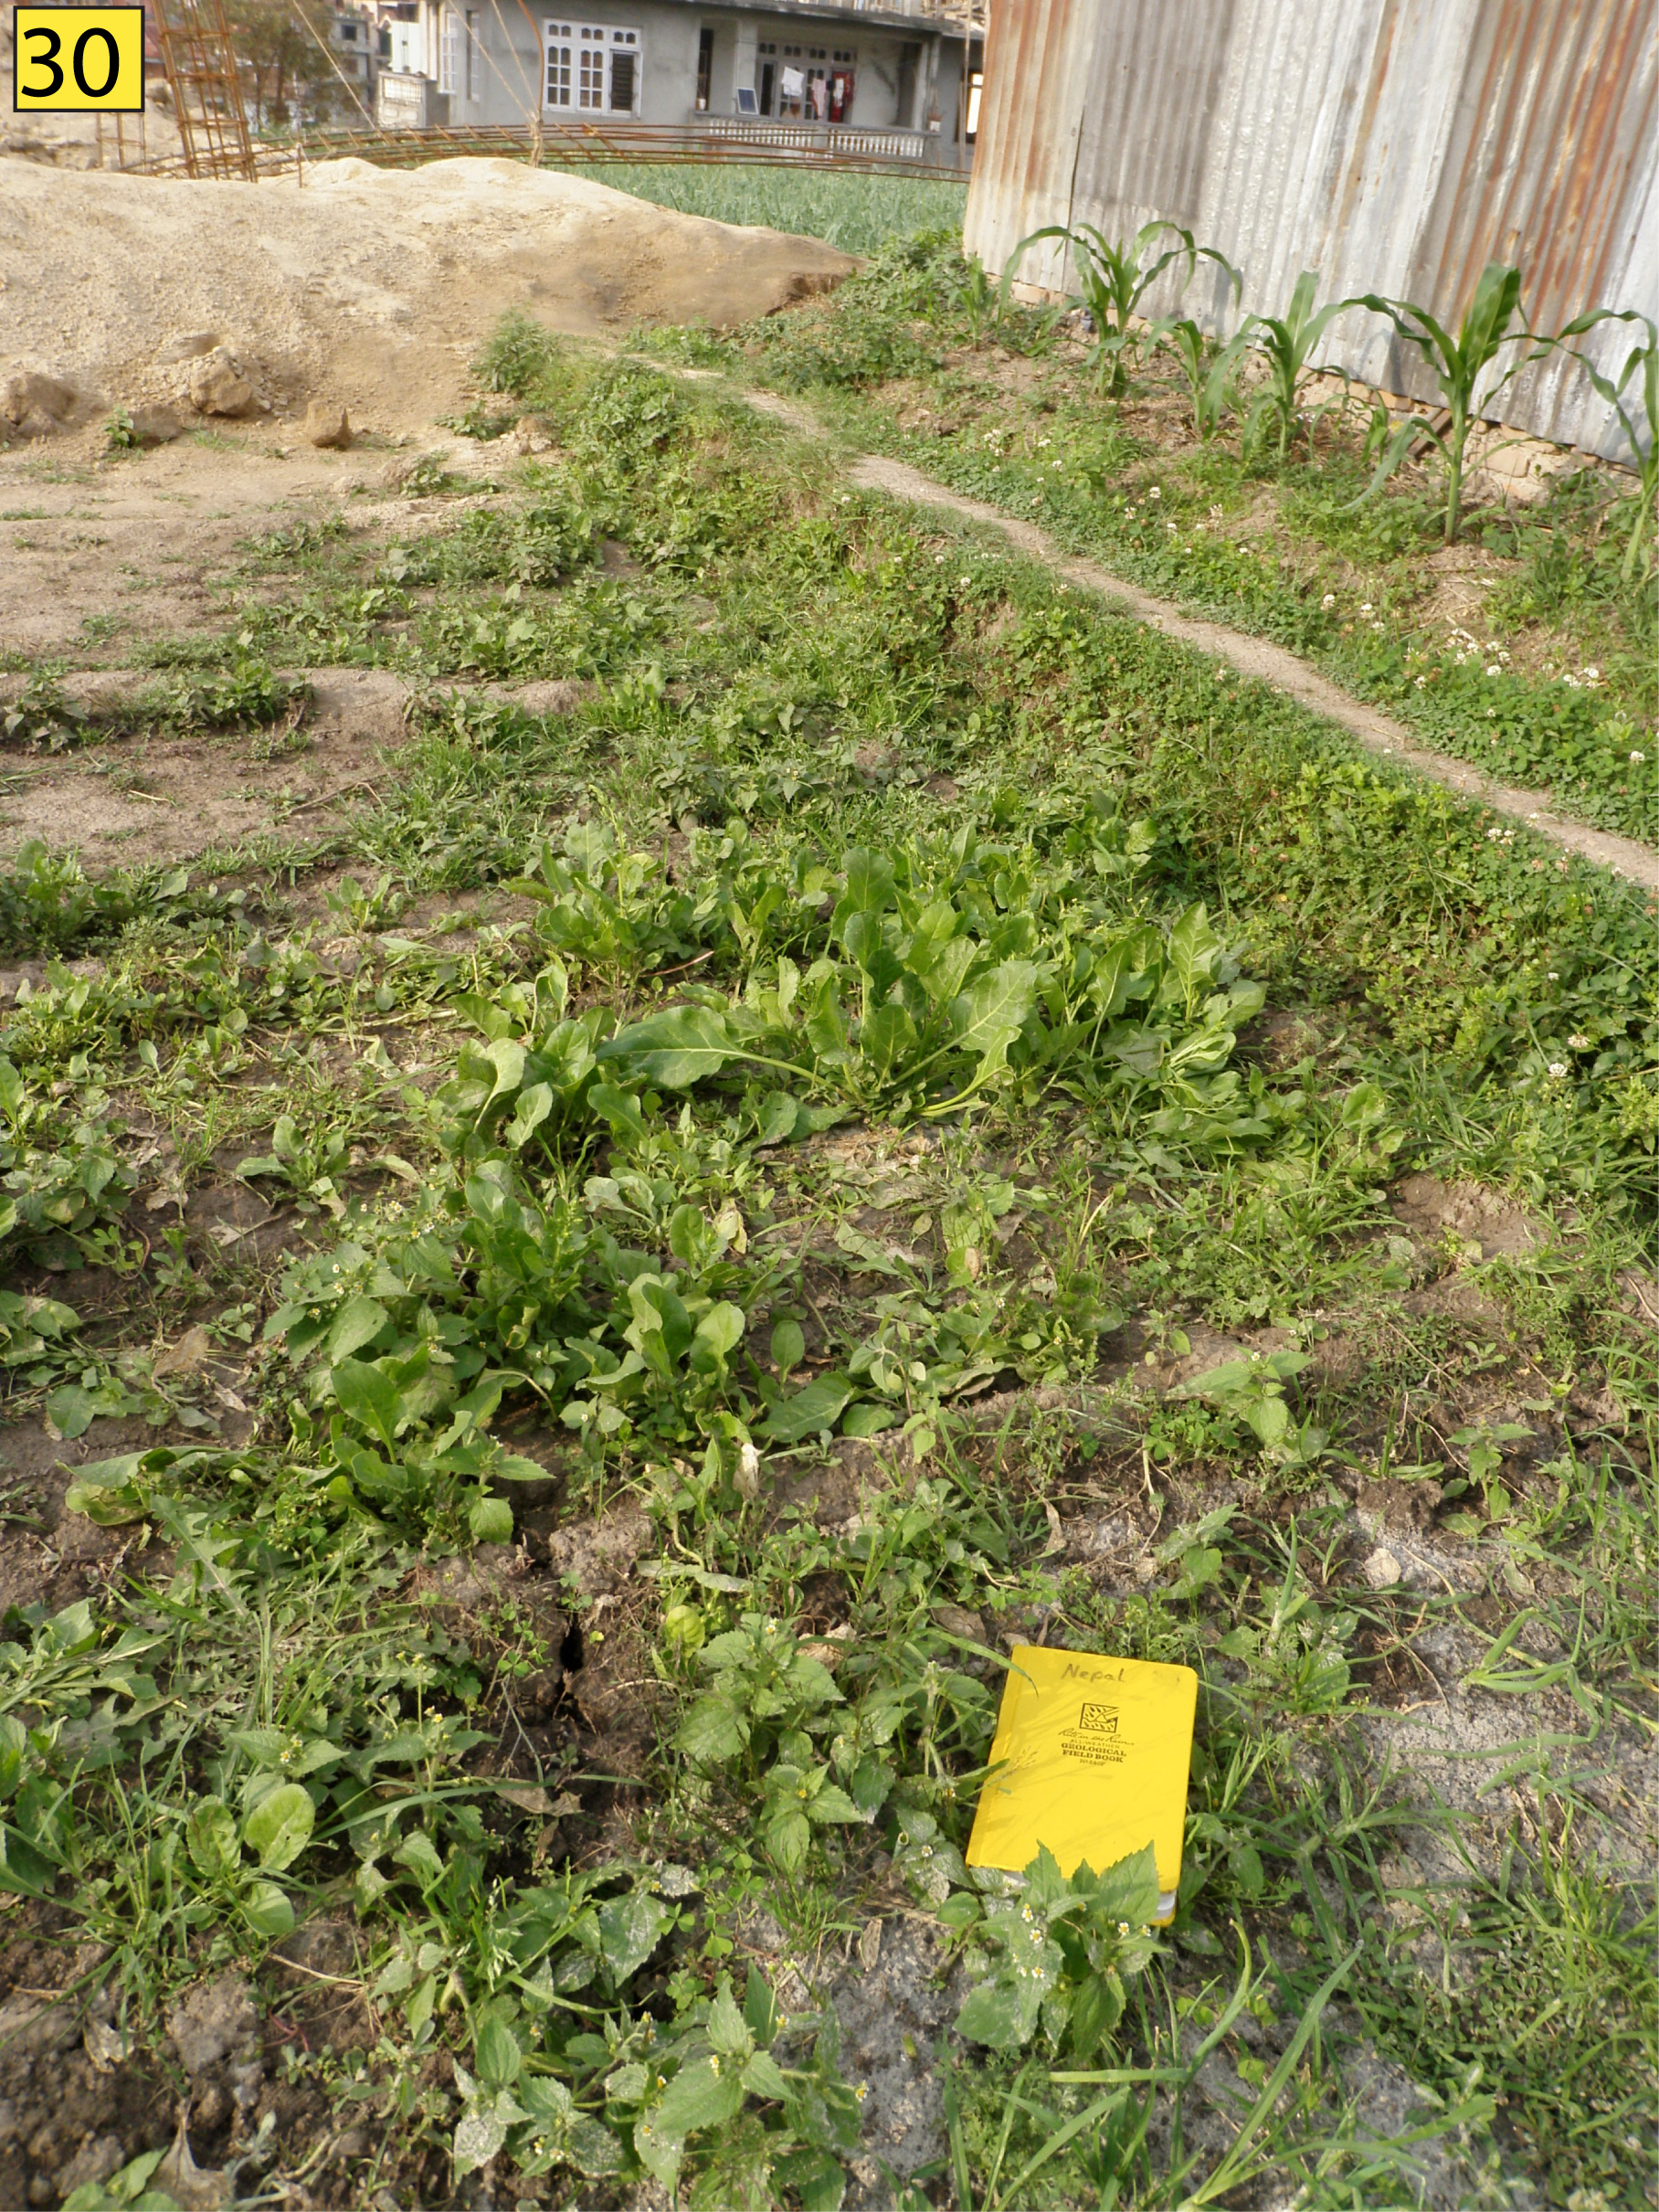
Figure S27. Photograph of Kausaltar fractures in small field looking northeast at location 30, indexed to Figure S2a (Figure 4 in the main article).
Figure S28. Small-scale map of factories with brick chimneys (blue dots) throughout Nepal and northern India. Factory locations determined from Google Earth imagery.
Noh, M., I. Howat, C. Porter, P. Morin, M. Clementz, and M. Cloutier (2015). Kathmandu Area Pre-Event DEM Mosaic 8 m, Polar Geospatial Center.
[ Back ]