This electronic supplement contains a brief description of the hands-on activities used on our E&O program. The activities are mostly hands-on, and we carry them out in diverse informal environments. In activities for all ages, we let the public explore the activities at its own will and pace. The experiments are divided into five sets: (1) plate tectonics and crustal deformation, (2) seismic waves, (3) tsunamis, (4) soils and buildings, and (5) settle and interiorize concepts.
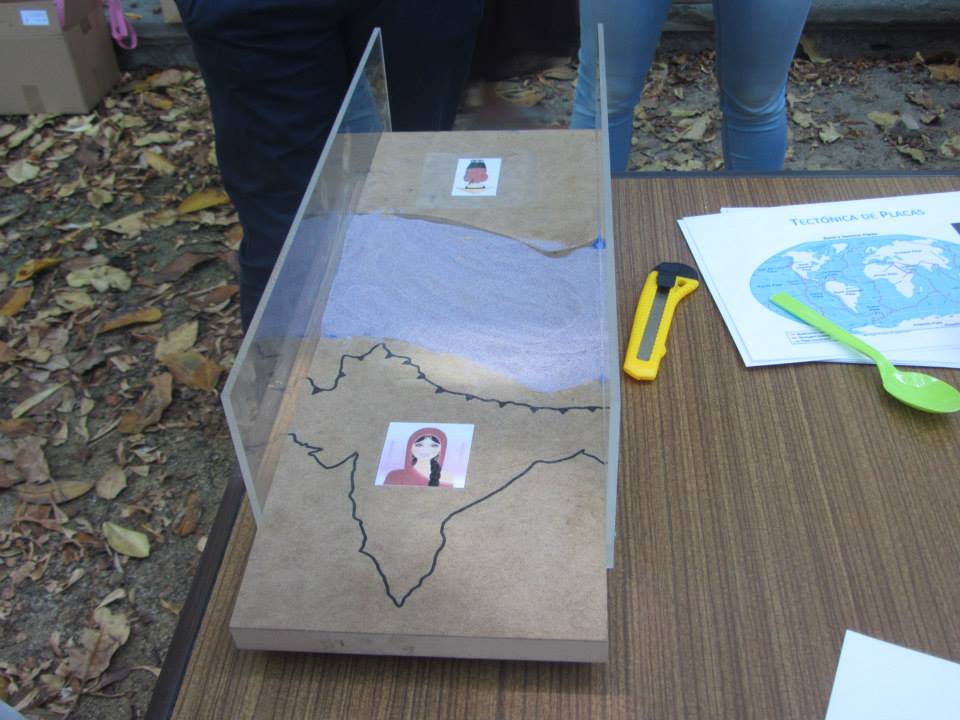
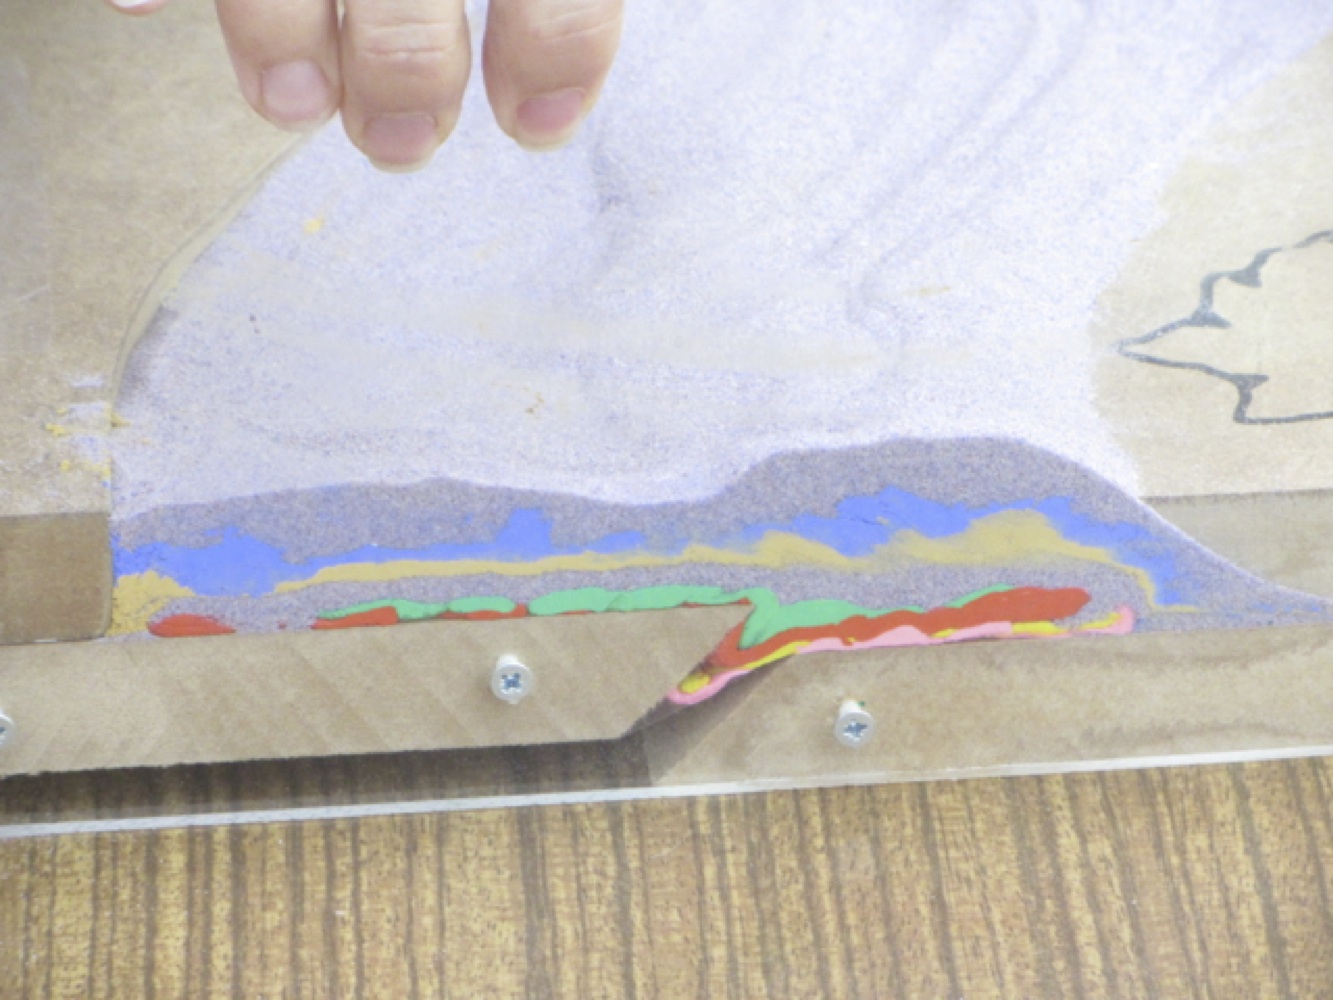
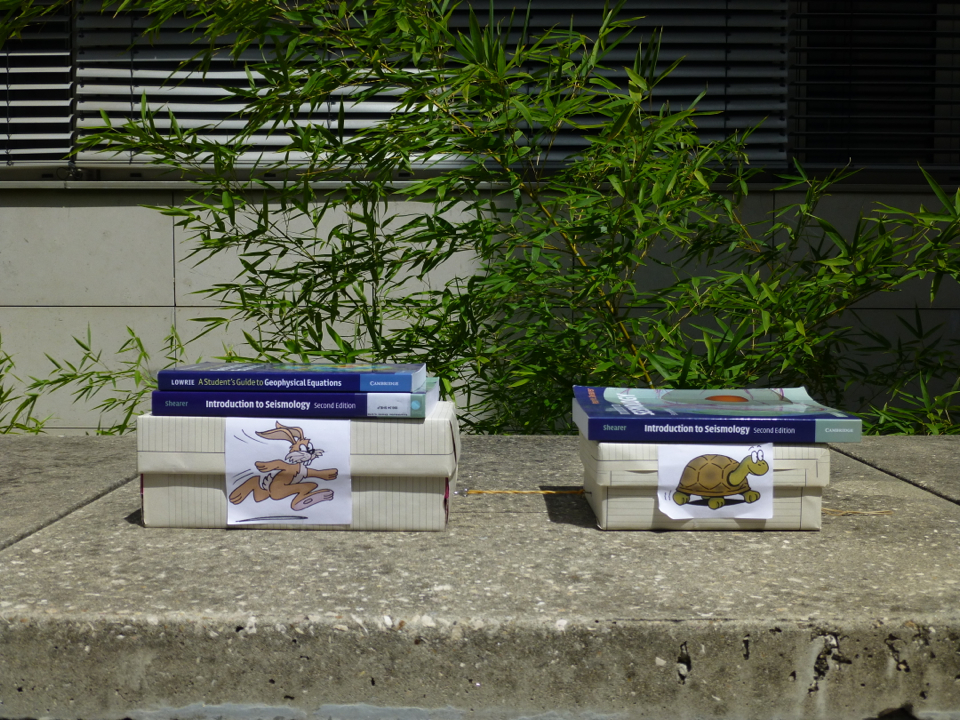
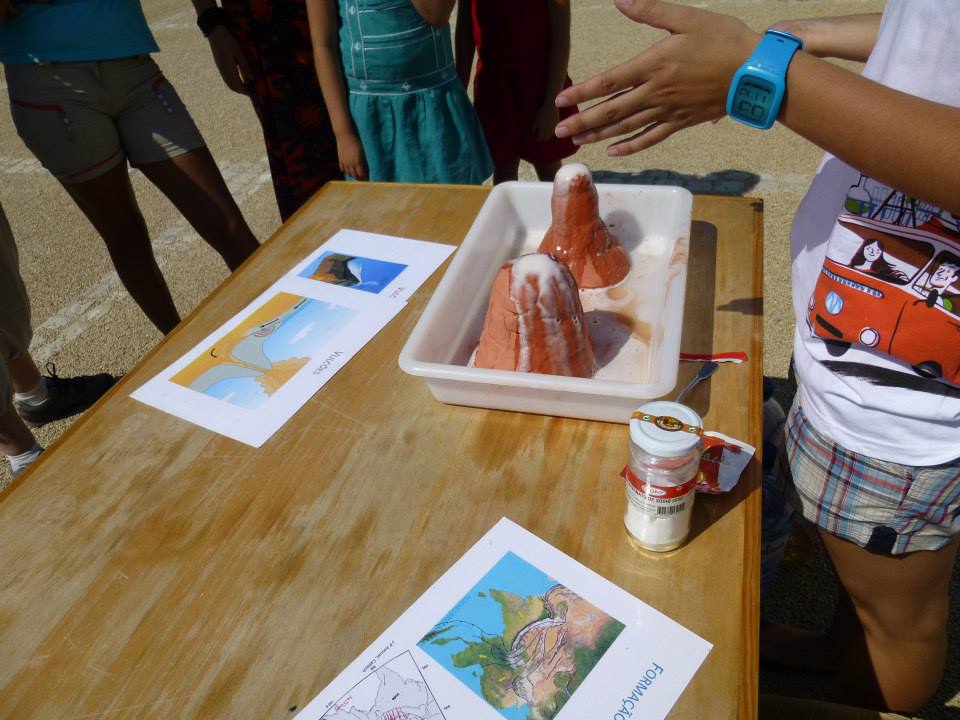
This activity focuses on plate tectonics and on how deformation is accommodated at different plate boundaries. The public can play with Pangea and plate tectonics puzzles. They can also overlay transparencies showing volcano locations, seismicity maps, and tectonic plate boundaries, using both global maps and regional maps of Portugal. We model the collision between India and Eurasia, building up the Himalayan range (Figs. S1 and S2) (Bolacha et al., 2010). We use soap bars to explain the different types of faults and lasagna sheets to explain the elastic and plastic behavior of materials, as well as fracture. Lasagna sheets break spectacularly, producing P waves (sound) at breakage. A stick-and-slip experiment completes the earthquake slip explanation at this table. The stick-and-slip experiment can also be used to introduce the topic of slow earthquakes, using boxes with different frictions on the interface (Fig. S3). There is also the possibility of modeling a volcano eruption using baking soda, soap, and vinegar (Fig. S4).
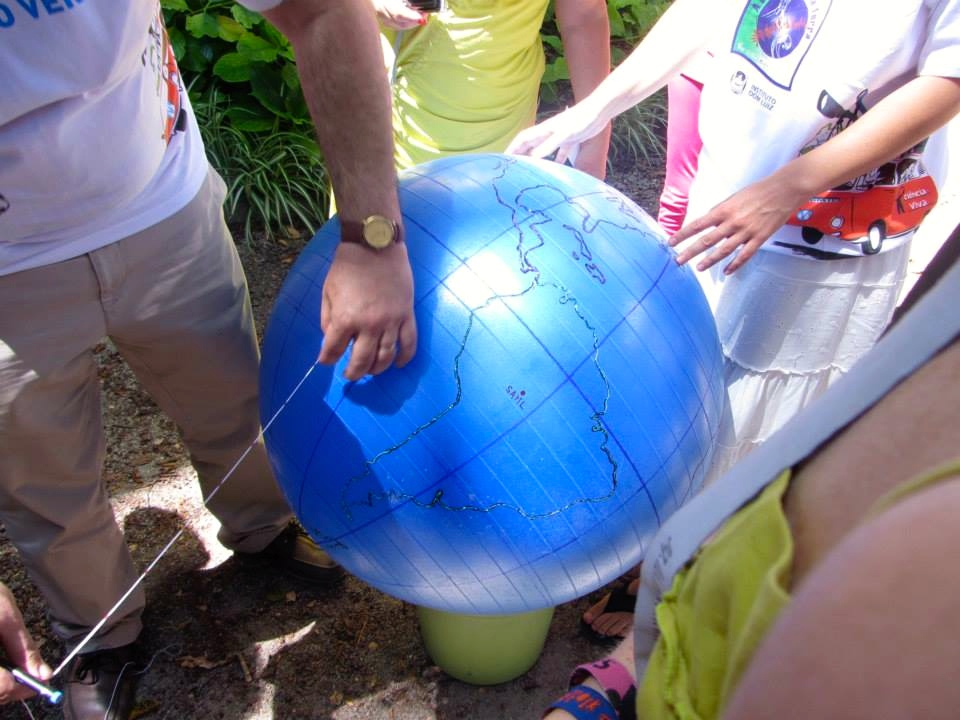
In this activity, the public can learn about different types of seismic waves, understand how a seismometer works, and perform earthquake locations on an “Earth ball” using real seismograms (Fig. S5). In addition, we show that people can easily have access to a seismometer, for teaching purposes, using the SeisMac software (Wysession et al., 2008) and smartphone applications. We propose to the public a human demonstration of S- and P-wave propagation. Seismic waves are also demonstrated using a large spring (Fig. S6). Finally, the public has the opportunity to feel ground shaking on a portable shake table and train self-protection actions.
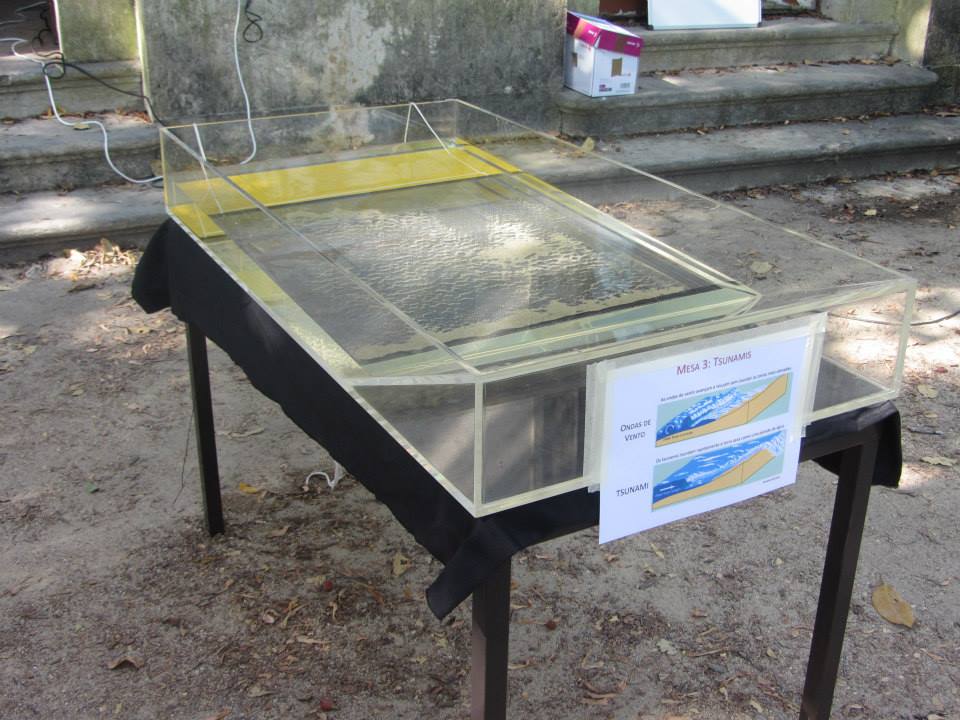
This demonstration consists of a large acrylic tank equipped with a paddle for wave generation and a ramp placed on the opposite side of the box to simulate shoaling seafloor (Fig. S7). The tank is filled with water. We use a small plastic boat and sprinkle sand on the bottom of the tank to help the public visualize the behavior of tsunami waves in the deep ocean and as they get close to the coast. This activity helps people learn what a tsunami is, how it forms, the characteristics of tsunami waves in deep ocean and near the coast, and the correct self-protection actions during a tsunami alert. We additionally use a hair dryer to simulate wind waves and to explain the difference between wind and tsunami waves.
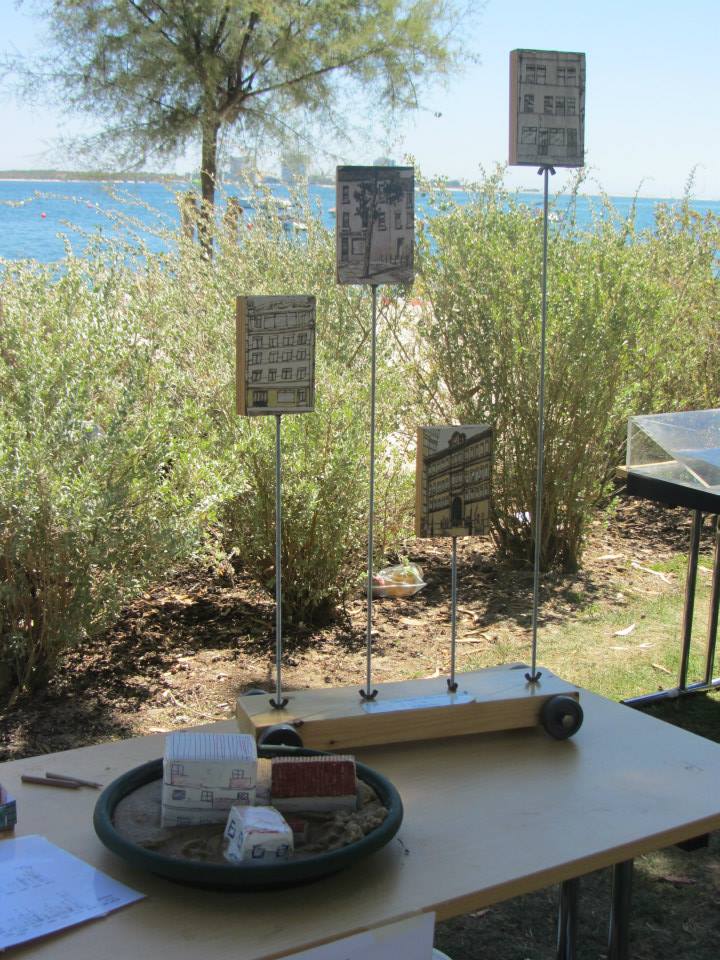
In this set of experiments, we use a building oscillator to show the response of buildings with distinct heights to vibrations of different frequencies (Fig. S8). We use a paper building model kit (Fukuwa et al., 2008) to talk about seismic retrofitting of buildings. We introduce the concept of liquefaction using a liquefaction bowl. We also talk about seismic-hazard assessment and seismic risk in mainland Portugal.
We provide a space with an assortment of fun and relaxed activities specially directed to young children. Here, they can look at books about the Earth, color Earth-related images, play memory and correspondence games with first-aid kit images and earthquake self-protection actions, play a treasure hunt with objects from the emergency kit, and investigate the interior of the Earth by modeling a layered Earth with playdough.
Figure S1. Analog modeling of mountain building. This experiment explains the formation of the Himalayas. The top view shows the region before the collision between the Indian and Eurasian plates (Bolacha et al., 2010).
Figure S2. Analog modeling of mountain building. This experiment explains the formation of the Himalayas. A side view shows the result of the collision between the Indian and Eurasian plates (Bolacha et al., 2010).
Figure S3. The tortoise and the hare. Stick-and-slip experiment to explain slow and fast earthquakes.
Figure S4. A homemade volcanic eruption using baking soda, soap, and vinegar.
Figure S5. Demonstration of earthquake locations on an “Earth ball.” The principle of triangulation is explained. This experiment is also good to explain the working principle of Global Navigation Satellite Systems (GNSS) positioning.
Figure S6. Demonstration of P- and S-wave propagation using a long spring.
Figure S7. Tsunami tank.
Figure S8. Building oscillator and liquefaction bowl.
Bolacha, E., H. Moita de Deus, and P. E. Fonseca (2010). Modelação Análoga: Actividades práticas de Geologia em sala de aula, in, Ciências Geológicas—Ensino e Investigação e sua História, J. Neiva, A. Ribeiro, and L. Victor (Editors), F. Noronha and M. Ramalho (Coordinators), Vol. I, APG, Lisbon, Portugal (in Portuguese).
Fukuwa, N., J. Tobita, M. Mori, E. Koide, and T. Hanai (2008). Development of vibration experiment education materials for structural and soil dynamics, Proc. of the 14th World Conf. on Earthquake Engineering, Beijing, China, 12–17 October 2008, Paper No. 12-03-0109 (DVD-ROM).
Wysession, M. E., M. Hubenthal, and J. Taber (2008). Using SeisMac to turn your laptop into a seismograph for teaching, Seismol. Res. Lett. 75, 723–725.
[ Back ]